To remove one color from an image, open Remove Color from Image, upload your file, and click the color you want to erase. Choose Transparency, adjust Tolerance, then click Remove selected color. Download the PNG once the unwanted color is gone and the details you need are still there.
This works best when the color you want to remove is different from the colors you want to keep. If your white background and white lettering are identical, a color match will erase both. Check for that overlap before you start.
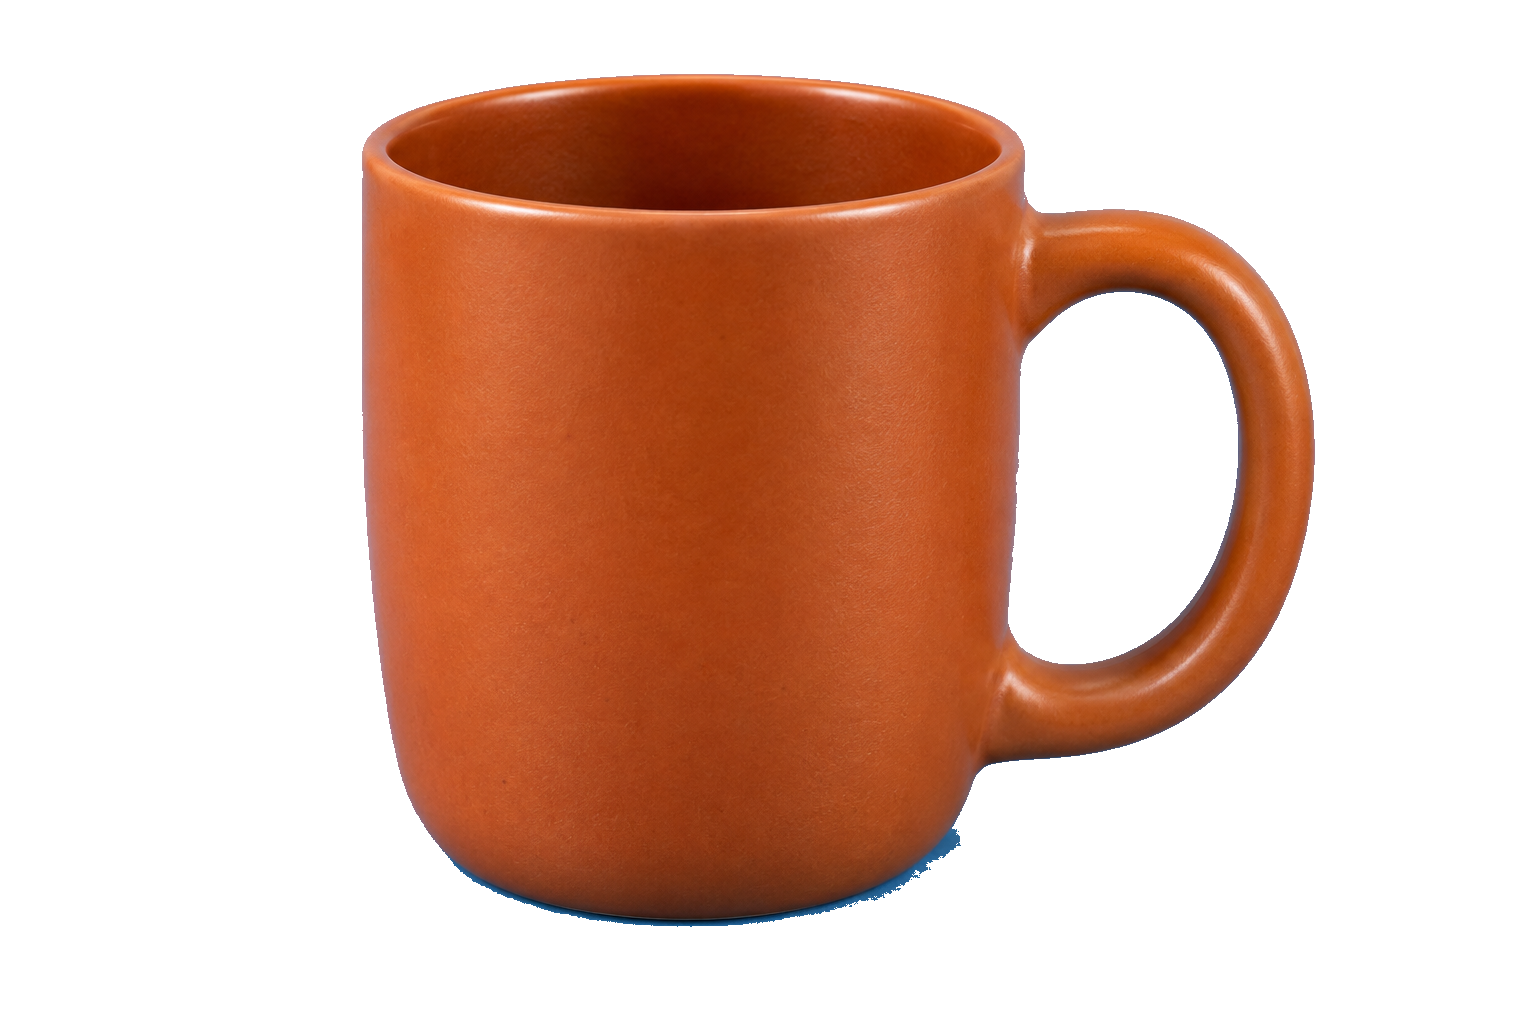
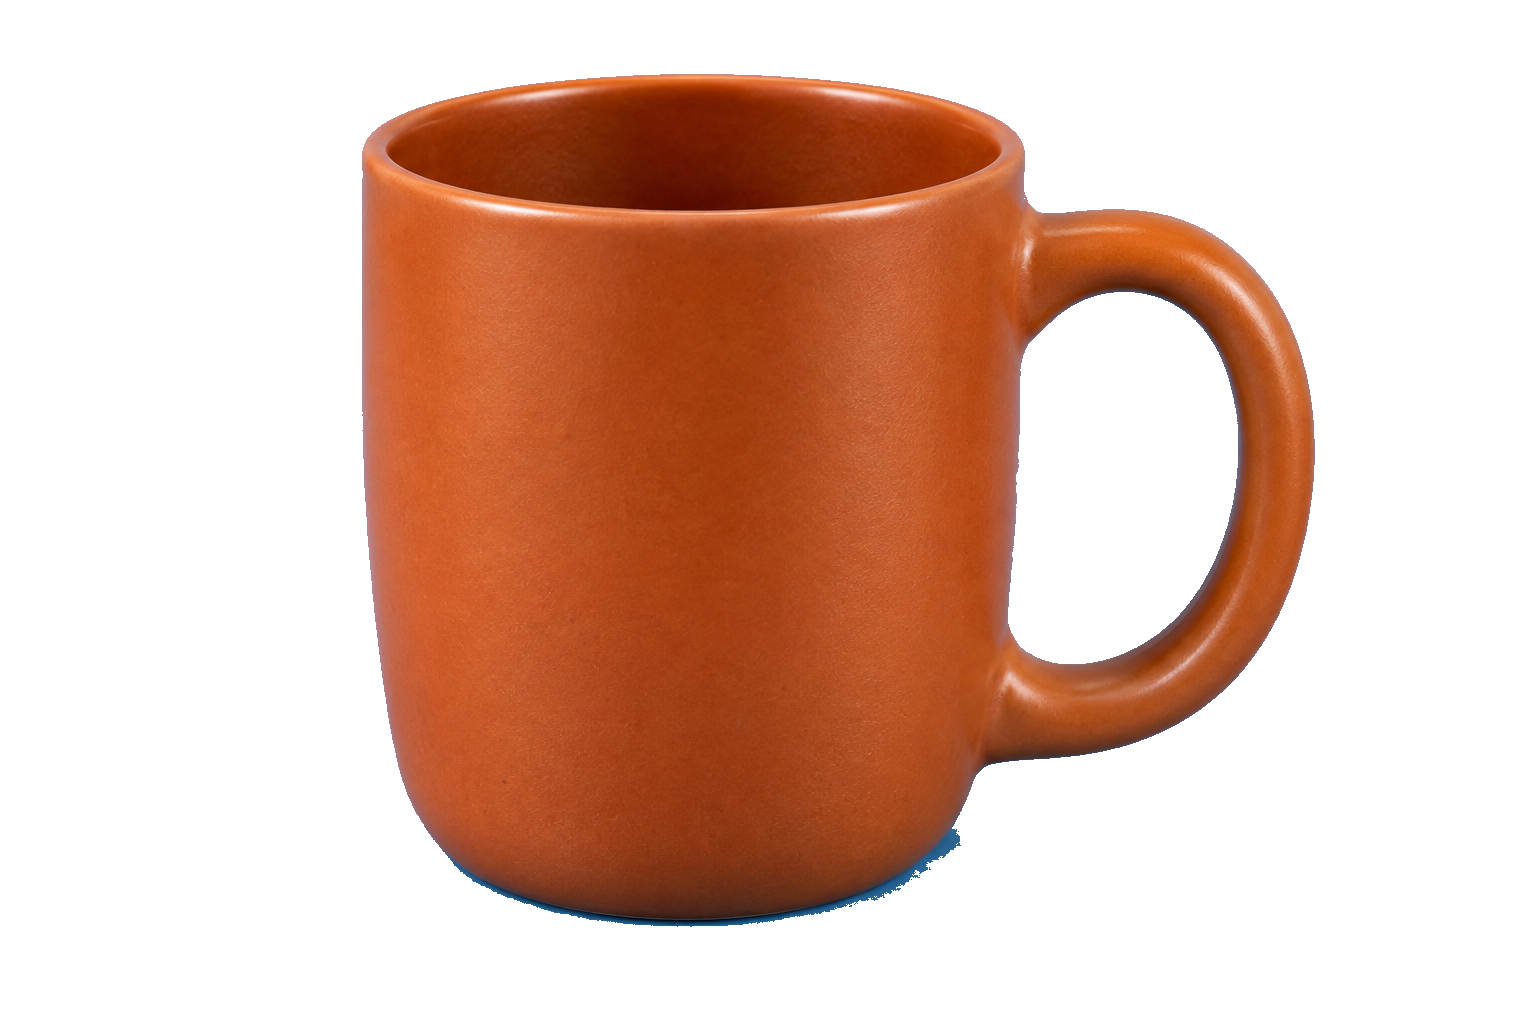
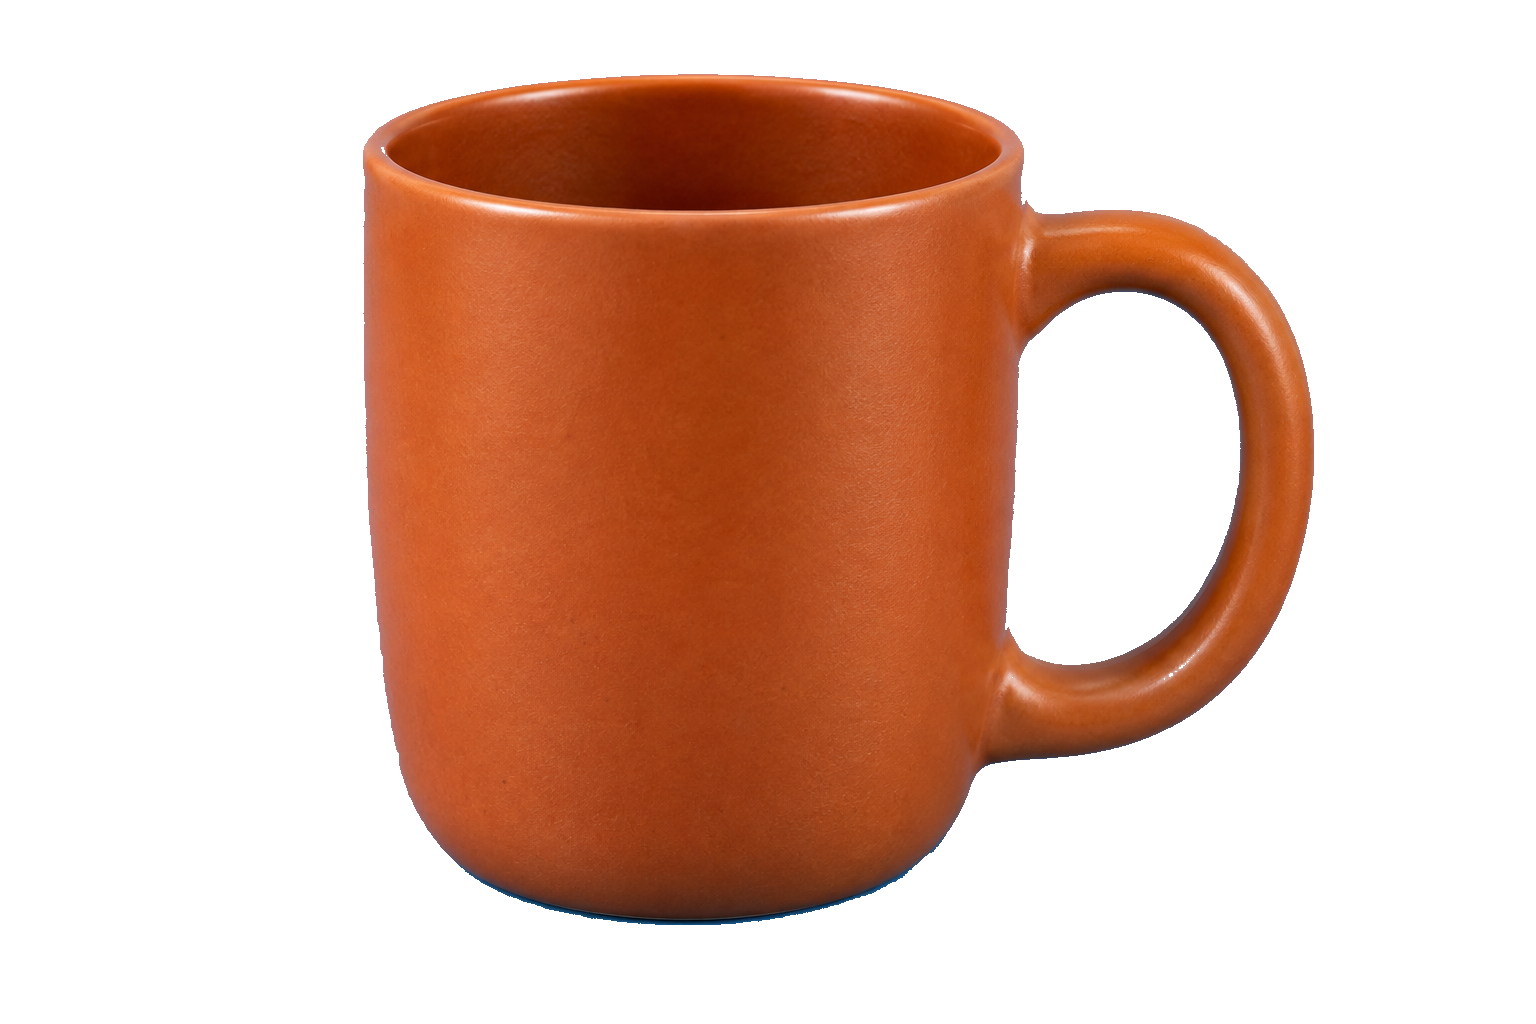
The example below uses an original AI-generated mug image. We processed that file in the site’s color remover; the results show what the tool kept and what it missed. You can download the source PNG to follow along.
How to remove one color from an image
1. Upload the original file
Choose Upload image and select a JPG, PNG, or WebP up to 15 MB. Use the original download or photo rather than a screenshot: screenshots can include a visible background, and small copies make fine edges harder to separate.
Keep the source file. If you remove too much, you can change the settings and process it again without working from a damaged copy.
2. Pick the unwanted color
Click a flat patch in the source preview under Click to pick a color. Avoid the edge of the subject, where foreground and background colors can blend. The Selected color field shows the sampled HEX value. You can also enter a six-digit HEX value if you know it.
Check where else that color appears. The tool removes matching pixels throughout the image, including separate patches and spaces inside letters. It has no background-only selection mode.
3. Set the tolerance and apply removal
Under Replace with, choose Transparency. Tolerance determines how many nearby shades are removed with your selected color. Start low, click Remove selected color, and look at what remains.
If patches of background survive, increase tolerance a little and run it again. If a letter becomes thinner or part of the subject disappears, lower it. There is no single setting that works for every image.
Changes to the controls do not update an existing preview automatically. Click Remove selected color after each adjustment. Every run starts from the uploaded original, so lowering tolerance can bring back details removed in the previous preview.
4. Compare the result with your source
Use Compare original and Show result to check the areas that matter: a thin line, pale lettering, an opening inside a handle, or the outer edge of the subject. A large area of checkerboard only tells you that some pixels became transparent; it does not tell you whether the selection was right.
5. Download the PNG
Click Download PNG after applying your final settings. Save that file rather than a screenshot of the checkerboard preview. The download keeps the source pixel dimensions.
Keep Transparency selected. Solid color paints matching pixels with another color; it does not simply change the background behind the preview. If you used that option, switch back to Transparency and process again before downloading.
Make a specific color transparent without erasing the subject
The first thing to check is whether the unwanted color is also part of the object. Removing white from a logo, for example, can clear both the background and white lettering inside the design.
Similar colors may separate at a lower tolerance. Identical colors will not. If a needed detail has the exact same color as the background, reducing tolerance to zero still matches both.
For the mug, we sampled #62AAE4 from the blue background. At tolerance 26, the handle stayed intact but some blue remained at the base. At 32, more blue disappeared, but tiny gaps opened along the bright part of the handle. Increasing the range was no longer an improvement. These numbers describe this file, not a preset for every image.
Tolerance 26 · handle retained
Tolerance 32 · small gaps
If your subject and background share an identical color, use an original transparent export or return to the editable source and clear only the background there. This tool has no local selection or restore brush, so it cannot protect one matching area while deleting another.
For a person or product against a varied background, try the site’s background remover. That is a better fit when you need to identify an object rather than erase one color everywhere.
How to remove a color from PNG and keep it transparent
Upload the PNG, choose the target color, and follow the steps above with Transparency selected. Existing transparent areas stay transparent, matching pixels become transparent, and other pixels keep their existing opacity. There is no need to add a white background first.
A PNG can still contain a solid background. Changing the file format alone will not clear it, and renaming a JPG to .png will not create transparency.
After downloading, put the PNG over a different color. If that color shows through where you removed pixels, the file is working. If a white box remains, check whether it belongs to the image or to the layout behind it. The guide to why a PNG is not transparent walks through that check.
Fix leftover color, halos, and missing details
| What went wrong | What to do next |
|---|---|
| Small background patches remain | Increase tolerance slightly and process again. Stop if the subject starts disappearing. |
| Part of the subject became transparent | Lower tolerance and rerun from the original. Exact color matches need a different way to separate foreground from background. |
| A pale or colored rim remains | Compare it with the original. A leftover background tint may need edge cleanup that this tool does not provide. |
| Letters became thin or lines broke | Reduce tolerance. Check the whole word or line, not just the largest shape. |
| The downloaded image has a filled background | Choose Transparency, click Remove selected color again, and download the updated result. |
Why a thin fringe can survive
A pixel along a curved edge may contain both the subject color and the old background color. That mixed pixel can survive after the flat background disappears. It often becomes easier to see when you place the cutout on a dark surface.
Original base
Downloaded base · tolerance 26
A higher tolerance may remove the fringe, but it can also cut into the subject. If the outline starts shrinking, stop. This color remover has no edge-refinement control. For a logo or drawing, an original transparent export is preferable to repeatedly trimming its edge.
Also check whether the light line was already present in the source. A highlight on metal or a white border in a design may be a detail you want to keep.
Check the saved file on your final background
Place the downloaded PNG in the design where you will use it. Inspect it at the intended size as well as up close. An enlarged edge can look rough even when it is unobtrusive in a small layout; missing lettering matters at either size.
You can download the mug result and try it over light and dark backgrounds. Its blue remnant is easier to notice against some colors than others; the PNG itself has not changed.
Look for three things: the unwanted color is gone, the subject has no accidental holes, and its edge works on the final background. The mug’s blue remnant would still need attention before using it on a contrasting background. Keep your original so you can revisit the edit rather than trying to repair an already trimmed copy.
Frequently asked questions
Can I remove a color from several separate areas at once?
Yes. All matching areas are processed, even when they do not touch. This can clear spaces inside lettering, but it also removes matching colors within the subject.
Can I remove a color from a JPG and save a transparent PNG?
Yes. Upload the JPG, remove the color with Transparency selected, and download the PNG. JPG compression may leave nearby shades around edges, so those areas can need more attention than a flat PNG graphic.
Why does the downloaded image still look white?
Your viewer may be displaying white behind transparent pixels. Place the file over a different color to check. If white stays attached to the image, confirm that you applied Transparency before downloading and that the white area was included in the color match.
Does removing a color reduce image quality?
PNG saves the processed image without lossy compression, but removing pixels can still damage details. A wider tolerance is not automatically a better result. Preserve the source dimensions and compare the parts you need to keep before using the file.