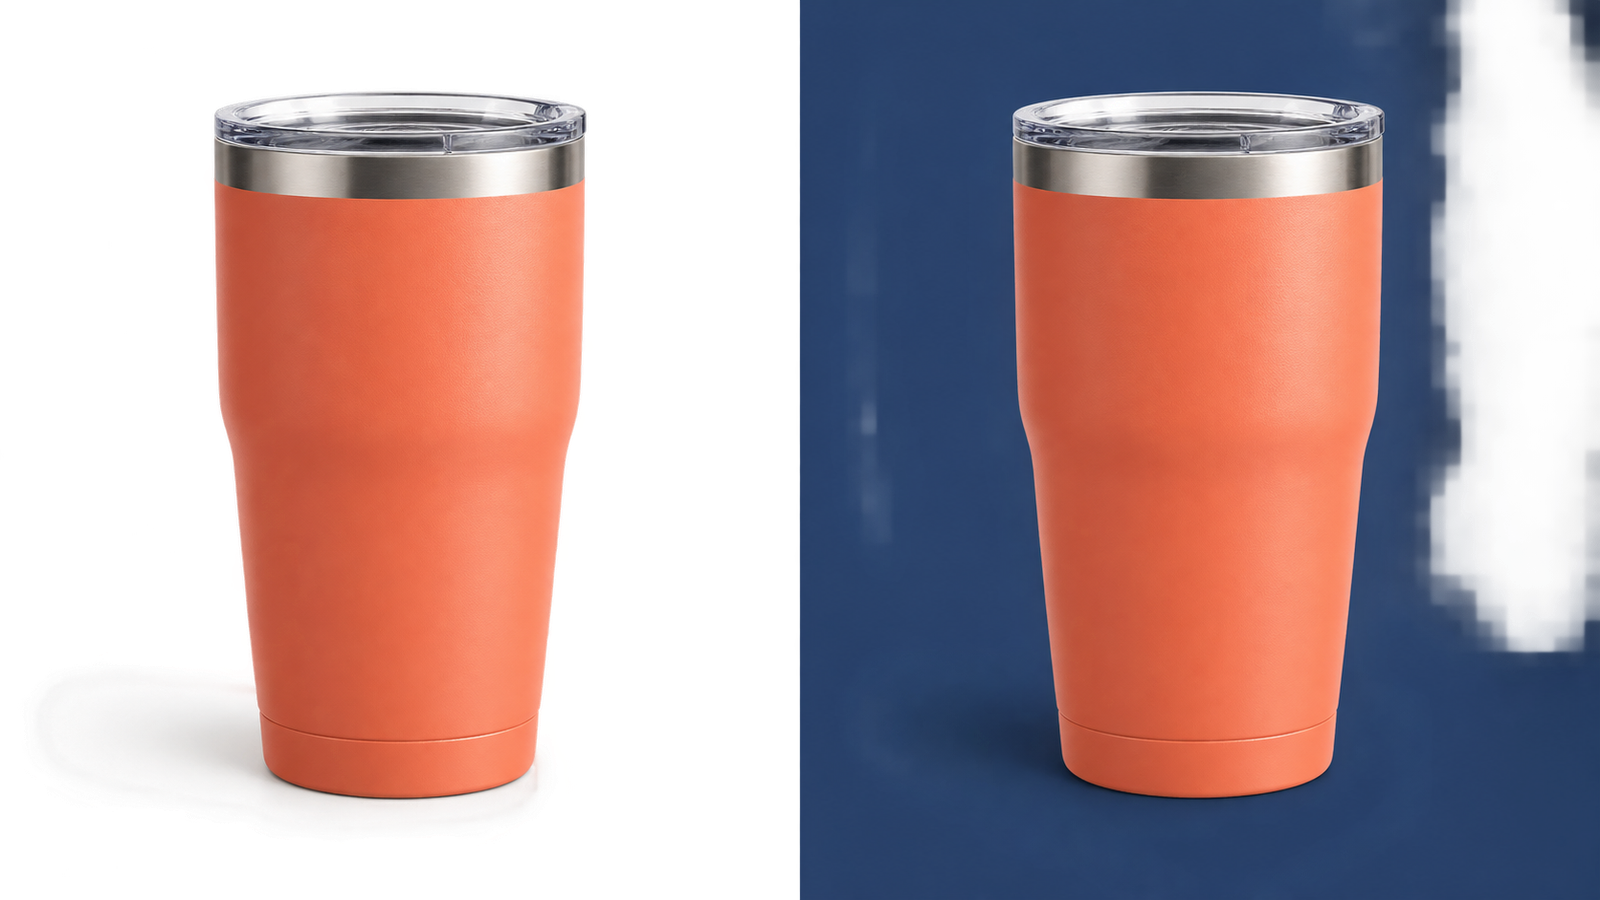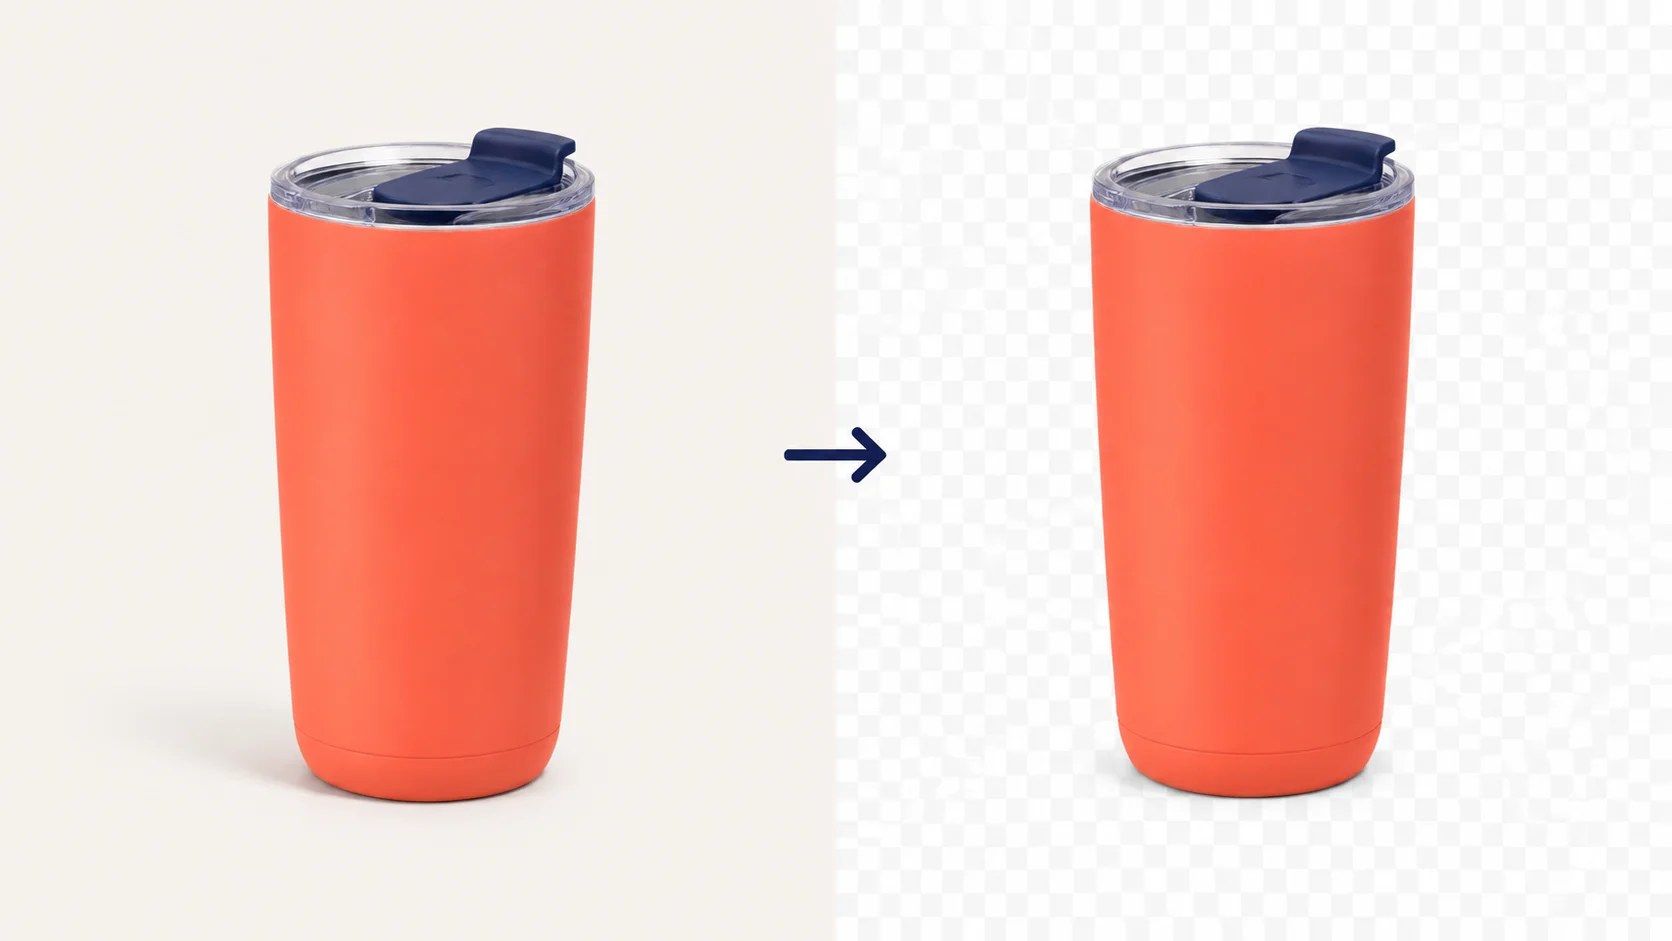
A picture can look transparent in a preview and still bring a box of gray and white squares into your design. The squares may have been saved with the picture, especially if you downloaded a preview or took a screenshot.
To remove a checkered background from an image, check it against a solid color first. If the squares stay, remove the background and download a transparent PNG. If the color shows through without squares, the image is already transparent.
Already know the grid is part of your file? Go straight to the removal steps.
Is the Checkerboard Part of Your Image?
Place the saved image on a blue background in the design where you want to use it. Change that background to another color. Keep the image at full opacity and remove any filled frame behind it.
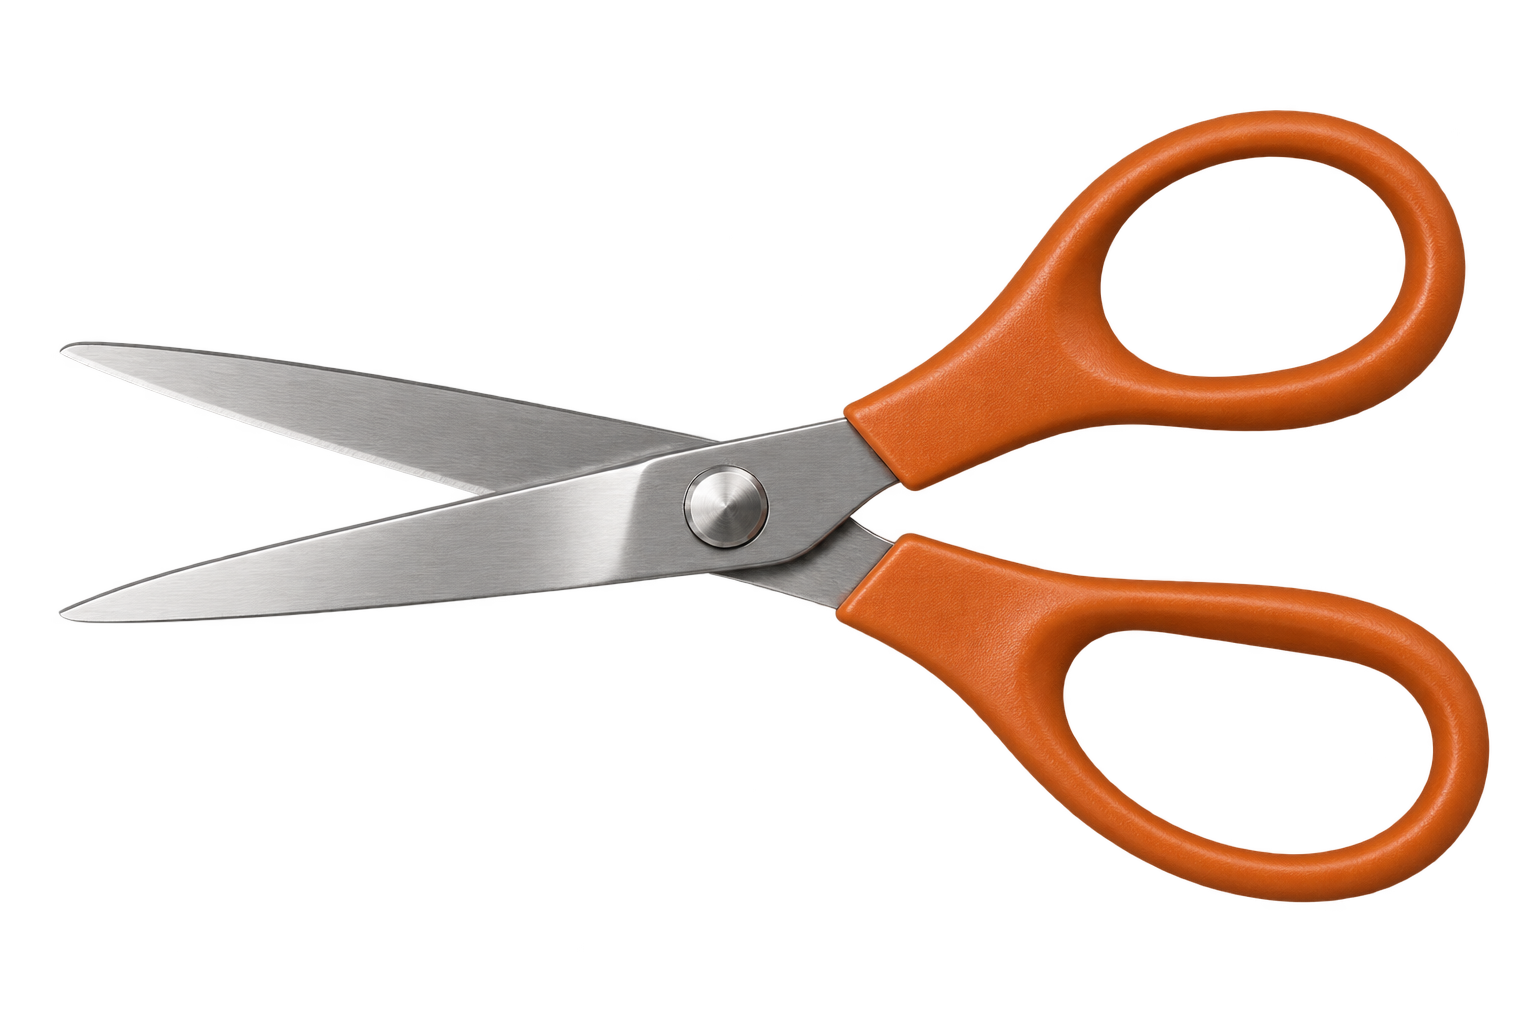
Look at the space around the subject, then check openings inside it. On the scissors above, that means both handle holes as well as the area around the blades.
| What happens when you change the background? | What to do |
|---|---|
| The new color shows through, with no squares | Keep the file. The grid you saw was a transparency preview. |
| The gray and white squares stay attached | The grid is part of the image. Follow the removal steps below. |
| The outside is clear, but squares remain in small gaps | The file is only partly cleaned up. Inspect those gaps before using it. |
A PNG filename does not guarantee a transparent background. PNG can store transparency, but it can also hold a completely opaque image. Converting a screenshot to PNG keeps whatever the screenshot captured, including the grid. The PNG specification describes the format’s transparency support.
If you see a solid white box instead of squares, see why your PNG is not transparent. A white preview window alone is not proof of a problem: the viewer may simply be displaying white behind the image.
How to Remove Checkerboard Background from PNG Images
Before you process the picture, look for its original download. A source page may offer a transparent file separately from its preview. If you have the original design, export that with its background hidden. Either option can save you another round of background removal.
If the checkered copy is all you have, keep it as a backup and work from the clearest version available.
1. Upload the file with the squares
Open the PNG background remover, choose Upload an image, and select your file. It accepts PNG, JPG, and WebP images up to 15 MB.
Check that the uploaded preview shows the picture you intended to use. A small thumbnail may have blurred the subject’s edge into the surrounding squares; use a larger original if you have one.
2. Click Remove background
Uploading makes the file ready; it does not start removal. Click Remove background and leave the tab open while it processes.
When the cutout appears, compare it with the original. Check the subject before judging the background: are the thin blades still there? Did a pale edge disappear? Has any lettering lost a stroke?
Automatic removal can miss small openings or confuse a light subject with the grid. A completed process means you have a result to inspect, not that every detail is necessarily correct.
3. Check the cutout on a solid color
Under Output background, choose Custom color and pick a color that contrasts with the subject. A dark background makes pale residue easier to spot. Check a light background too if the subject is dark.
Look at three places:
- The outside edge: no square fragments should cling to the outline.
- Openings: handles, letter centers, and spaces between fingers should show the new background.
- The subject itself: white surfaces, highlights, and thin details should remain.
These controls show the processed result on different backgrounds. They do not test whether the file you originally uploaded was transparent.
4. Switch back to Transparent and download
Choose Transparent under Output background, then click Download transparent PNG.
This switch matters. Leaving White or Custom color selected saves that filled background into the downloaded image. If you saved a colored version by mistake, change the output choice and download again; you do not need to repeat removal.
Keep the downloaded file alongside your original until you have checked it in the finished design.
What to Check If Squares or Missing Details Remain
A cutout can look finished at a glance while still containing small pieces of background. Check an enlarged view, then return to the size at which you will use it.
The mug below shows why it helps to look closely. The white ceramic handle belongs to the subject; the opening inside it should show the background beneath. Clearing every pale pixel would damage the handle along with the unwanted background.
Full image on a dark background
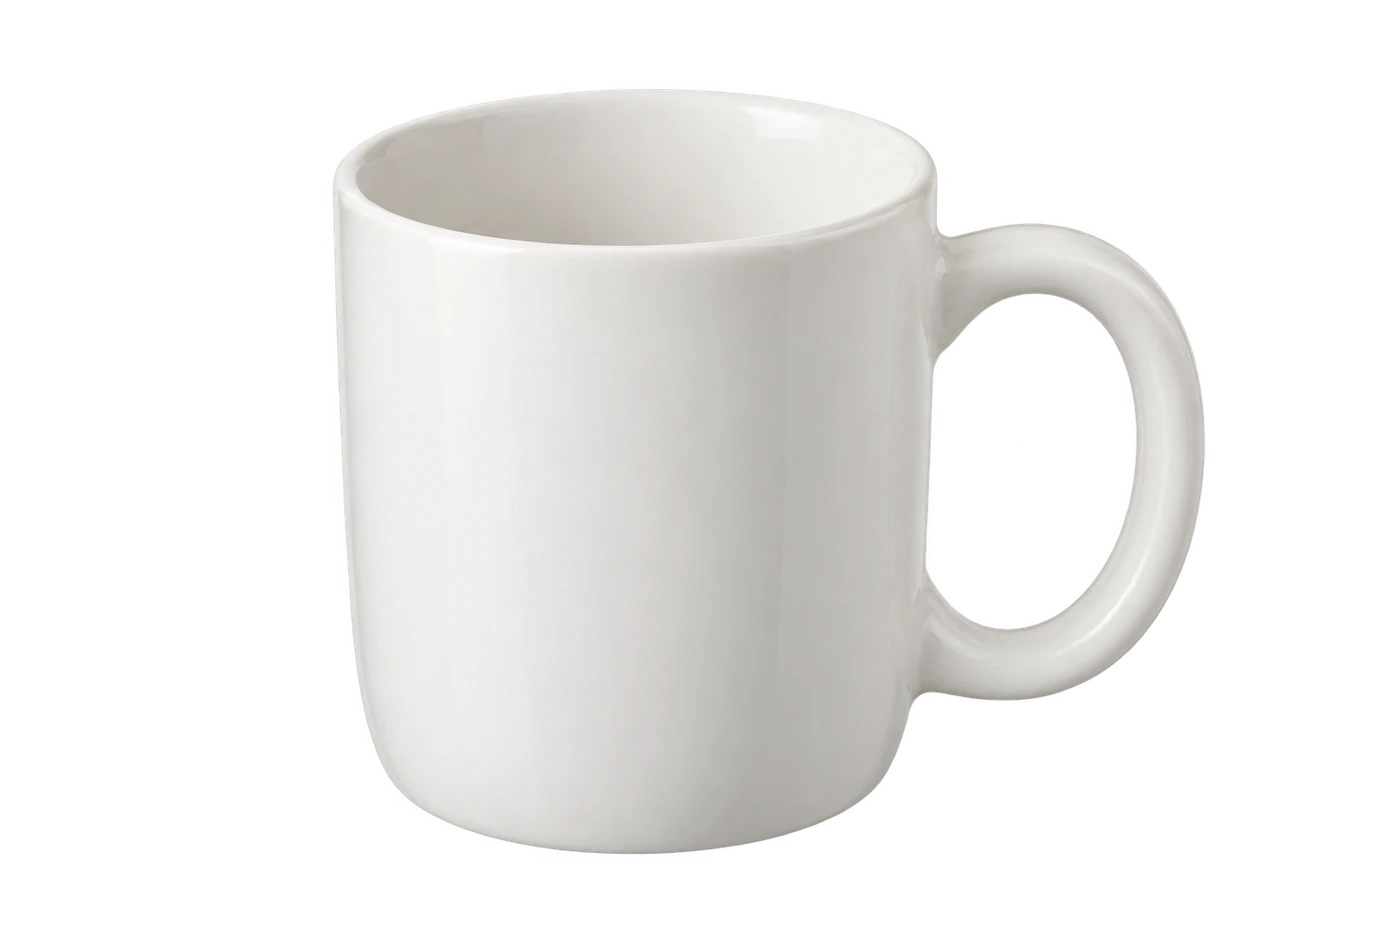
Look inside the handle
The outside is clear, but an opening is still filled
Inspect the gap separately from the object around it. A cup handle should remain solid; the space inside it should show the background beneath. The same distinction applies to scissors, rings, and the centers of letters.
FreeBG’s automatic remover does not have a local erase or restore brush. If it leaves a filled opening, use an original transparent asset or return to the editable source to clear that area. Changing the output color will not remove pixels that survived the cutout.
Part of a white or gray subject has disappeared
Compare the result with the original before downloading. White porcelain, pale fabric, and silver metal can resemble the gray and white background.
Do not try to solve this by deleting all white or gray pixels. That can remove the very details you want to keep. Try a sharper source if the current file is small or blurred. If the source is already clear and removal keeps damaging it, use the original design or another image.
A pale outline remains around the subject
Edge pixels may contain some of the old background color. That residue becomes more obvious when you place the cutout on dark blue or black.
Check whether the pale line also exists in the original. A reflection, white fur, or an intentional outline belongs to the subject. If the line appeared during removal, adding a white background may hide it, but it will still show on darker designs.
The grid shows through glass, smoke, or water
These are harder cases because the background and the translucent subject may be mixed in the same pixels. Removing the squares can also remove part of the object.
Use the original transparent file when possible. Repeating removal on an already damaged cutout will not bring back missing detail.
Check the Saved PNG Before You Use It
Open the PNG you downloaded and place it in your intended design. Test that file, not a screenshot of the preview.
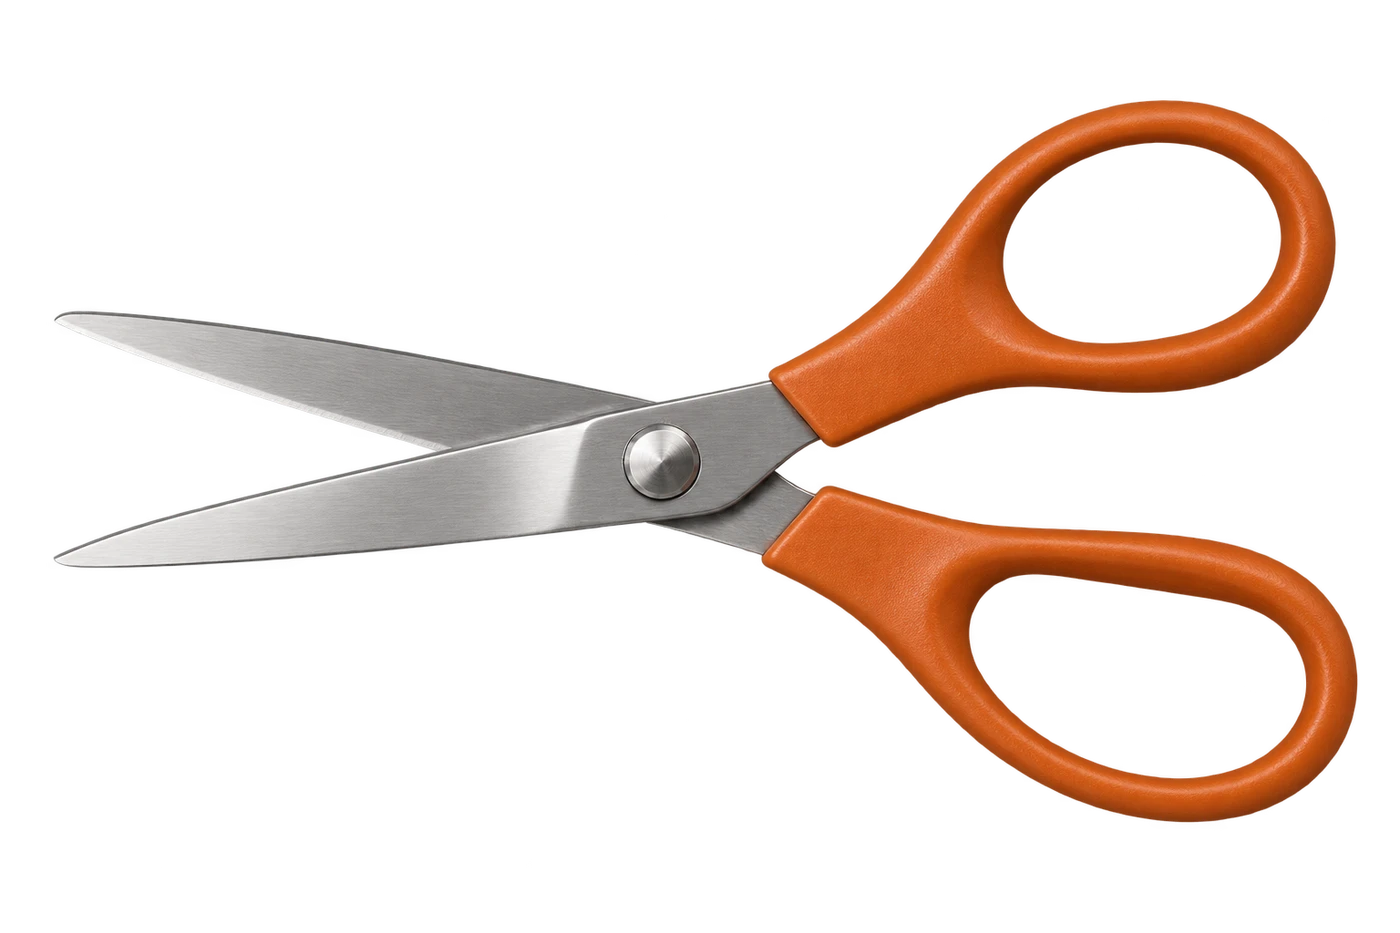
The scissors below are the same transparent image on two page backgrounds. Notice that both handle holes show the surrounding color, while the orange handles and metal blades remain intact.
Light background
Dark background
Want to try the check with a known transparent file? Download the scissors PNG and place it over two different colors. Compare that behavior with your own file.
Your image is ready when the background shows through wherever it should, the subject is complete, and the edges look acceptable at the intended display size.
If it works locally but develops a box after you paste or upload it, compare the transferred copy with the saved PNG. That later step may have added a background or converted the file. Insert the original PNG directly where possible. A standard JPG cannot preserve transparency, and converting it back to PNG will not recover it.
Want a White Background Instead?
If your image is already transparent, place white behind it. If the grid is part of the picture, remove the grid first; a white layer underneath cannot cover opaque squares.
In FreeBG, choose White under Output background after removal and download that version. Also keep a transparent copy if you may need a different color later. The guide to adding a white background to a photo covers the filled-background workflow.
Frequently Asked Questions
Why do the squares move with my image?
If they remain when you place the file over another color, they were saved as part of the picture. This often happens with screenshots or downloaded previews. Find the original transparent download or remove the captured background.
Will converting JPG to PNG remove the checkerboard?
No. Format conversion preserves the visible pixels, including the squares. Remove the background first, then save a transparent PNG. Changing the filename extension does neither of those jobs.
Why does the result still show a checkerboard before download?
The preview may use a grid to make empty areas visible. Switch the output to a solid color: if that color shows through without squares, the processed area is transparent. Remember to select Transparent again before downloading.
Can I remove checkerboard patterns without losing detail?
A clear, solid subject is easier to separate than fine hair, tiny lettering, or glass. Keep the original dimensions and inspect the result. There is no guarantee of exact recovery once the grid has been blended into the subject’s edges.