To make a PNG transparent, upload it to Make a PNG Transparent, click Remove background, select Transparent, and download the PNG. The steps below show what to click and how to check the saved file.
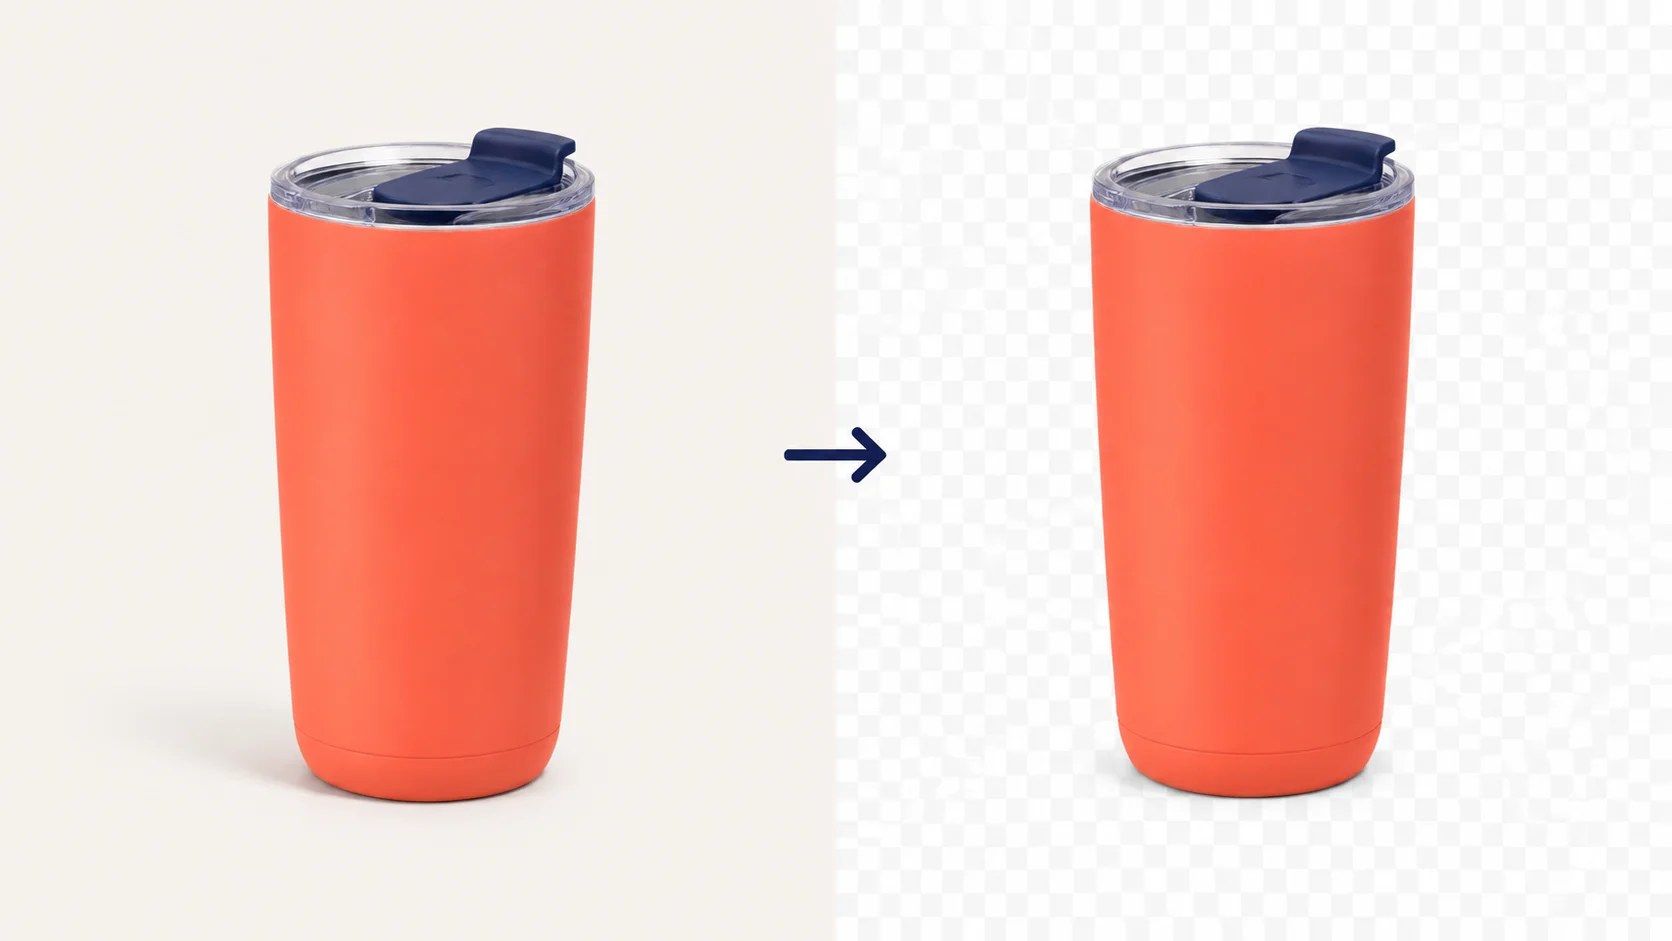
If your PNG only looks white in a photo viewer, it may already be transparent. Try it on a colored background first; the viewer’s white display is not proof that your file needs editing.
How to make a PNG background transparent online
1. Upload your original PNG
Click Upload an image and choose the file from your device. Free BGRemover accepts PNG, JPG/JPEG, and WebP up to 15 MB. Keep the original so you can compare it with the cutout later.
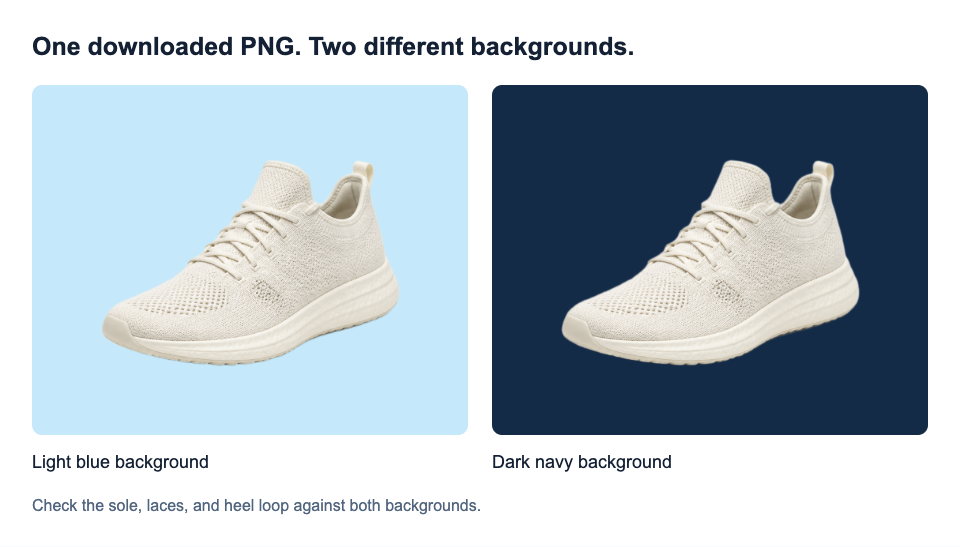
The example below uses a pale knitted shoe against a light background. Its laces, sole, and heel loop should stay visible when the surrounding background disappears.
2. Remove the background
Click Remove background below the previews. Uploading alone does not start removal. Leave the tab open while the progress message is visible; the first run can take longer while the browser prepares the model. If processing fails, check your connection and use Try again.
When the result appears, compare the shoe with the original. Look along the sole and around the heel loop for missing pieces. The shoe opening is part of the photographed subject, not automatically a hole that should be transparent.
3. Select Transparent and save
Under Output background, choose Transparent, then click Download transparent PNG. Choosing White or Custom color instead saves a filled background into the PNG.
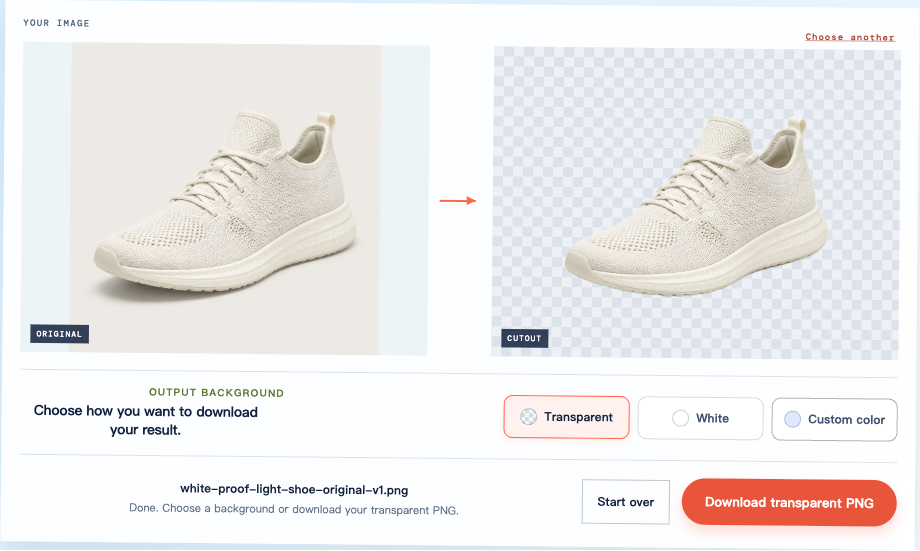
Save through the download button rather than taking a screenshot. A screenshot captures the visible checkerboard and interface, not the cutout’s transparent pixels.
Check the downloaded PNG on a new background
Open the file you just downloaded in the place where you will use it. For example, insert it into a slide, give the slide a light blue background, then change that background to dark navy. Keep the image at full opacity and remove any filled frame around it.
The same downloaded shoe PNG is shown below on those two colors. The background changes around the shoe while the upper, laces, and sole stay visible.
Use these checks to decide whether your file is ready:
- Surrounding space: the new background shows through instead of a white box.
- Subject details: the outline is complete, with no missing laces, lettering, or other important parts.
- Final display size: the edge looks acceptable at the size you actually need, not only in a small preview.
If you do not have a destination design yet, White and Custom color in the PNG maker can help you inspect its preview. They do not independently verify a saved file. Save the transparent output and check it again when you place it in your project.
An image that works at a small size may show a fringe when enlarged. Judge the cutout for your intended use; a successful download does not guarantee a perfect edge at every scale.
Tell real transparency from a white box or checkerboard
PNG supports transparency, but a PNG can also be completely opaque. What matters is whether the background beneath the image shows through.
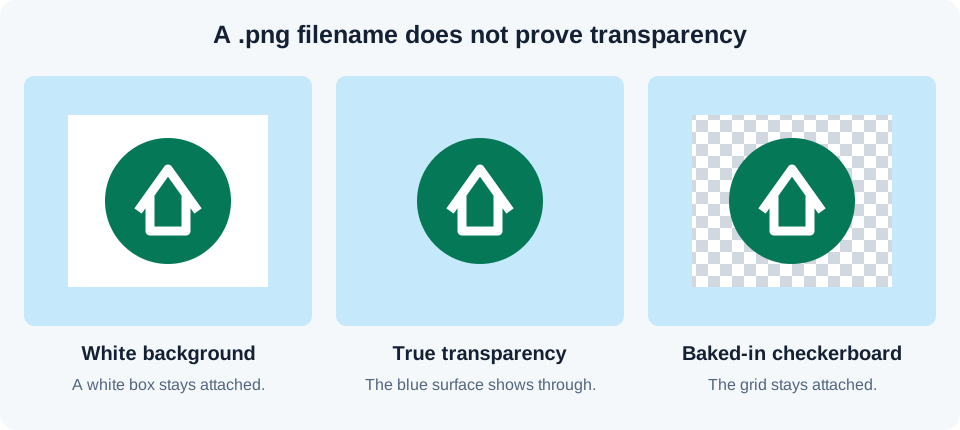
If a grid stays attached when you place the image over another background, it may be baked into the file. This can happen when you save a preview instead of the original asset. Look for the original transparent file; changing the filename or export format will not erase the squares.
A plain white or black display in a photo viewer is different. That may simply be how the viewer draws empty areas. Test another background before deciding that the PNG is opaque.
Check that white details are still intact
A white logo, border, or highlight can belong to the artwork. Removing all white pixels would also remove those details. In the illustration above, the white symbol inside the green circle should remain white.
Use a dark preview background to check light details. For text, inspect thin strokes, dots, and enclosed letter spaces. For a pale product, compare its light edges with the original. See the logo background removal tutorial for more lettering-specific checks.
Background color controls do not repair an edge, and Free BGRemover has no restore brush. Choose the next step based on the source:
- The original is blurred or tiny: a sharper or larger original may give the tool more detail.
- The original is clear but the cutout is wrong: this may be a subject-recognition error. Repeating the same operation is not a dependable fix.
- Artwork and background share a color: removing that color everywhere can damage the subject. A different source with better separation may help, but success is not guaranteed.
If an essential part stays missing, keep the original and leave that cutout out of your finished design.
Why your PNG still has a background
The point where a background appears helps identify the problem.
| What you see | Possible cause | Next step |
|---|---|---|
| White or black only in a viewer | The viewer’s display color | Test the file over a different background |
| A fixed checkerboard in your design | Squares baked into the image | Find the original asset rather than its preview |
| A solid background in the download | A filled output was selected | Select Transparent and download again |
| A white box only after uploading elsewhere | Conversion, a filled frame, or the wrong file | Compare the destination’s version with your download |
| Pale strips inside a cutout or a thin fringe | Background pixels were retained | Compare with the original and assess whether the result is usable |
A logo with background left inside it
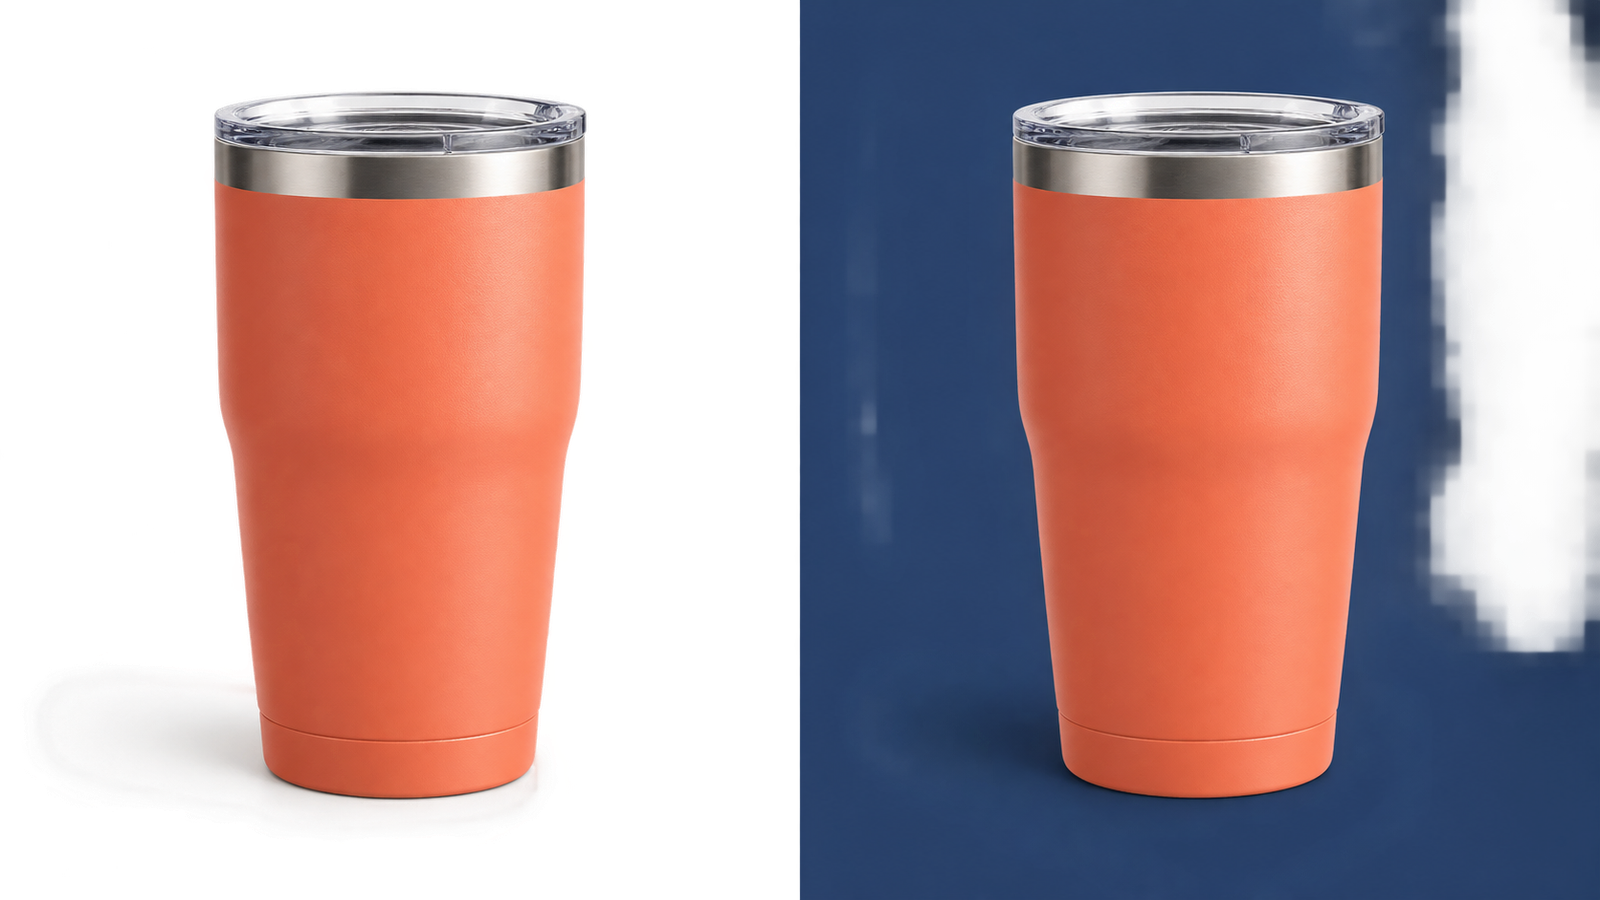
This second example shows a limitation. The outer background of the sun-and-leaves logo was removed, but pale strips remain between the rays and leaves. A thin light edge also appears on navy.
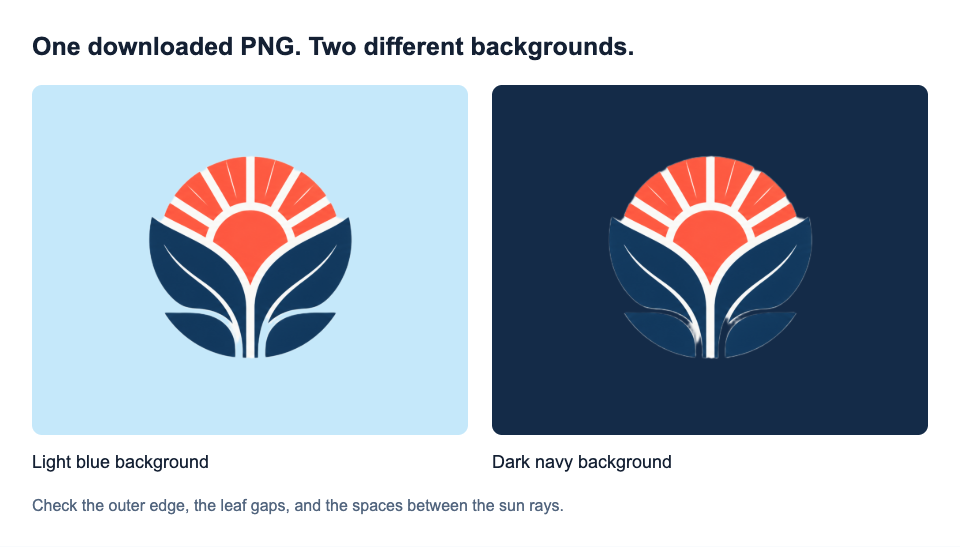
If those gaps should be open, this file is not finished. The original logo is already fairly sharp, so a larger copy alone may not resolve the mistake. This automatic result is unsuitable for a design that requires those spaces to be transparent.
Transparency disappears after export or upload
JPG cannot preserve transparency. Exporting a cutout as JPG fills transparent areas with an opaque color; converting it back to PNG does not restore them.
If your downloaded PNG works on a colored slide but not on a website, check the website’s image version and its background settings. Reprocessing the original cannot remove a background that the destination adds afterward.
Frequently asked questions
Does saving an image as PNG make it transparent?
No. PNG can store transparent pixels, but saving in that format does not remove existing background pixels. Renaming a JPG to PNG changes neither its format nor its background. Remove the background first, then export with transparent output.
Can I make a PNG transparent on my phone?
Yes, with a compatible browser and device. Tap Upload an image, run removal, and download the PNG. The current tool needs WebGPU support, which some older devices lack. Check the browser’s downloads or the Files app if the file does not appear in Photos.
Can I make the whole image partly transparent?
That means lowering its opacity, so the subject fades as well as the background. It is different from making a PNG background transparent. The PNG maker removes backgrounds; it does not include a whole-image opacity slider.
Does background removal reduce image quality?
It can alter outlines and small details even if the pixel dimensions stay unchanged. PNG preserves the pixels exported into it, but it cannot correct a mistaken cutout or recover detail from a blurry source.
Once the saved PNG works in your final design, keep it alongside the original. You then have both the ready-to-use cutout and a source to return to if your layout changes.