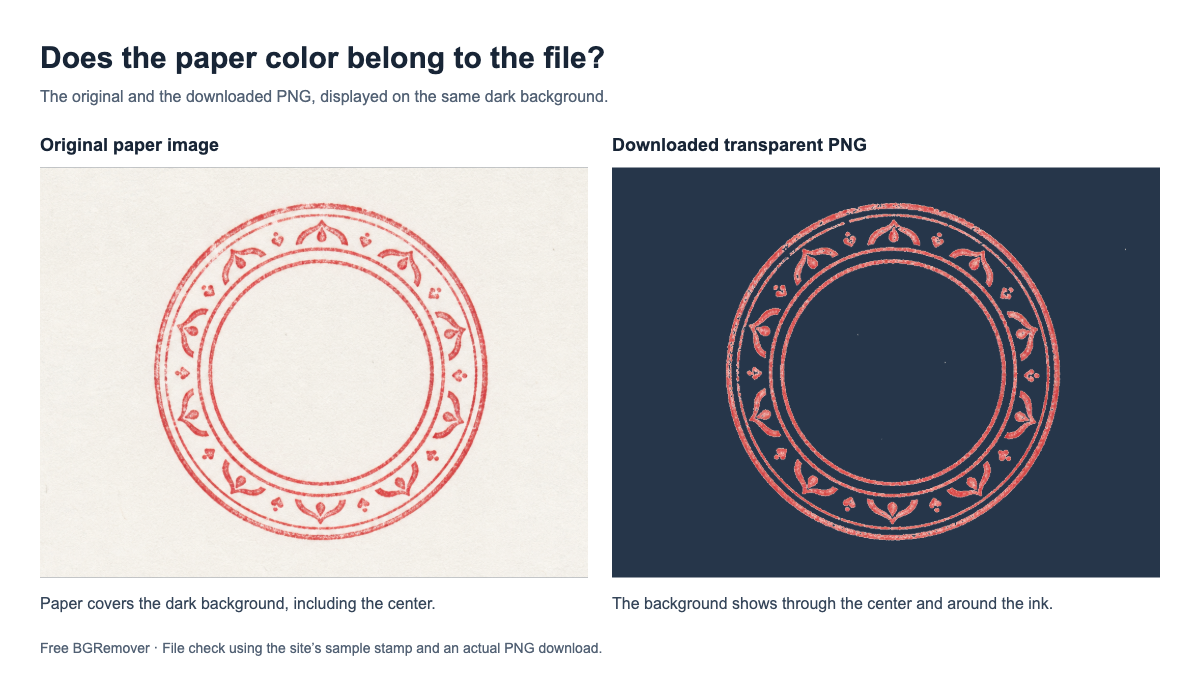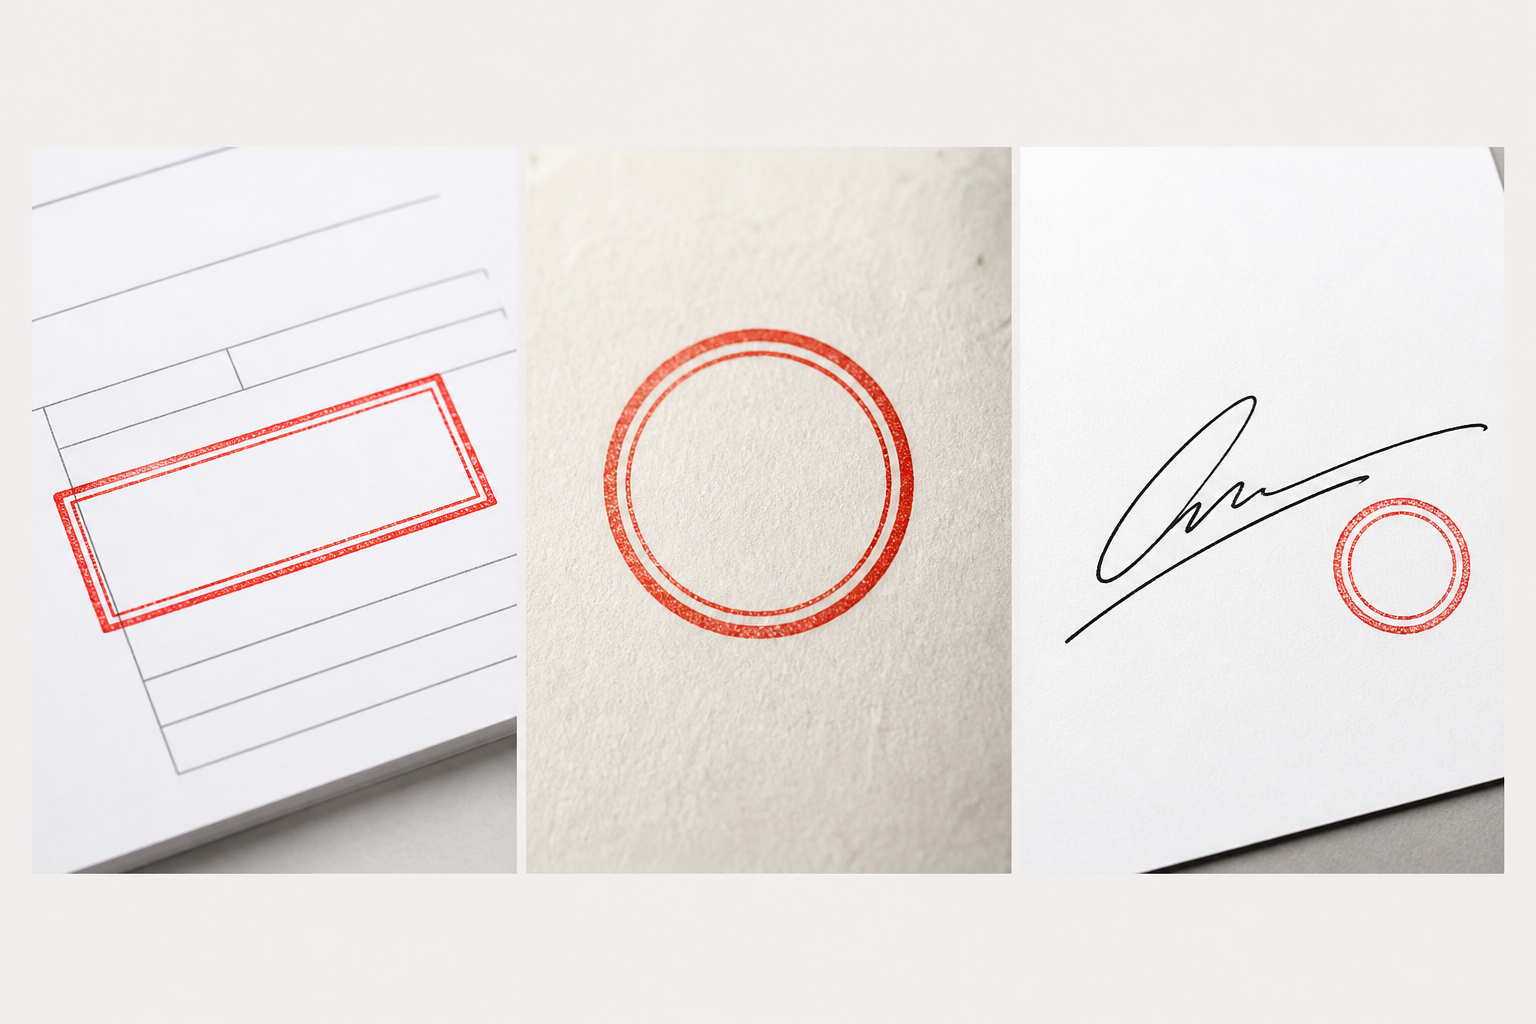
To remove the background from a stamp image, use a clear scan or straight-on photo, remove the paper around the impression, and save the result as a transparent PNG. Before you use it, place the PNG on a dark background: this is the quickest way to find a white box, grey edge, or missing part of the stamp.
This guide is for a stamp, company seal, approval mark, or stamp-and-signature image that you want to reuse in Word, a PDF, a certificate, or a design. It is not about deleting a date stamp or watermark from a photo.
Start with the stamp image you actually have
The correct workflow depends less on the software than on the source image. Identify which of these three cases matches yours before you start.
| Your source image | Best starting point | Detail most likely to go wrong |
|---|---|---|
| A dark or red approval stamp on clean white paper | Automatic removal is usually a sensible first attempt | Broken ink near the outer edge |
| A round company seal with small lettering | Use automatic removal, then inspect the inner ring and centre | Tiny type and intentional gaps inside the seal |
| A stamp next to a handwritten signature | Start automatically only if both marks have good contrast | Thin signature strokes and dots |
If your file is a screenshot, a low-resolution chat attachment, or a photo with glare across the ink, find the original scan first. Enlarging a weak image will not bring back lettering that is already blurred.
Take 30 seconds to prepare the image
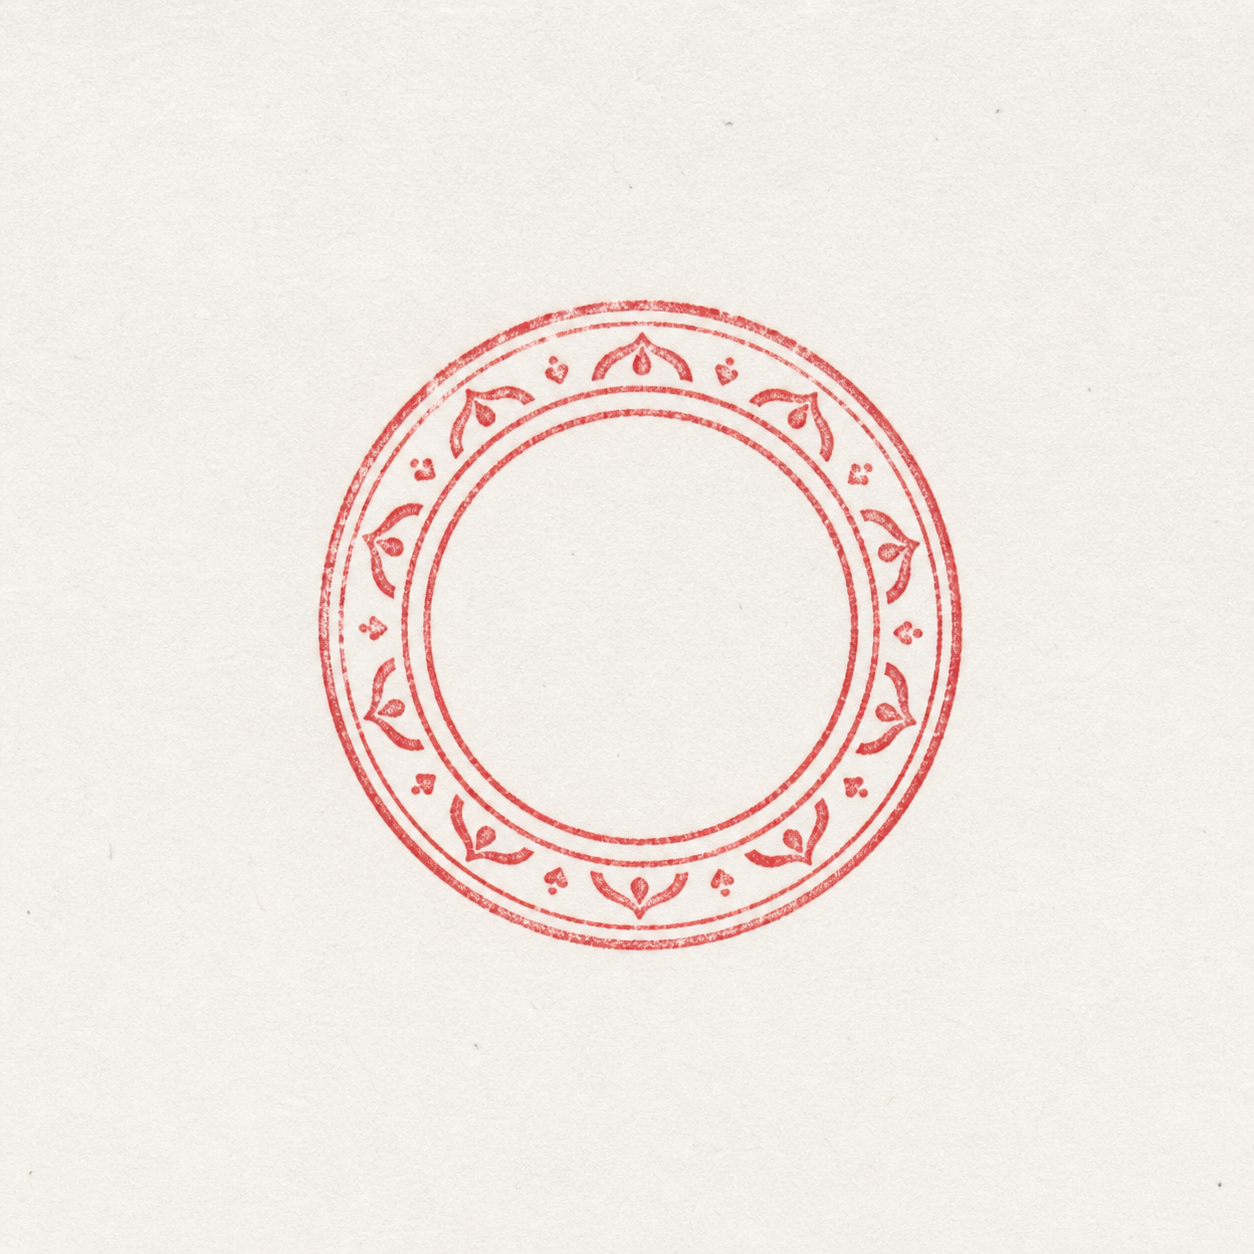
A flat scan is the easiest source to work with. If you only have a phone, place the document on a flat surface and take the photo from directly above. Use even light, avoid flash reflections, and leave a small margin around the full stamp.
Do not sharpen, heavily brighten, or enlarge the image before you have tested a clean original. Those adjustments often turn faint ink into rough pixels and make a later edge correction harder.
For a round seal, choose one recognisable detail to protect before processing: the inner ring, the company name, a date, or the centre emblem. For a signature-and-stamp image, identify a thin stroke or dot that must remain. This gives you a concrete check after removal instead of relying on a quick glance.
Remove the paper background in four steps
1. Upload the original file
Use the sharpest JPG, PNG, or WebP you have. Keep the original safe; it is the only dependable source if a future edit removes something important.
2. Create the transparent cutout
For a quick result, open the Stamp Background Remover, upload the image, and run the background removal. It is a good first route for a clear stamp on plain paper.
The preview is a draft, not proof that the file is ready. A removal tool can clear the paper while also removing a faint part of the stamp.
3. Check the stamp from outside to inside
First inspect the outer contour for paper residue. Then look at the details that make this image a stamp rather than a red shape:
- the last letters in the outer ring;
- the centre and inner circle of a company seal;
- pale or broken areas of the ink;
- the openings in letters and logos; and
- every thin stroke if a signature is included.

If essential text or ink has disappeared, stop there. Try a clearer scan before processing the same weak source again. If the image matters enough that a small missing detail is unacceptable, move to an editor that supports layer masks.
4. Download PNG, not JPEG
Download the transparent version as a PNG. JPEG files cannot store transparent pixels, so they will put a solid background behind your stamp even when the preview looked correct.
Test the downloaded PNG before inserting it into a document
A checkerboard preview is helpful, but it can hide pale paper residue. Put the downloaded PNG on a dark blue, black, or saturated background. Then view it at the approximate size you will use in the document.
Use this short decision table rather than trying to repair every imperfection.
| What you notice | Likely cause | Most useful next step |
|---|---|---|
| A white rectangle remains | The file was cropped, saved as JPEG, or exported with a filled background | Export a transparent PNG again and retest it on a dark page |
| A soft grey rim shows around the stamp | Paper shadow, glare, or mixed edge pixels remain | Try a flatter scan; manually refine only if the rim is visible at the final size |
| Small text or pale ink is missing | The tool treated it as background | Use the original in a mask-based editor or rescan with better contrast |
| The centre of a seal looks wrong | The design’s gaps were mistaken for background | Restore the affected area manually; do not delete all light pixels |
| The stamp is fuzzy in Word or a PDF | The original is too small or has been enlarged | Use a higher-resolution original and scale it down, not up |
When an automatic result is not good enough
Move to Photoshop, Photopea, or another editor with a layer mask when the cutout is nearly right but has lost information you need to retain. A mask is safer than deleting the background outright because you can paint a small area back in.
For a stamp on clean paper, select the paper colour, add a mask, and zoom in before changing the edge. Use a small soft brush to remove leftover paper pixels. Work around the actual problem—the inner ring, a date, or a signature stroke—rather than attempting to make every edge perfectly smooth. Stamps naturally have irregular ink texture; removing that texture can make the result look less credible.
Export the finished image as PNG with transparency enabled. Keep both the original scan and the final PNG, especially if you will use the stamp more than once.
Put the transparent stamp into Word, PDFs, or certificates
Insert the PNG and choose an image layout that lets it sit over the page rather than inside the text line. Resize from a corner to keep a round seal round. Before you send the document, inspect the exported PDF or the final printed view; compression or a similarly coloured page can make an edge more noticeable than it was in the editor.
A transparent stamp PNG is a visual asset, not proof that a document is officially signed, sealed, or approved. Use it only where you are authorised to do so, and follow the document-signing rules that apply to your organisation.
Frequently asked questions
Can I remove a stamp background for free?
Yes. A free online remover can work well for a clear stamp against plain paper. The important step is reviewing the finished PNG, especially where the ink is faint or the lettering is small.
Why does my stamp still look as if it has a white background?
Some viewers display transparent images on white. Place the saved PNG over a dark or coloured page. If the white changes with the page, it is the viewer background; if it stays attached to the stamp, it is part of the file.
Can I keep a stamp and signature in the same PNG?
Yes, provided both are clear in the source image. Check the signature at a larger size because thin strokes and dots are easier to lose than the thicker stamp impression.
Which file format should I use for a transparent stamp?
Use PNG. It retains transparent areas, unlike JPEG. For a deeper explanation of how to verify the file, see How to Make a PNG Transparent.
The one check that prevents most bad stamp cutouts
Before adding the image to a final document, place it on a dark background and inspect the outer ring, the centre of the seal, and any small lettering. If those three areas look right, the stamp is usually ready to use. If one does not, return to the original scan or repair only that area with a mask instead of settling for a cutout that changes the stamp itself.