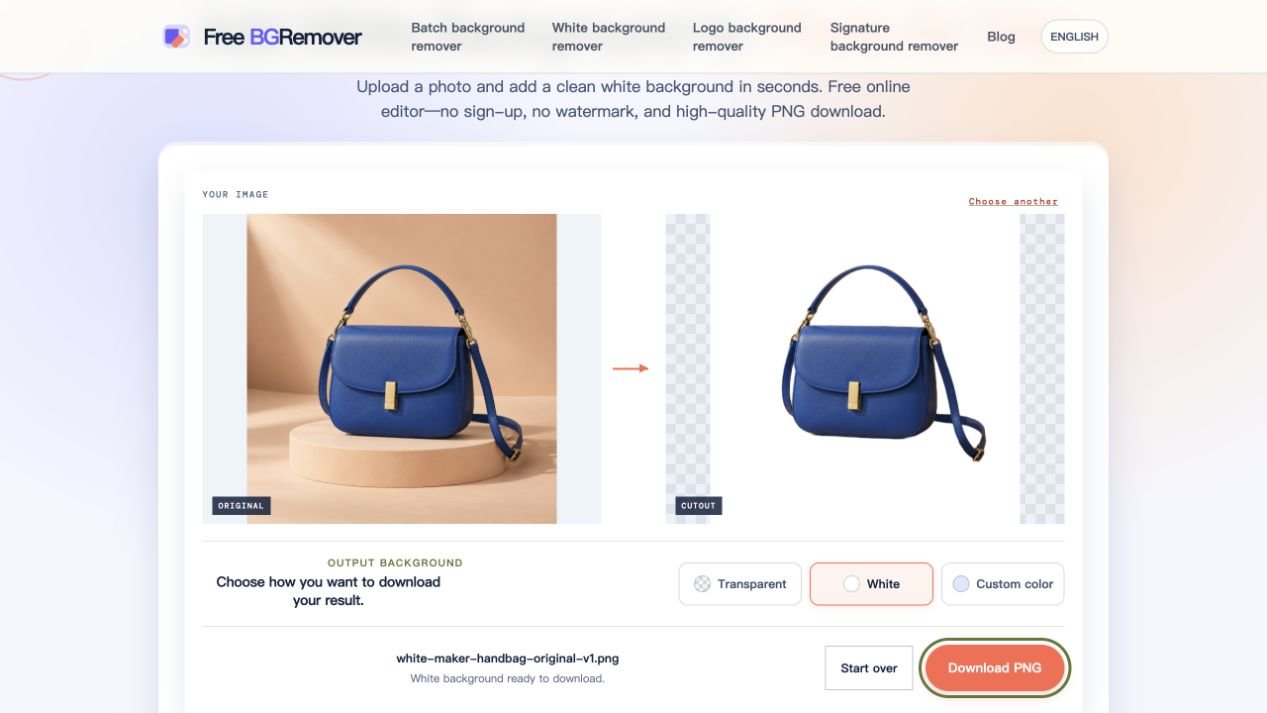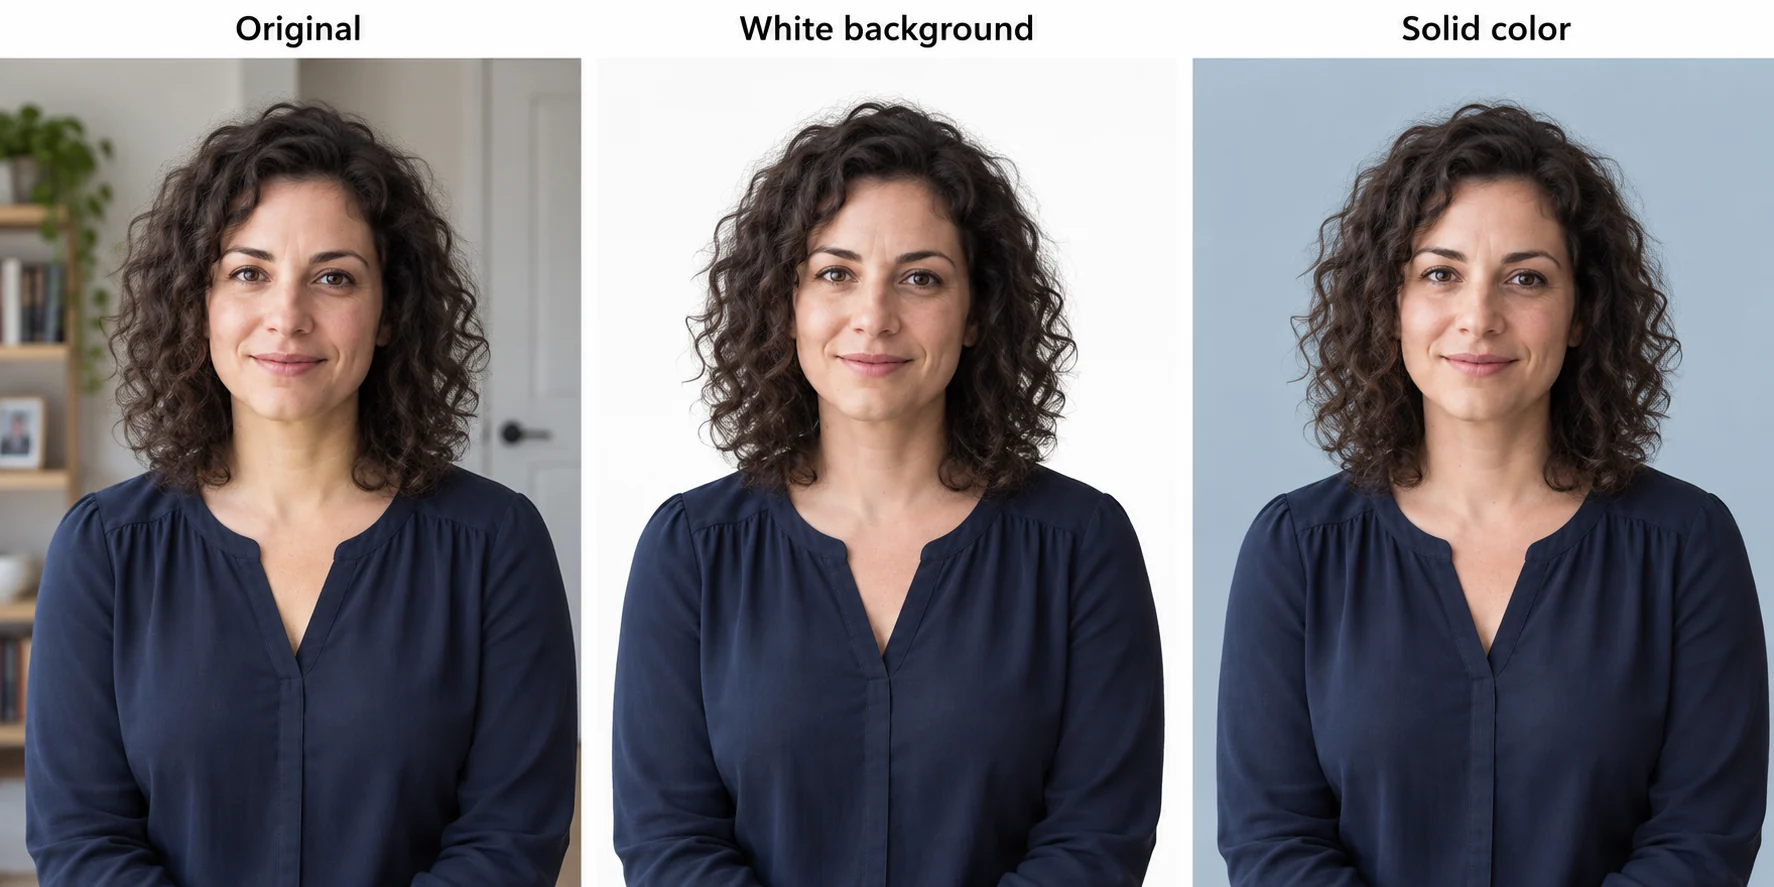
To make a product photo background white, remove the existing background and fill the space around the product with solid white. In Free BGRemover, upload your photo, click Remove background, leave White selected, and choose Download PNG after checking the result.
If your white paper looks gray in the photo, resist turning up the brightness of the whole image. That can wash out pale packaging, fabric, or ceramic glaze before the background becomes white. Change the background separately so buyers can still see the item’s actual color and texture.
How to make your product photo background white in five steps
Use the original photo from your camera or phone. Free BGRemover accepts JPG/JPEG, PNG, and WebP up to 15 MB and exports PNG. You do not need an account or payment, and the download has no watermark.
1. Choose a photo with the whole product in frame
Open Make Background White and select Upload an image. Choose a sharp photo with room around handles, corners, and other parts that stick out.
An untidy backdrop can be removed. A handle cut off by the edge of the photo cannot be recovered. Check that printed labels are readable and bright areas still have visible texture before you start.
2. Remove the original background
Click Remove background and keep the page open until the result appears. The first image may take longer because the browser needs to download the processing model.
The page requires a browser and device with WebGPU support. If processing fails, check the error message and try a compatible device. Uploading successfully does not, by itself, confirm that the device can process the photo.
3. Keep White selected
On this page, White is selected automatically after processing. It fills the removed area with #FFFFFF, also written as RGB 255, 255, 255.
White and transparent are different. A transparent cutout can look white when opened on a white screen, but it will show the background of the page where you place it. Keep White selected when you need white pixels saved into the image.
4. Check openings and product edges
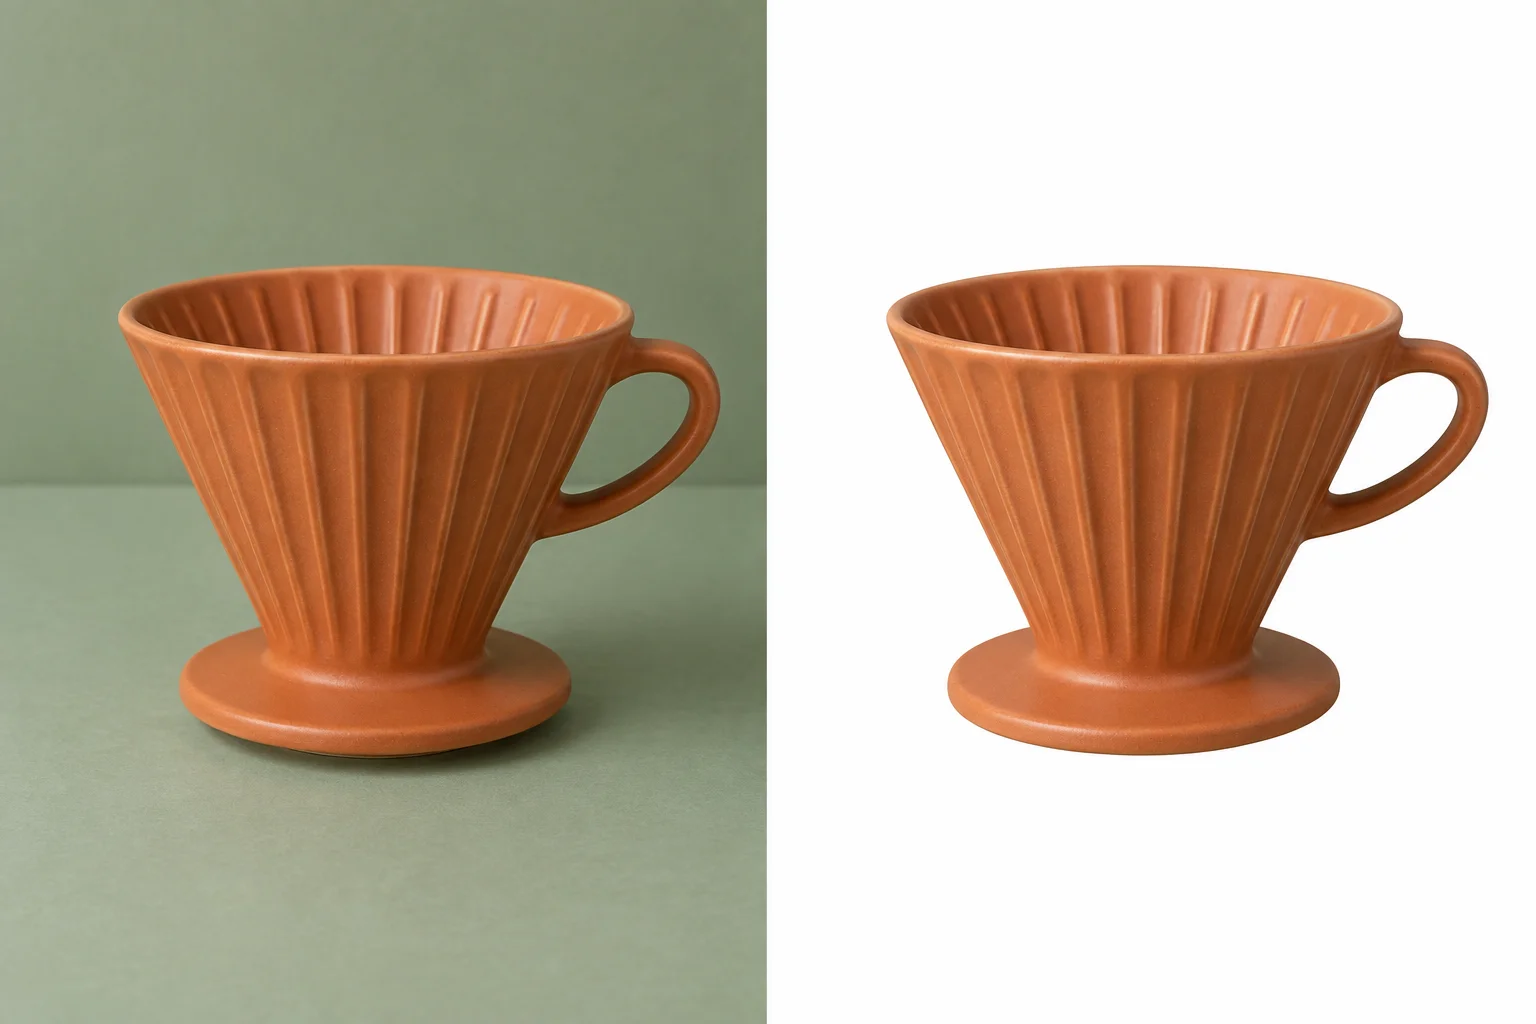
Compare the original and result before downloading. For a ceramic dripper like the illustration, check three places: the thin top rim, the opening inside the handle, and the base. The handle opening should show the new background; the ceramic inside the bowl should remain part of the product.
Look for a colored fringe along the outline or a patch of the old backdrop trapped inside an opening. Also check that the product’s shading remains: the dark side of a handle helps show its shape and should not be made white.
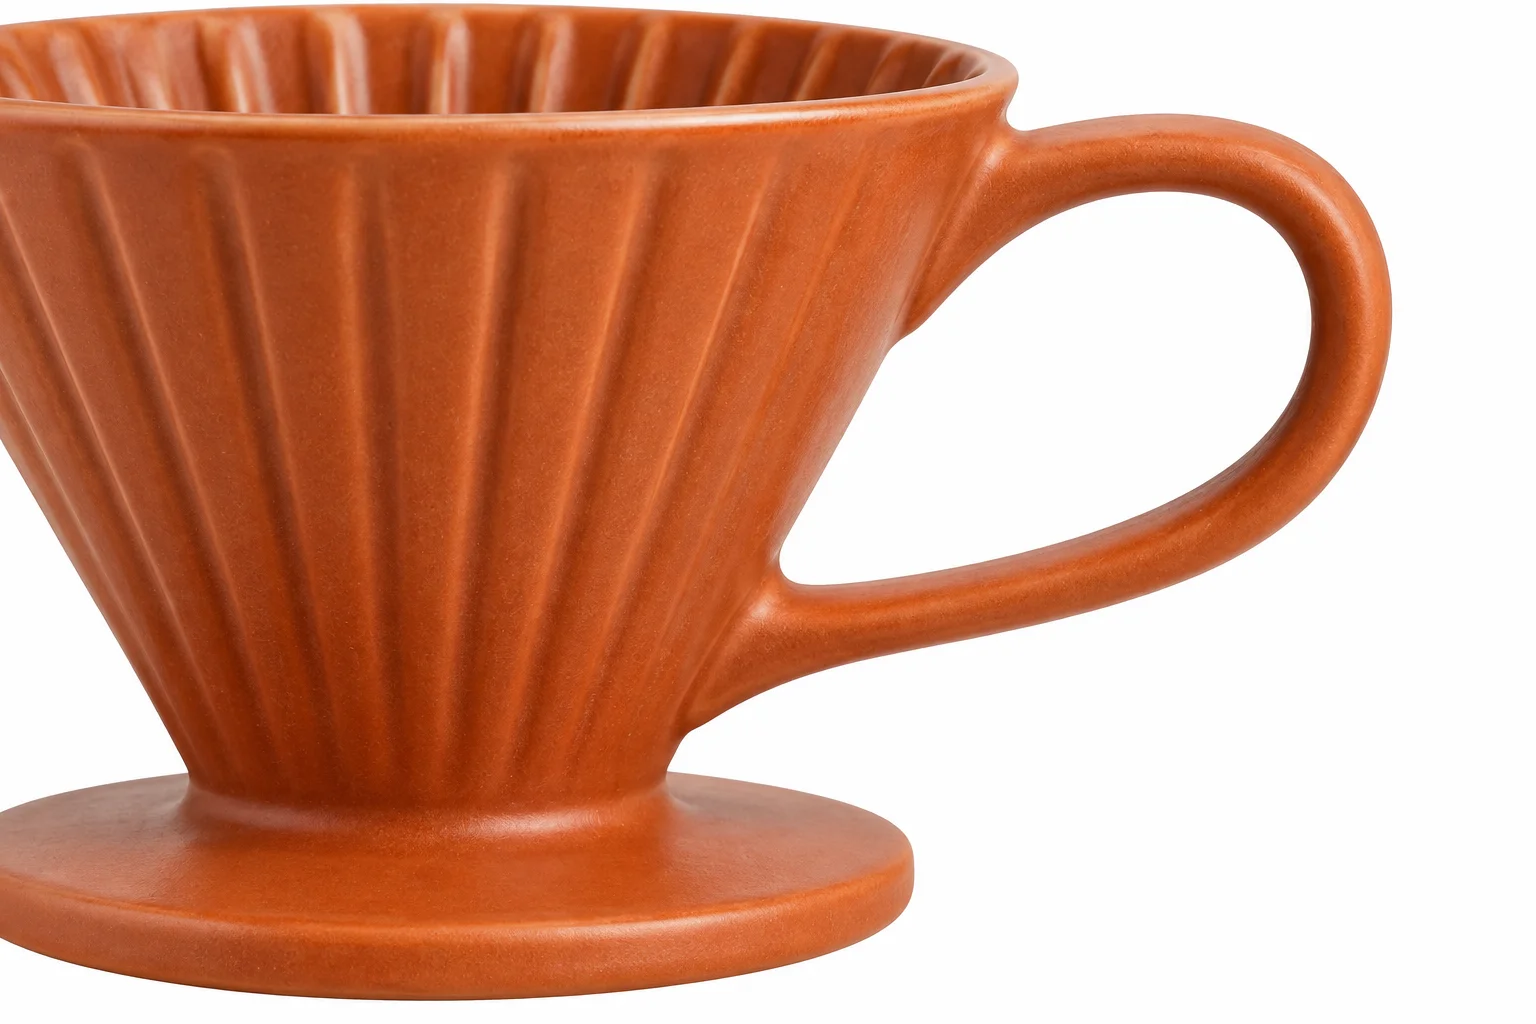
Free BGRemover has no manual restore brush or edge-refinement controls. If part of the product disappears, choose a sharper source photo with a clearer outline. Running the same image again is unlikely to repair the missing detail.
5. Download the PNG and inspect the saved file
Select Download PNG and open the file from your downloads list. Use this file for your listing, rather than taking a screenshot of the preview.
Check the saved dimensions and view it at the size buyers will see. Large images may be reduced during processing; the standard browser path caps the longest side at 2200 pixels. The tool does not crop the image, center the product, or resize it to a listing template, so start with framing you can use.
Why the background or product still looks wrong
A white fill changes the area removed from the image. It cannot fix every lighting problem or remove a piece of the old background that was mistakenly kept with the product.
| What you see | What to check or change |
|---|---|
| The whole background looks gray | Check that White was selected and inspect the downloaded image, rather than the surrounding preview area. |
| A gray or green patch remains beside the item | The cutout may include part of the original backdrop. Try a photo with clearer separation between product and background. |
| The item looks pale or washed out | Return to the original photo if you brightened it beforehand. Compare product color and highlights, not just background brightness. |
| A white rim, seam, or strap disappears | Use a source with more visible edge contrast. Missing product detail needs a better source; changing the fill color will not restore it. |
| The item appears to float | Background removal may discard the contact shadow or stand. The tool does not add a replacement shadow. |
White products need their own shading
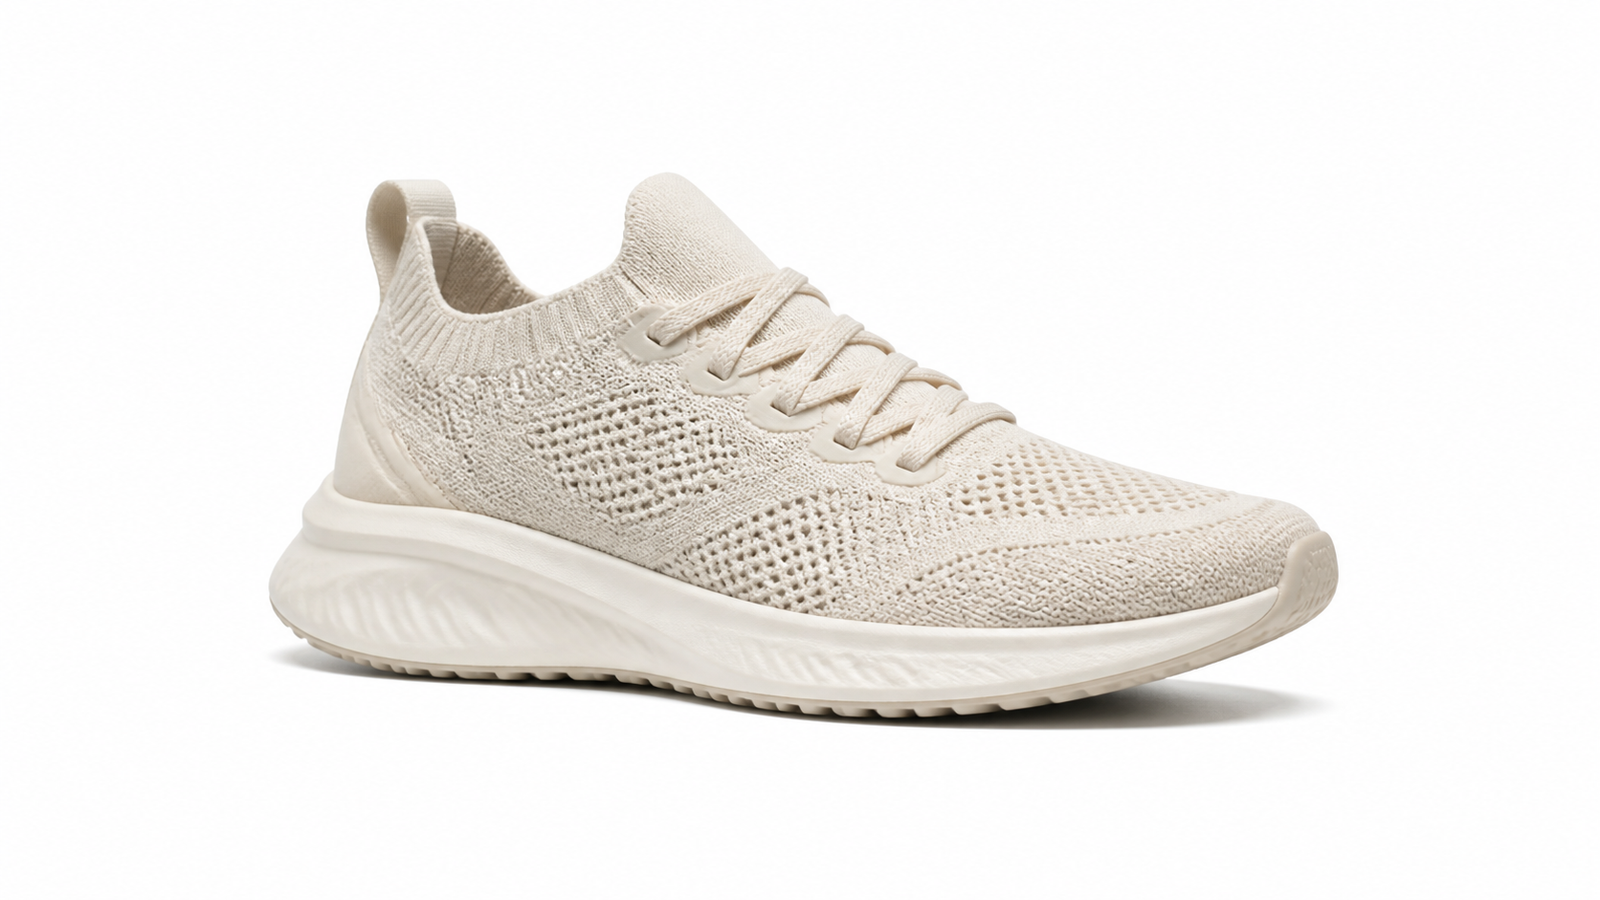
A white ceramic bowl can have a white background and still contain gray tones along its rim and inside its curve. Those tones show depth. Keep them.
When taking a new photo, expose for the product so the brightest parts retain detail. A neutral gray backdrop may make pale edges easier to separate. Avoid a strongly colored surface that casts a tint onto the item.
Glass and polished surfaces need extra care
A clear bottle can show the old backdrop through its center even after the outside has been removed. Polished metal may reflect the room or a colored table. Replacing the background does not necessarily remove those reflections.
Inspect the interior of transparent items and the narrow links of chains, not only the outer silhouette. If the result changes the shape or material appearance, keep the original and reshoot with simpler surroundings. A clean white border is not enough if the item itself looks different.
Shoot a better starting photo with a simple white backdrop
For small products, use matte white paper or card wide enough to fill the frame. Curve it upward behind the item instead of folding it: the curve avoids a hard line where the table meets the backdrop.
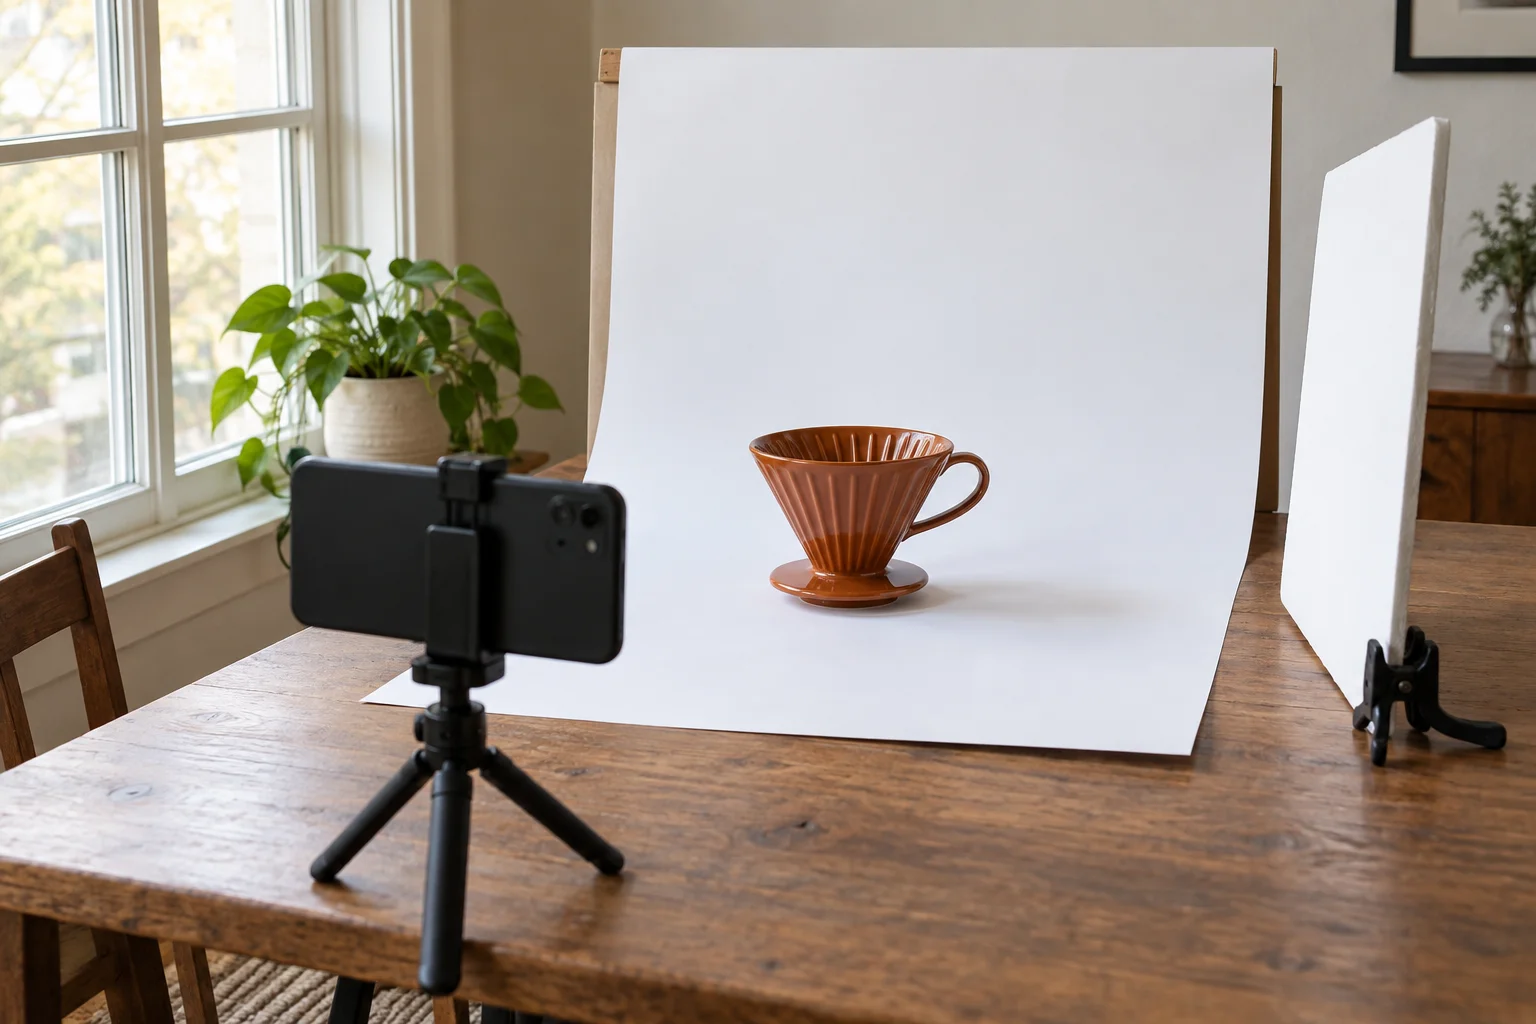
Place the setup beside a window with indirect light. If direct sunlight creates bright glare, move the table out of the beam. Put a white card on the opposite side to soften a heavy shadow, and turn off room lights if they add a different color cast.
Wipe away dust and fingerprints, steady the phone, and focus on the product. Take one test shot before photographing the whole range. Zoom in to check the label and brightest surfaces; move the item or camera if a reflection hides an important detail.
The paper may still look slightly gray. That is a better starting point than a photo with a white background and blown-out product highlights. Finish the background after capture, keeping the product’s texture intact.
Check the image as a buyer would see it
Open the saved image at full size to find rough edges, then view it as a small thumbnail. The thumbnail should make the product easy to recognize without hiding an important feature.
Before uploading, check:
- The item is complete. Nothing is clipped, and holes, handles, and fine parts look right.
- Color and texture are accurate. Compare against the original, especially pale material and glossy surfaces.
- The framing suits the listing. Leave space around the item without making it tiny on the canvas.
- The file fits the destination. Check accepted formats, pixel dimensions, file size, and current image requirements.
For a set of products, keep the camera position and space around each item consistent while shooting. White backgrounds alone will not make differently sized or misaligned items look like a matching catalog. Try one ordinary item and one difficult item before editing the full set.
Frequently asked questions
Can I make a product photo background white for free?
Yes. Free BGRemover lets you remove the background, apply white, and download a PNG without payment, registration, or a watermark. Check the result before using it, particularly if the product is pale, transparent, or has thin parts.
How do I make a product photo background white on iPhone?
Open the white background tool in a compatible browser, upload the photo, remove the background, and download with White selected. If your source is HEIC, use a JPG copy: HEIC is not an accepted input. Processing also requires WebGPU support; if the device cannot run it, use a compatible desktop.
What is the best white backdrop for small product photos?
Matte white paper or card is a practical option for small, opaque items. It curves behind the product without a seam and is easy to replace when dirty. Choose a sheet large enough to cover the camera’s view, including the space around the item.
Should I save the finished product photo as JPG or PNG?
Use a format your destination accepts. Free BGRemover exports PNG and saves an opaque white background when White is selected. It does not currently offer JPG export. A PNG extension alone does not mean an image is transparent; the selected background determines that.
Have a sharp original ready? Make your product photo background white, then check the handle openings, edges, and saved dimensions before adding it to your listing.