To remove a white background from an image, open the White Background Remover, upload your file, click Remove background, and download with Transparent selected.
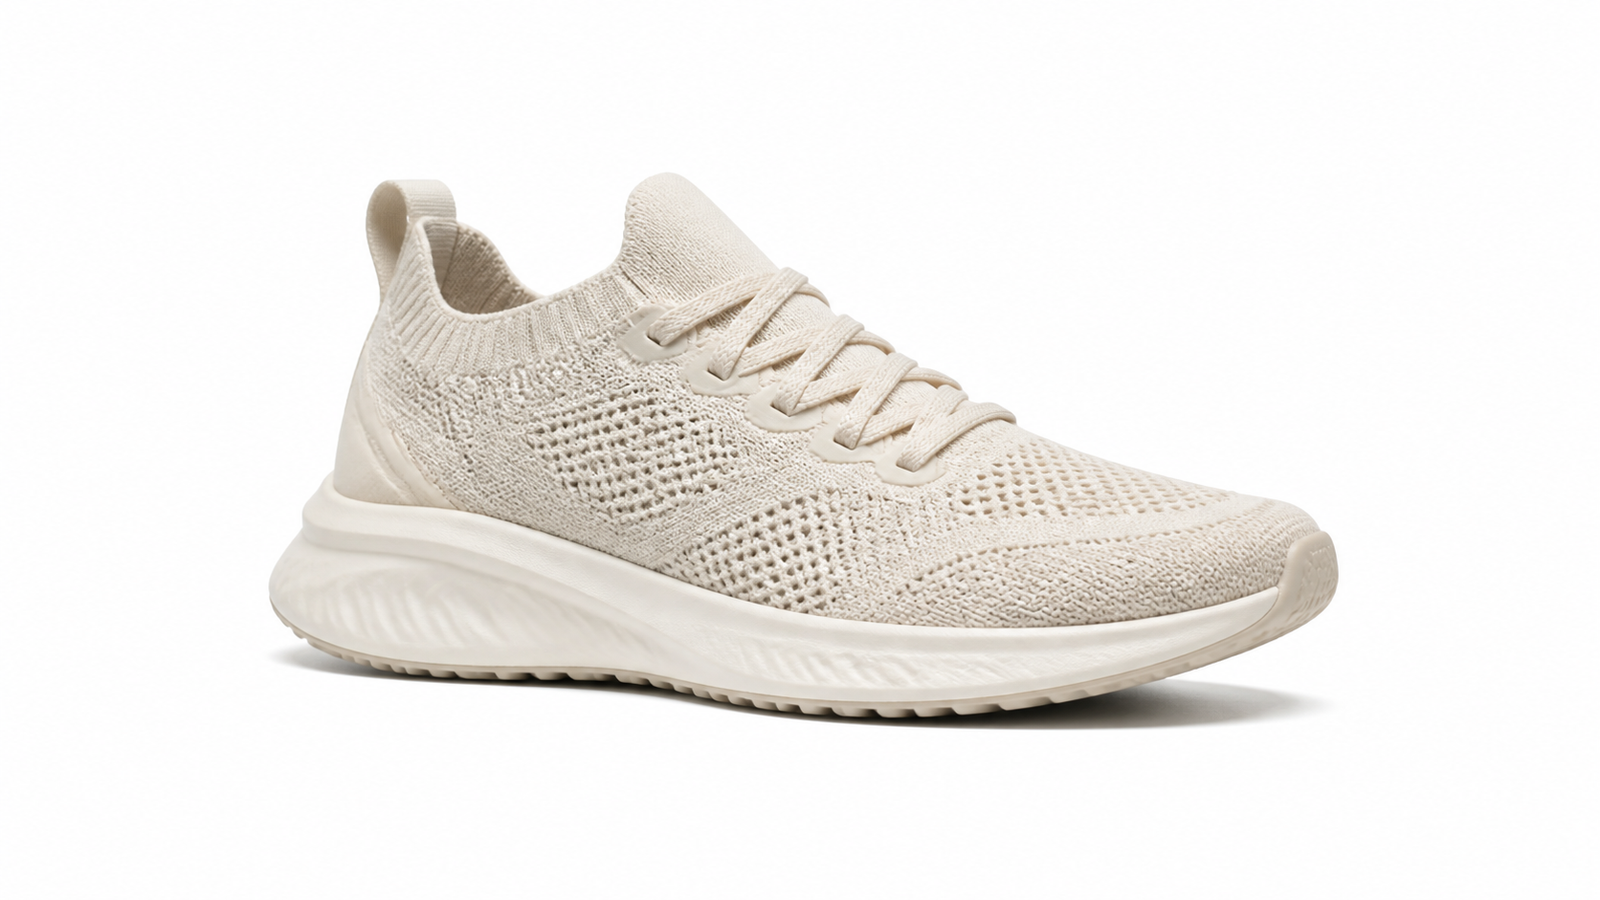
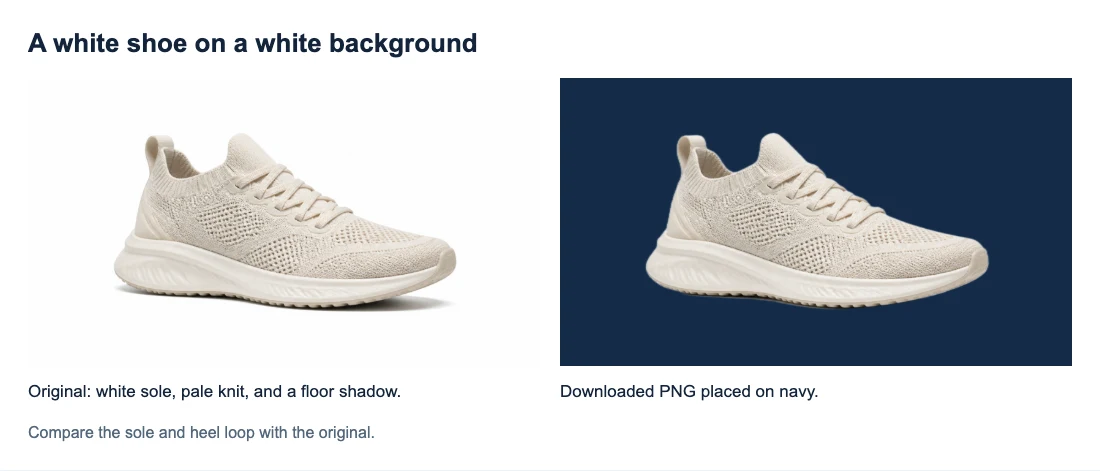
The example below uses a pale shoe against a white background. We processed this sample in the tool and placed the downloaded PNG on navy. You can see the white sole and knitted upper remain, while the surrounding white background and floor shadow disappear.
How to remove a white background from an image online
1. Upload the original file
Click Upload an image and choose a PNG, JPG/JPEG, or WebP file up to 15 MB. Use the original camera file or downloaded asset when available. A screenshot may be smaller and includes whatever background was visible on screen.
For this shoe, the areas to keep are the sole, laces, fabric, and heel loop. The empty space around it and the shadow beneath it belong to the background. Make the same distinction for your image before processing: a white label on a bottle, for example, should stay on the bottle.
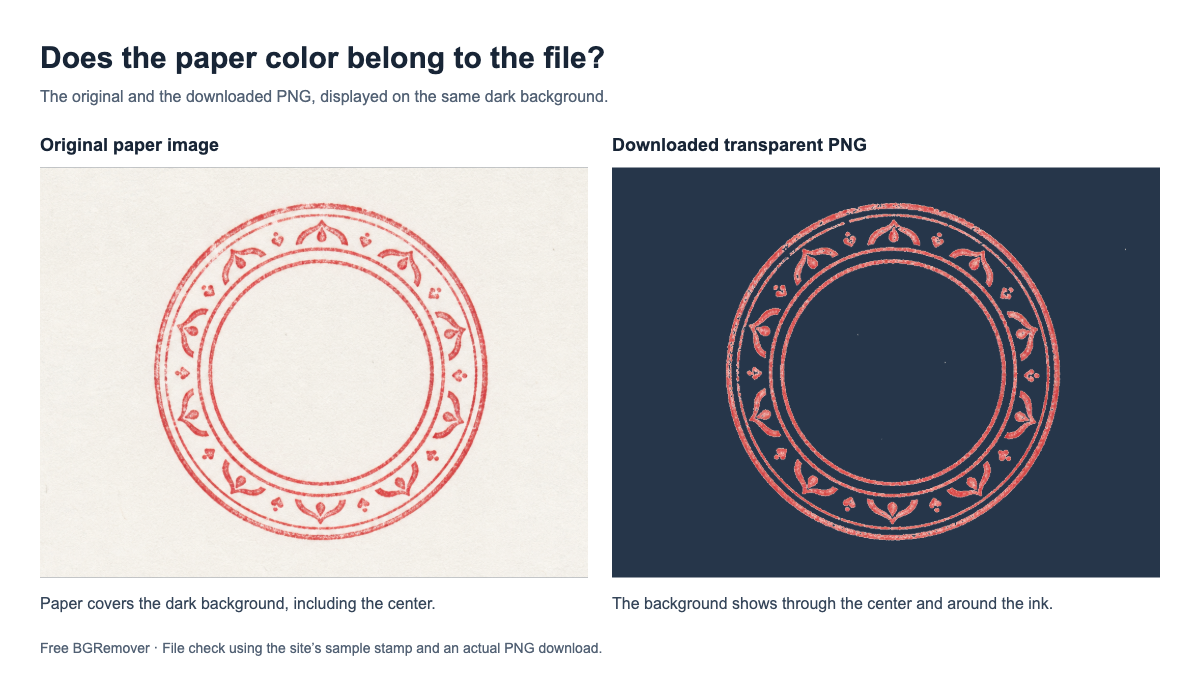
If your file already looks transparent in a design but white in a photo viewer, check whether the viewer is simply displaying transparent areas as white. You may not need to process it again.
2. Run removal and inspect the preview
Click Remove background below the previews. Uploading alone does not start processing. Keep the tab open while the progress message is visible; the first run can take longer while the browser prepares the model.
Compare the result with the original preview. In this sample, the shoe should retain its raised heel loop and its full white sole. A missing piece of either would be a reason to stop before using the cutout.
If processing reports a connection or loading error, check the connection and try again. A completed result with the wrong outline is a different problem; repeating the same operation may return the same mistake.
3. Select Transparent and download
Under Output background, choose Transparent, then click Download transparent PNG.
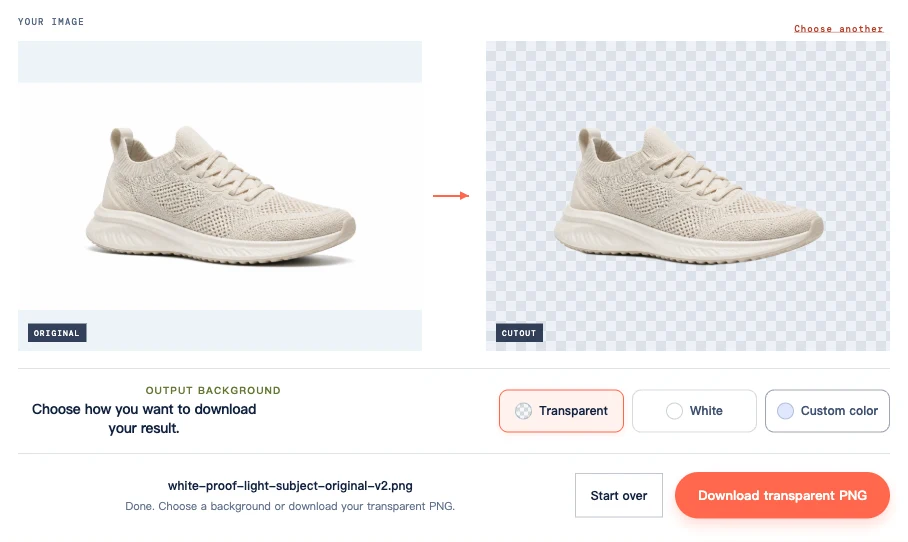
White and Custom color let you preview or download a filled background. If you use a dark custom color to inspect the edge, switch back to Transparent before saving the cutout. Download through the button: a screenshot of the result would include the checkerboard.
Check the white sole, fabric, and heel loop
Here is a closer view of the same source and downloaded PNG. The white sole and light fabric remain visible. Around the heel loop and tongue, the navy surface replaces the original white backdrop. The contour also looks softer than the original in places, which is easier to notice at this larger size.
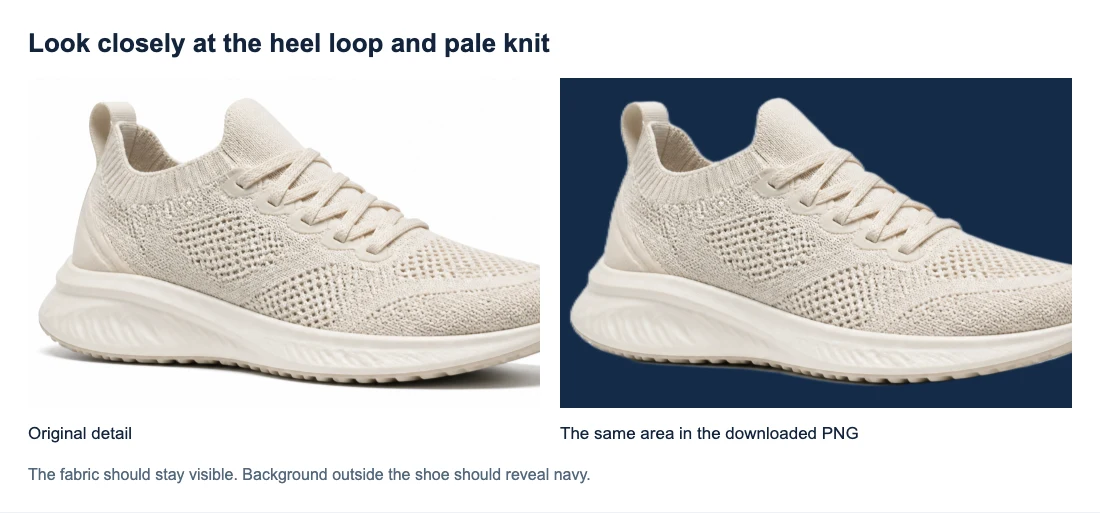
The darker opening inside the shoe is part of the photographed subject. It should not automatically become transparent. Likewise, small dark areas in the knit can show fabric or the shoe beneath; they are not all holes through to the background.
For your own image, identify a few details that matter: the white lettering on a label, a pale handle, or the edge of a sleeve. Compare those specific spots with the original. This is more useful than deciding the image is finished as soon as the large background disappears.
Check both an enlarged view and the intended display size. The enlarged view helps you find changes; the final size tells you whether they affect the design. Keep the original if you may need a larger version later.
Why white edges or patches remain
A pale rim around the outside
Some edge pixels mix the subject’s color with the original white background. Those pixels can leave a light fringe when the cutout is placed on a darker surface. A softened boundary can also make a pale subject look slightly hazy.
Compare the same contour in the original. A bright rim already present on a glossy product may be a reflection you want to keep. A new light line outside the subject is more likely to be retained background. Removing every light pixel would risk damaging white details as well.
The tool’s background colors only change what sits behind the cutout. They do not repair the outline. If a fringe is distracting at your required size, changing the preview color will not fix the transparent file.
White areas inside a handle or graphic
A mug handle can enclose background that needs removing, while its ceramic surface needs to stay opaque. Lettering and logos have similar enclosed spaces. Whether an area should be transparent depends on the design, not just its color.
For graphics, an original transparent export from the source design can avoid having to separate white artwork from a white backdrop. If you only have a flattened image, inspect the intended openings after removal. Any filled gap that should reveal the new background means the automatic result still needs work.
What to do when the cutout needs more work
Choose the next step based on the problem you actually have.
| Problem | Next step |
|---|---|
| You downloaded with a white or custom background | Select Transparent and download again; no new removal is needed |
| The source is tiny, blurry, or heavily compressed | Try a clearer original if you have one; enlarging the same blurry file cannot recover missing detail |
| A clear original produces missing white lettering, fabric, or product edges | Keep the original and try a source with better separation if available; the current tool has no restore brush |
| Background remains inside a handle or graphic | Use an original transparent design file if available; otherwise the automatic result may not meet your needs |
| A white fringe remains at the required display size | Try a different source with a more distinct edge; if none is available, the tool cannot guarantee a clean replacement |
| The saved PNG works locally, but shows a white box in your layout | Check the file used in that layout, its frame or background fill, and whether the destination converted it |
A successful processing message means a file was produced. If an essential detail is missing, use the original or another suitable asset for the finished design. Running the same clear source repeatedly is not a reliable way to recover it.
Save the cutout for its final background
Place the downloaded PNG into the design where you will use it. The screenshots above show the actual saved shoe file on navy, rather than relying only on the tool’s preview. Apply the same check to your download.
Keep the transparent PNG as your reusable file. Exporting it as JPG fills its transparent areas; converting that JPG back to PNG will not restore them. If your difficulty is with file transparency or a viewer’s white display, see How to Make a PNG Transparent.
Frequently asked questions
Can I remove a white background on an iPhone?
Use a compatible browser and device, upload the image, and follow the steps above. The current tool requires WebGPU support. Updating the browser or operating system may help, but some devices still cannot run it. Look in browser downloads or Files if the saved PNG does not appear in Photos.
Can I remove a white background for free?
Free BGRemover currently lets you process and download the result without an account or payment step. The upload limits listed above apply.
Keep the source and the cutout together once you have checked the finished design. You can reuse the transparent version while retaining the original details if you need to revisit an edge.