Leave the Cutout Work to AI
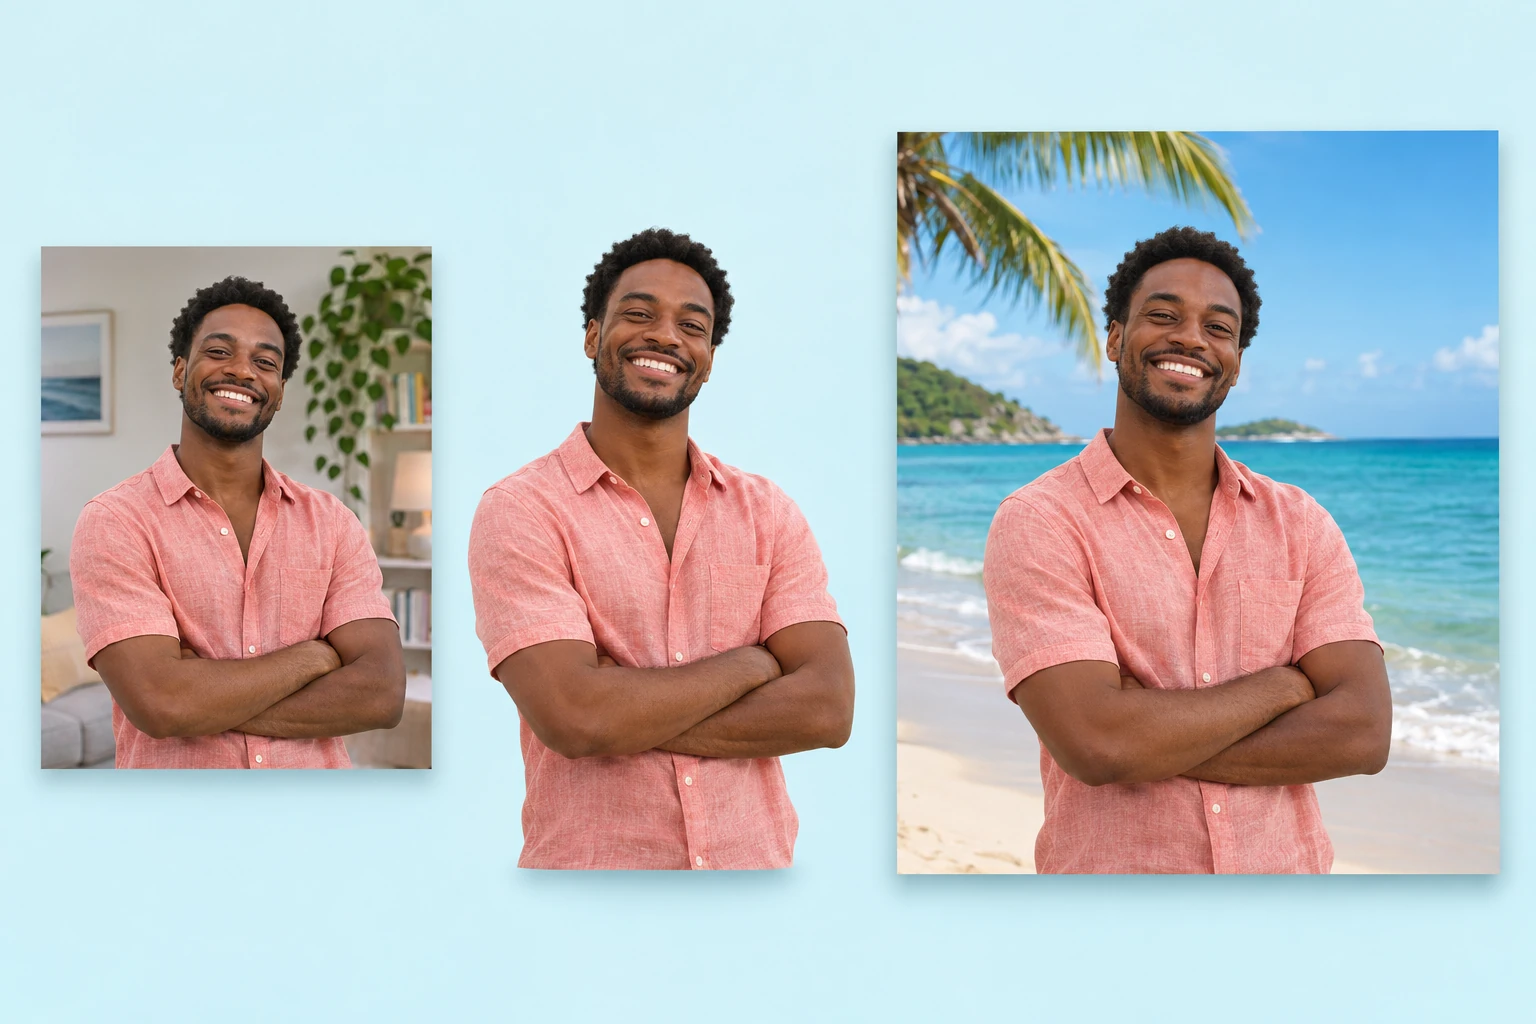
AI separates your portrait from its original setting and combines it with your chosen beach scene. You can create a new composition without tracing the subject or assembling image layers by hand.
Your portrait, somewhere by the sea
Upload a portrait, choose a seaside scene, and let AI separate you from the original setting. Once processing finishes, preview a new look for a profile picture, personal edit, or social post without tracing the subject by hand.
JPG, PNG, or WebP · Up to 15 MB
Loading your selected scene…
AI processing requires a WebGPU-compatible browser and a model download.
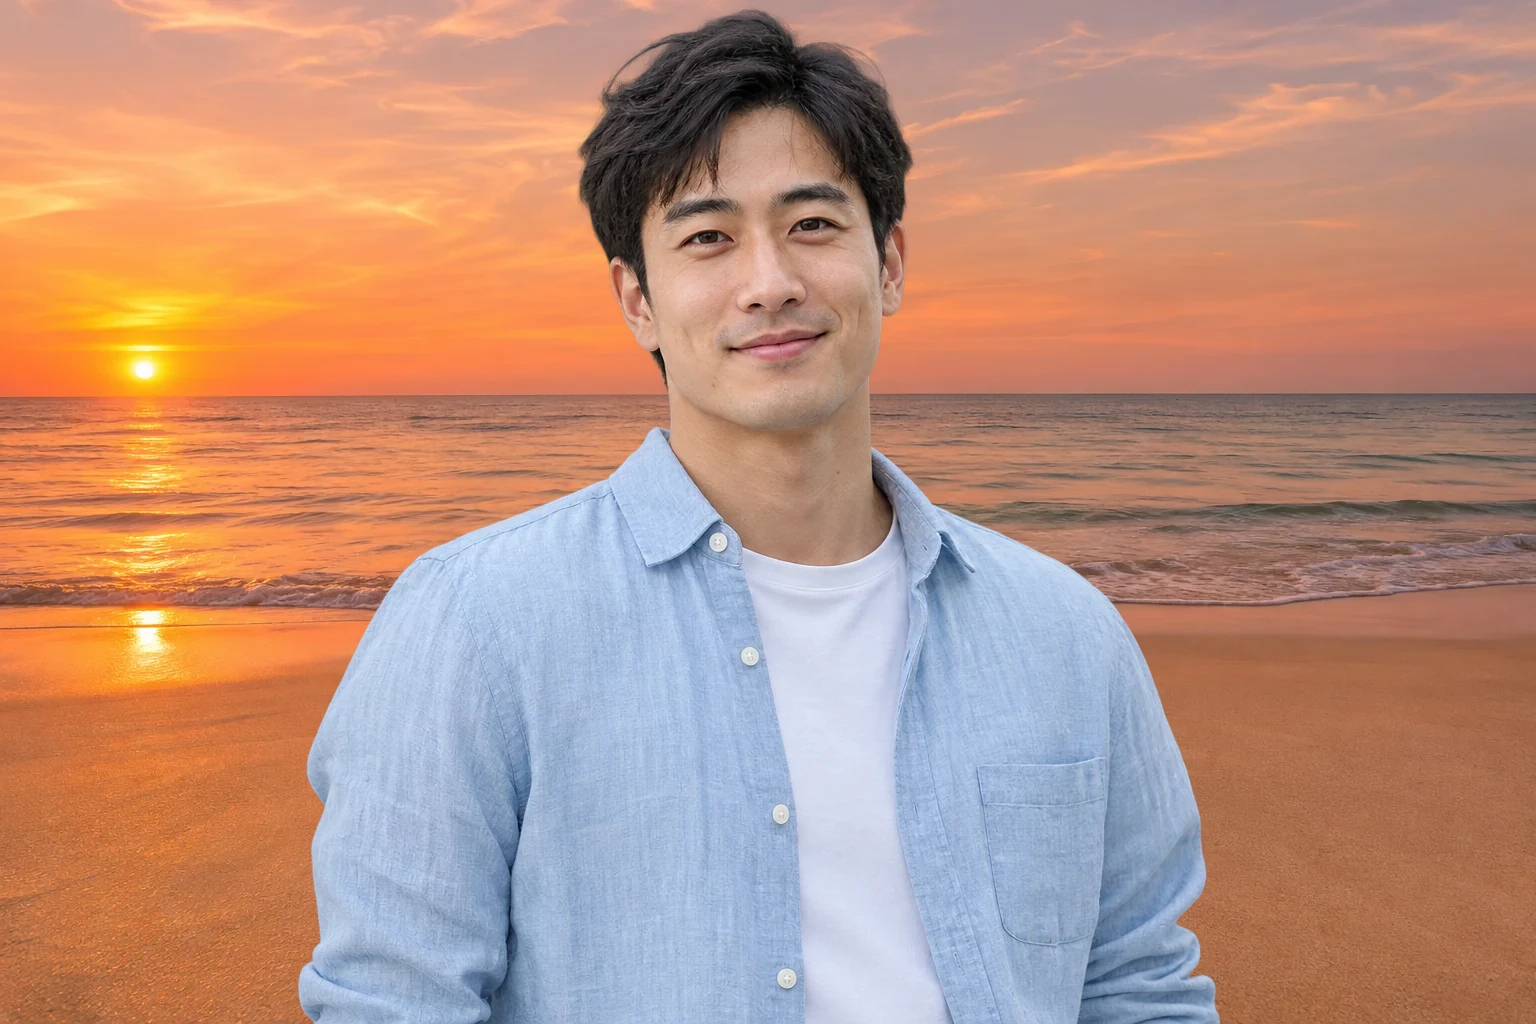
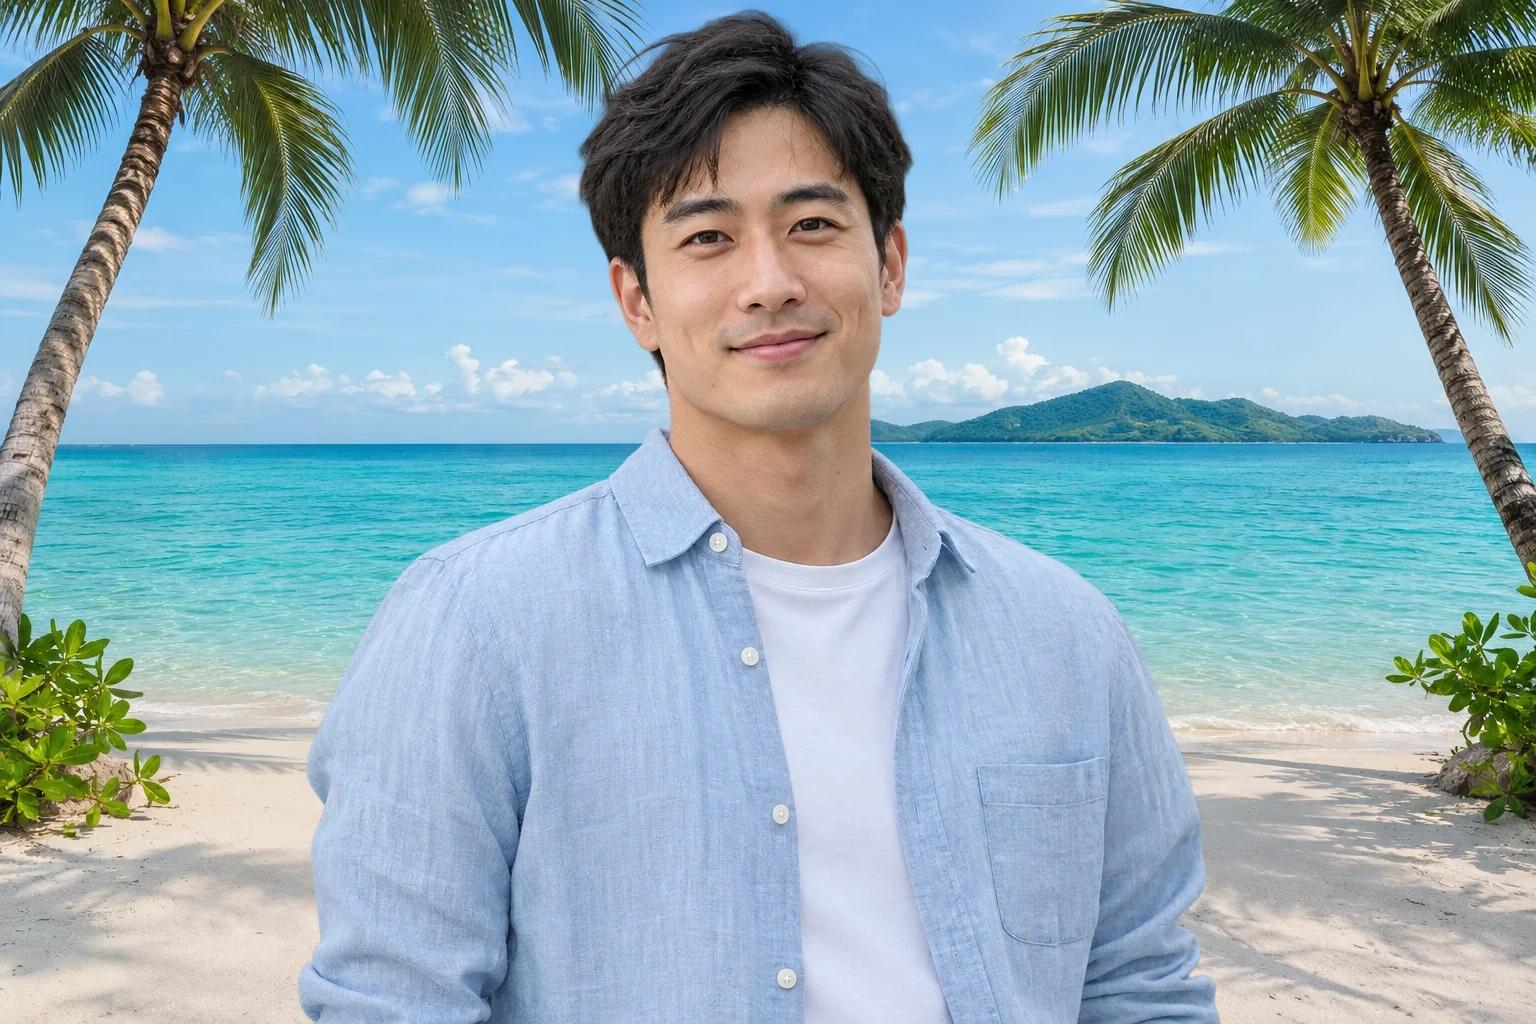
Choose a beach sunset background for a warm evening mood, or a tropical beach background with palm trees for a brighter vacation feel. An open stretch of sand gives the portrait a quieter setting with fewer details behind the face. Compare the scene with your original lighting: a golden sky may suit a warmly lit portrait, while a clear daytime shore may work better with brighter light. Watch where the horizon crosses your shoulders and choose the setting that fits your photo.
Start with a portrait or selfie you already like and change the setting around it. This beach photo editor uses the subject from your uploaded picture, keeping the pose and clothing as the starting point for the new composition. Review the outline around hair, glasses, and shoulders before saving. For the most convincing match, choose a scene with light coming from a similar direction. If part of your face or body is missing from the original, use a more complete photo instead.
Open the Beach Photo Editor
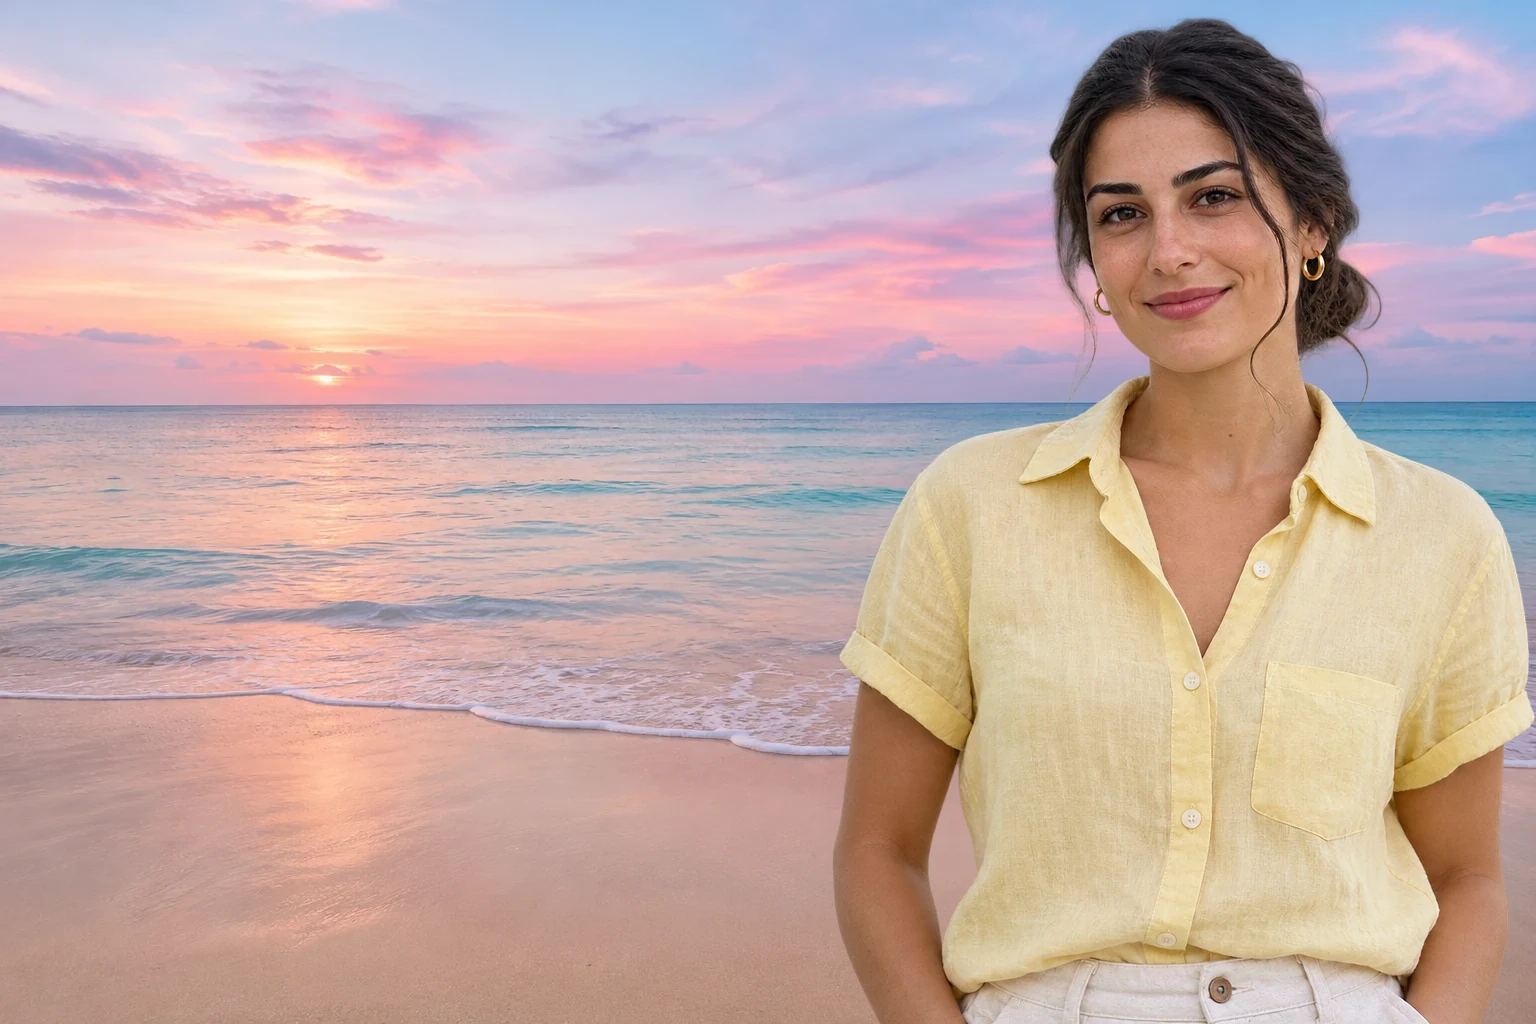
Build a relaxed summer look around your portrait with an aesthetic beach background that complements your outfit and expression. Soft colors and an uncluttered stretch of shoreline can leave more visual space around your face. Download the edited PNG and bring it into your preferred design app for a profile crop, an Instagram layout, or a caption. Check the image at the size you plan to share, especially around the face. Finish any text, layout, and platform-specific cropping in that app.
Make My Beach Photo
Create a seaside portrait in three steps: upload your photo, choose a scene and let AI replace the background, then review the result and download your PNG.
Choose a JPG, PNG, or WebP image up to 15 MB. Use a photo with a clearly visible subject and enough detail around the head and shoulders. Avoid starting with a heavily compressed screenshot when the original photo is available. Keep the source image so you can compare the finished edit with it.
Select a seaside preset, then click Apply background to separate the subject and combine it with the selected setting. Once the first result appears, compare the available scenes against your portrait. Check the light, horizon, and objects behind the head. The first run may take longer while the AI model loads.
Compare the edit with your original photo and inspect hair, glasses, clothing, and any gaps around the subject. Check the displayed export dimensions before downloading the PNG. Use the saved picture in your next design, and choose a different source photo if important details are missing from the cutout.
Free BGRemover separates the subject in your photo and combines it with a seaside preset, reducing the work of cutting out and layering an image by hand. For personal edits, profile pictures, and summer posts, compare the new setting with your original and save a PNG for the layout you want to create next.
AI separates your portrait from its original setting and combines it with your chosen beach scene. You can create a new composition without tracing the subject or assembling image layers by hand.
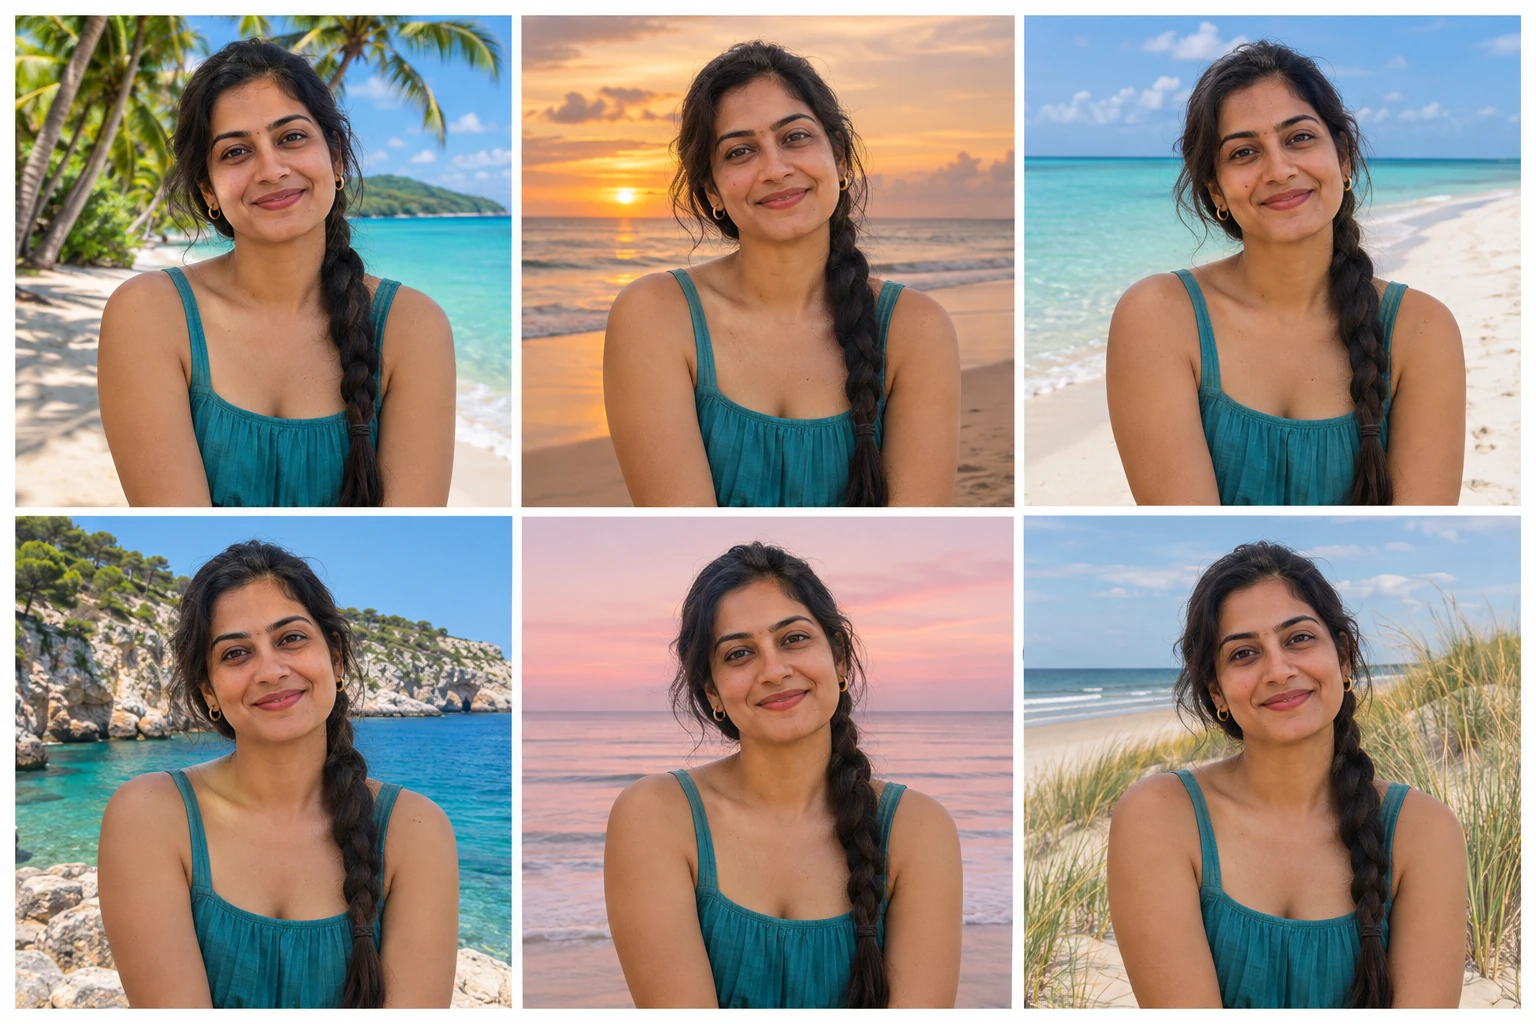
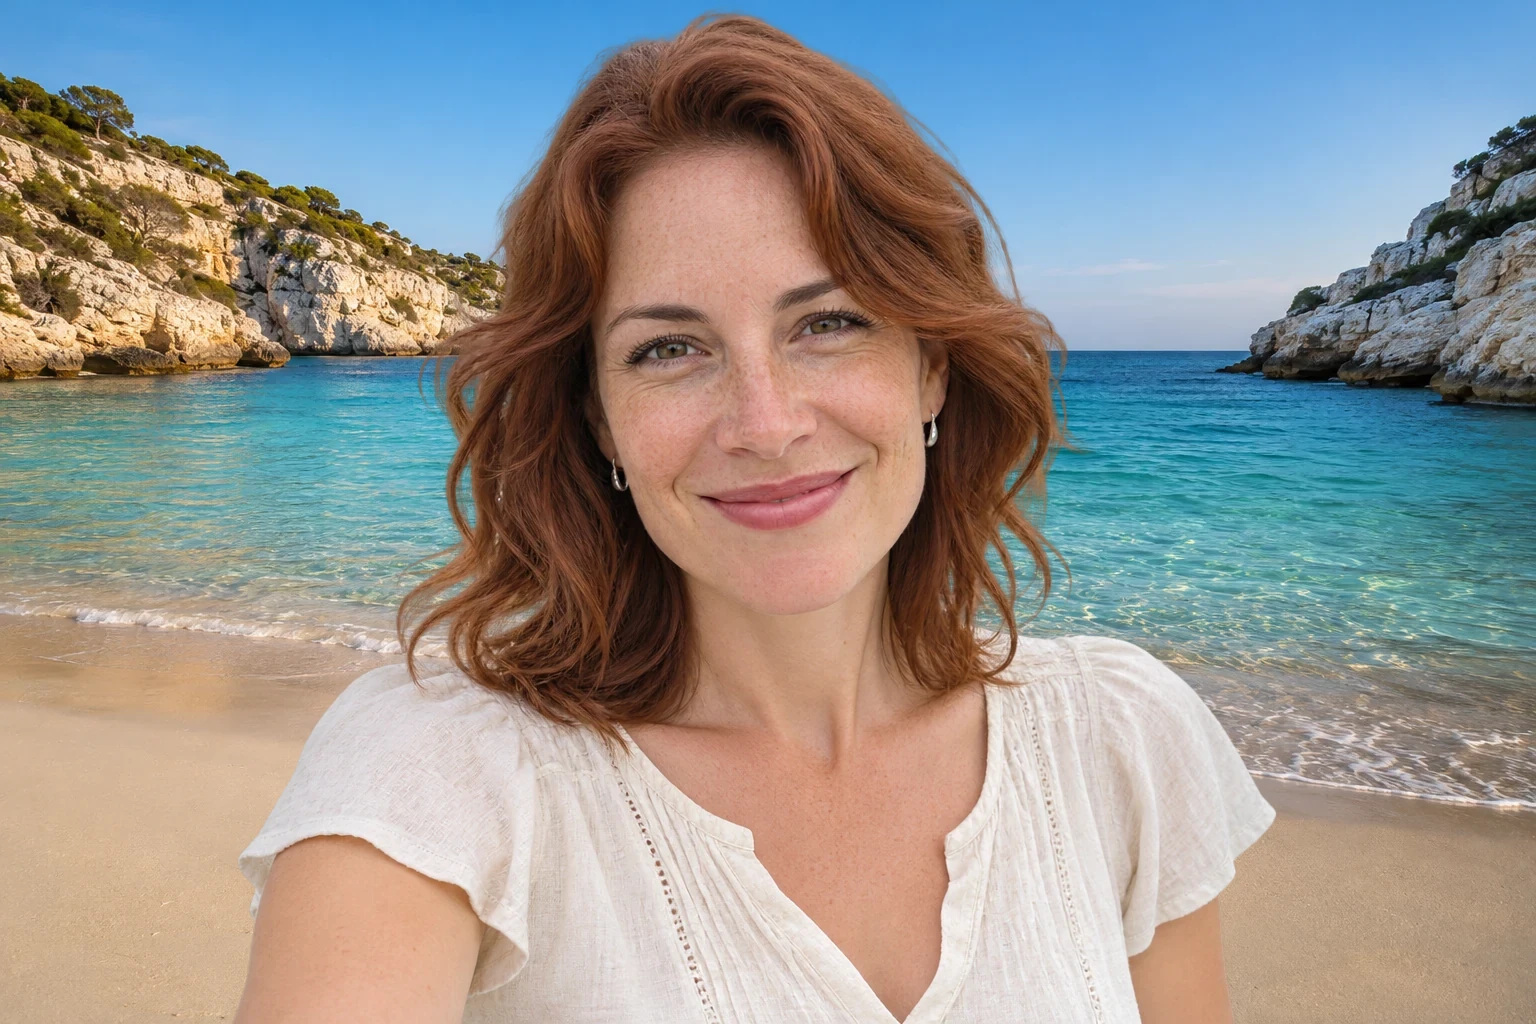
Six seaside presets let you compare tropical palms, golden light, coastal cliffs, and quieter shores. Switching scenes reuses the extracted subject, helping you find a setting that complements your photo’s lighting and mood.
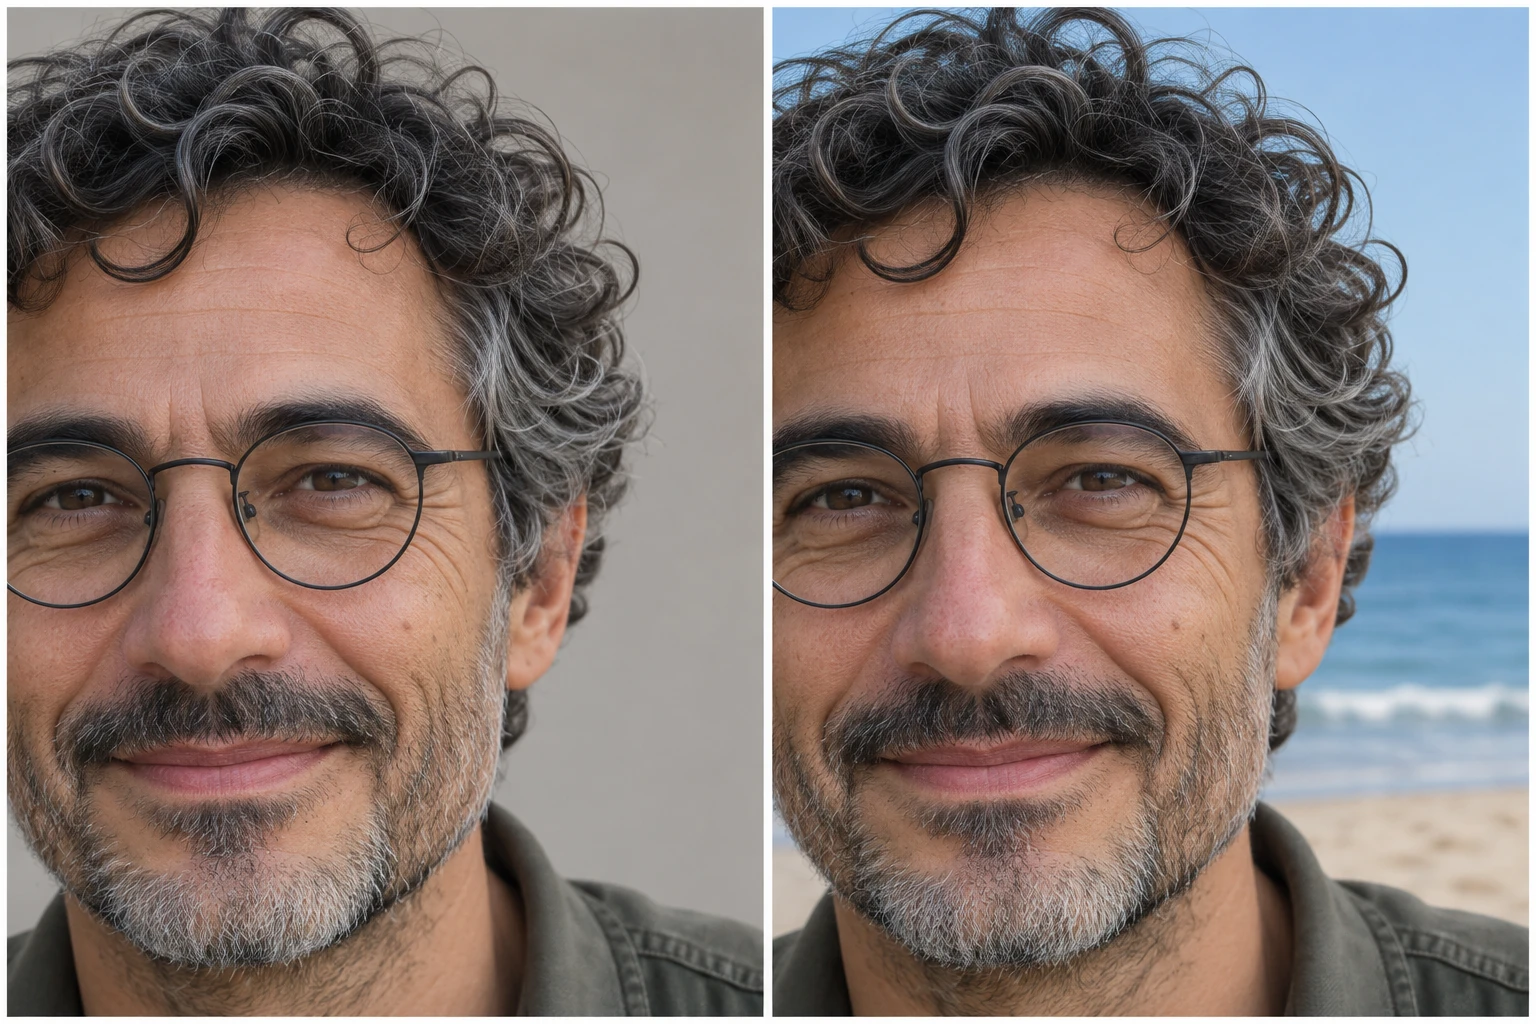
Switch between your original photo and the edited result to inspect hair, glasses, and clothing edges. This comparison helps you spot missing details and decide whether another source photo would work better.
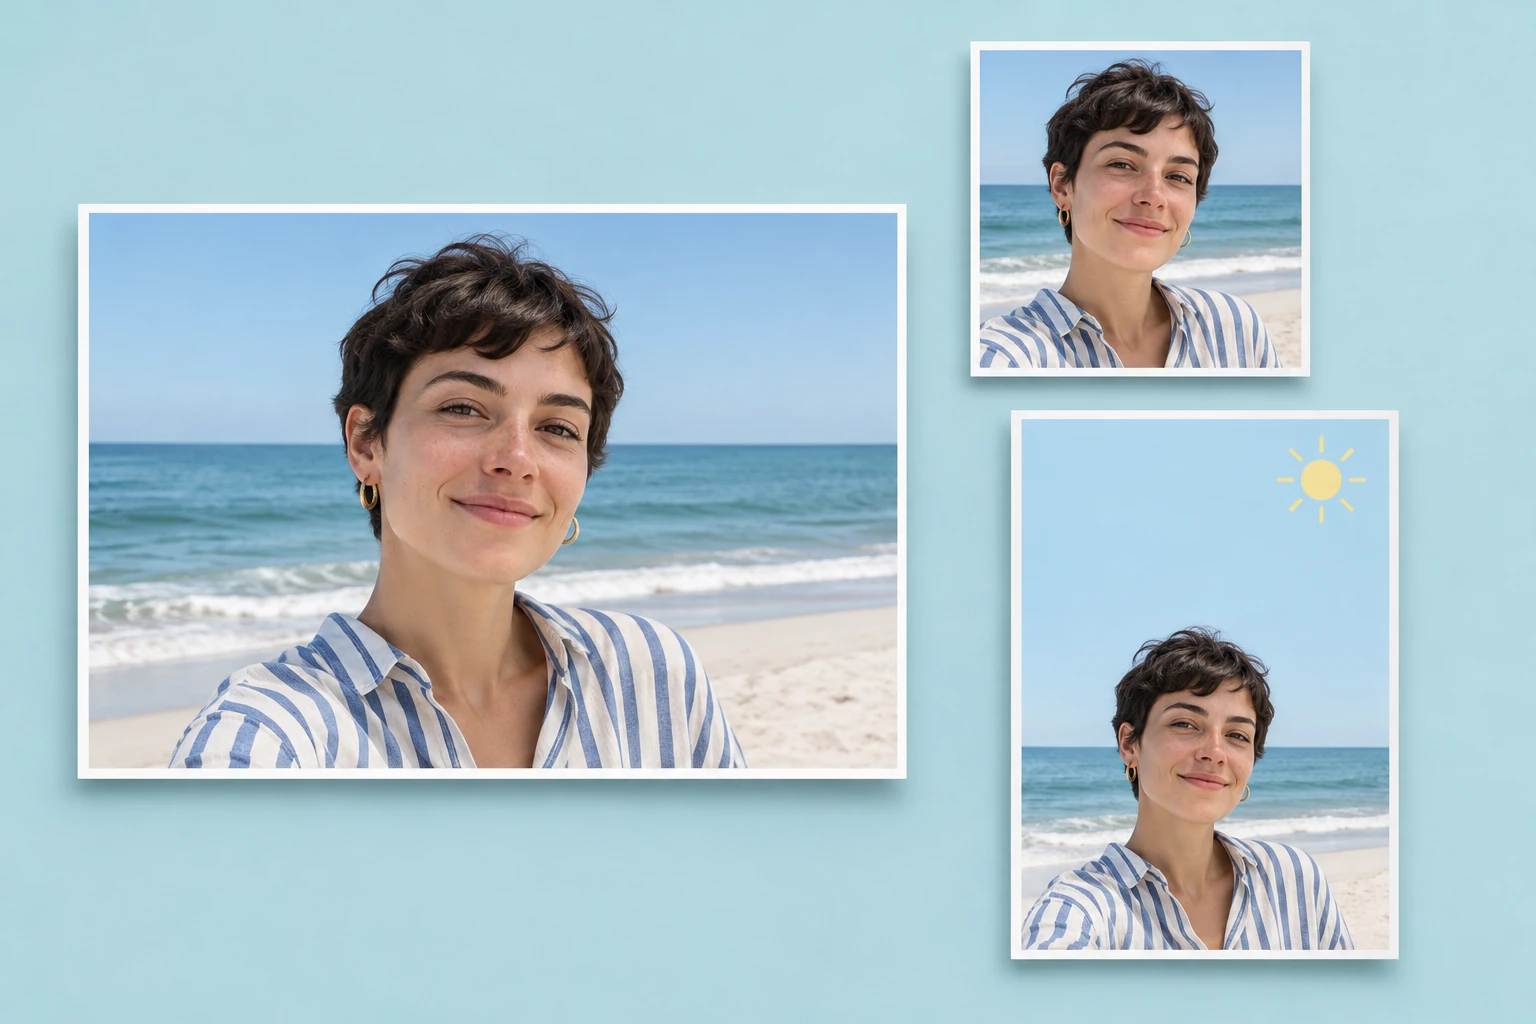
Download your finished composition as a PNG, with its pixel dimensions shown before saving. Use the file in your preferred design app to finish a profile crop, social layout, or personal graphic.
Give an existing portrait a setting that fits your next personal project. Choose the use case closest to yours, then review the finished picture at the size you plan to use.
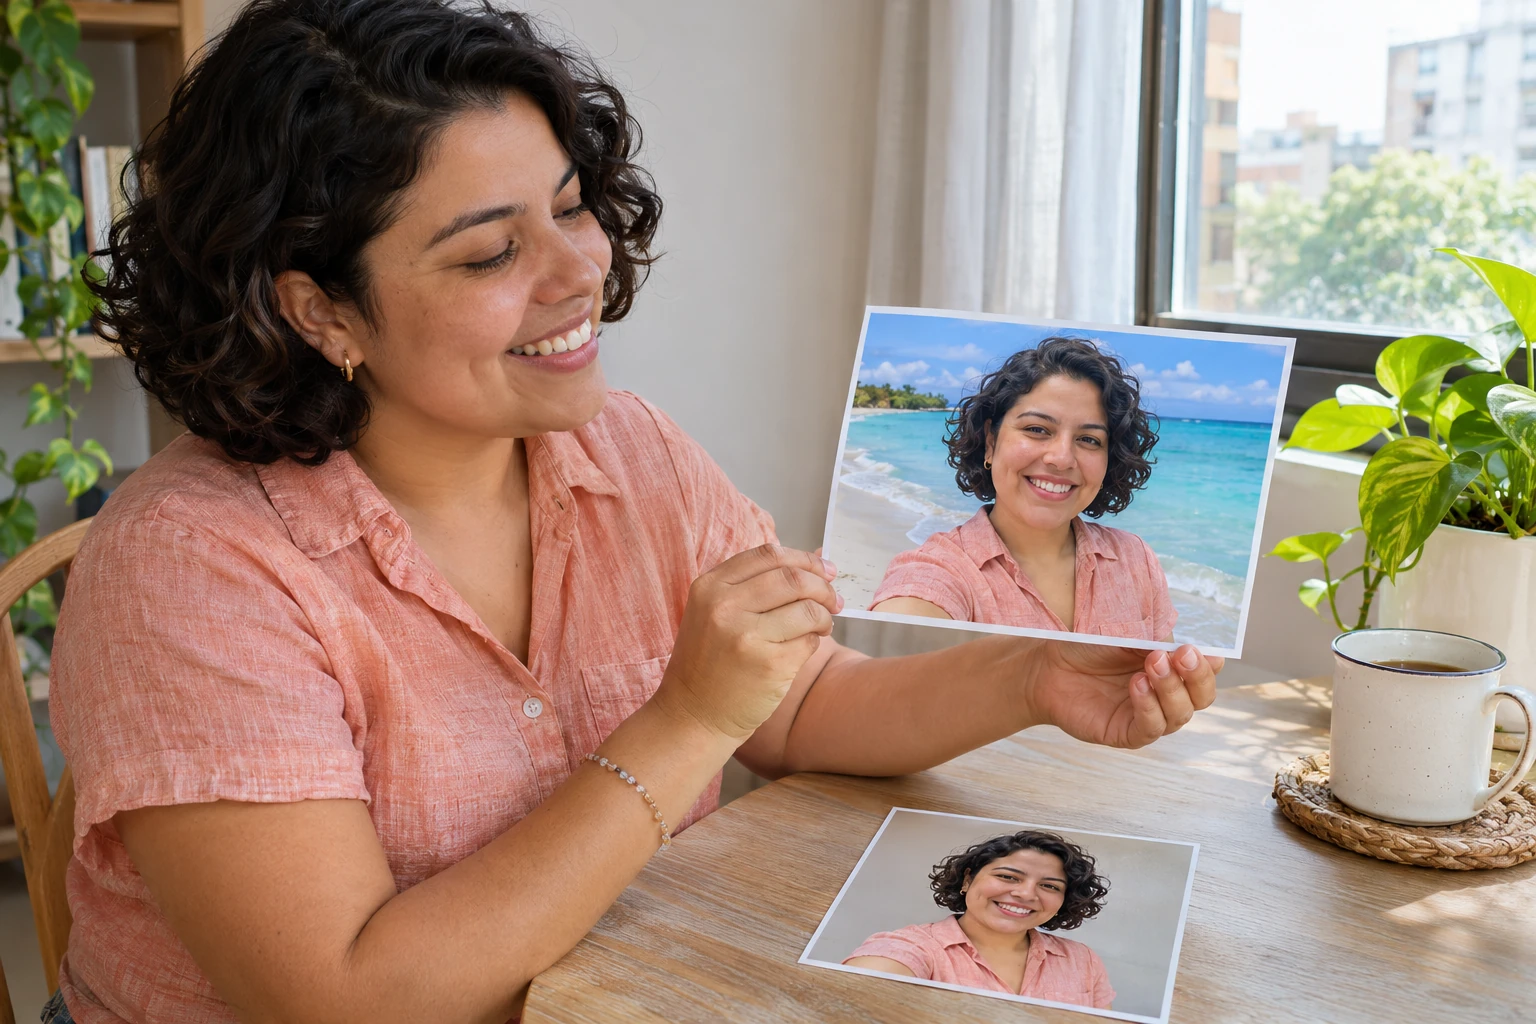
Use a portrait you already enjoy as the starting point for a vacation-inspired edit. A quieter shoreline can work well when you want the expression and clothing to remain the focus. Compare the scene with the original before choosing the version to save.
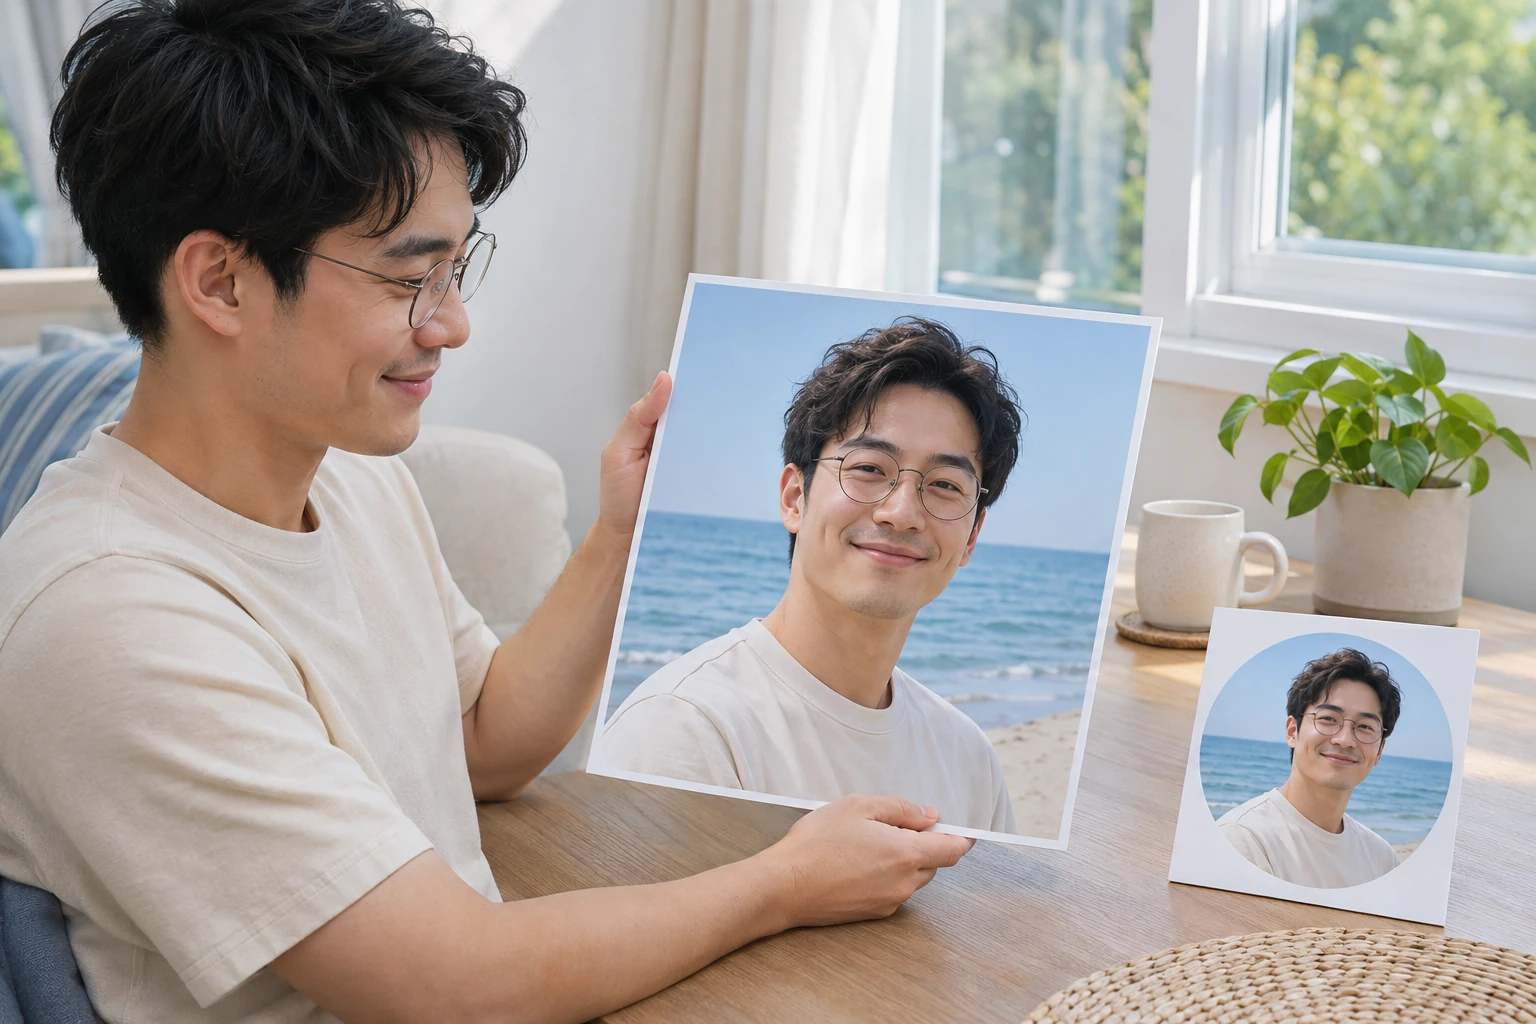
Choose a scene with enough separation between your face and the details behind it. Download the edit, then crop it in your profile or design app. Check the smaller version before uploading, since a wide scenic view can lose its impact inside a small avatar.

Prepare an edited portrait for an Instagram post, a personal announcement, or a seasonal graphic. Choose a setting that leaves useful space around the subject, then add any caption and layout in your design app. Check the final crop so the horizon and shoreline still support the composition.
Upload a clear portrait, select a seaside preset, and apply it. AI separates the subject from the original setting and combines it with the selected scene. Compare the result with your original, check the edges and lighting, and download the finished picture as a PNG.
Yes, a selfie can be a starting point when your face, hair, and shoulders are clearly visible. The edit uses the subject already present in the image. It does not create a new pose, change your clothes, or reconstruct body parts that were outside the original frame.
You can edit your photo and download a PNG through the free export option. Check the dimensions shown beside the download control before saving. Larger or original-size exports may have separate requirements; review the options in the editor to see what is available for your picture.
Upload a JPG, PNG, or WebP image up to 15 MB. The finished composition downloads as a PNG with the selected scene behind your subject. A PNG file is not automatically transparent: in this workflow, the beach remains visible as part of the saved picture.
Fine hair, glasses, and low-contrast edges can be difficult to separate. Start with a clear, well-lit photo and compare the preview with the original. Also check whether the new scene matches the light on your face. If important details are missing, use a different source photo.
The editor replaces the setting; it does not add detail that is missing from your original photo or guarantee a 4K result. Start with a sharp image and check the displayed export dimensions. A larger pixel count alone does not mean a blurry source will become clearer.
This workflow uses AI to separate your subject, then combines it with a preset scene. You choose from the settings provided in the editor. Text prompts, custom scene generation, and uploading your own backdrop are outside the workflow described on this page.
The download in this workflow is your edited photo with the selected scene applied. It is not a standalone background-image download. If you need an empty backdrop, phone wallpaper, or a reusable stock image, use a source that provides those files and check its usage terms.
Find out how the edit works, what to upload, and what to check before saving your picture.
Choose a portrait, compare the available scenes, and save the version that suits your next profile picture or summer post. Start with the photo you already like and see how a different setting changes its mood.
Change My Photo Background to Beach