
Keep the Person From Your Photo
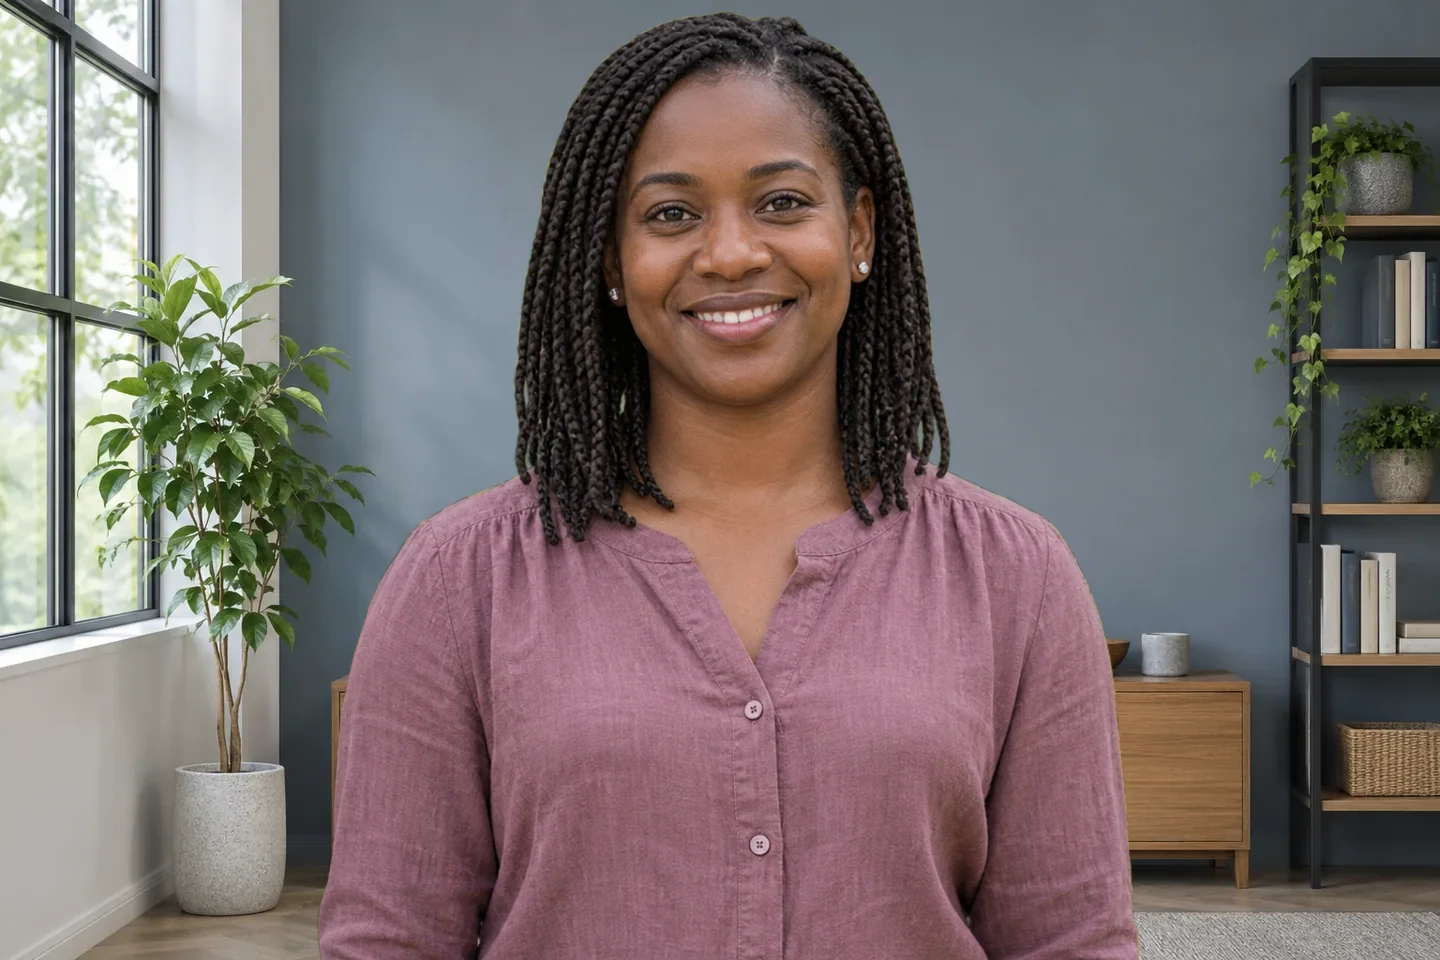
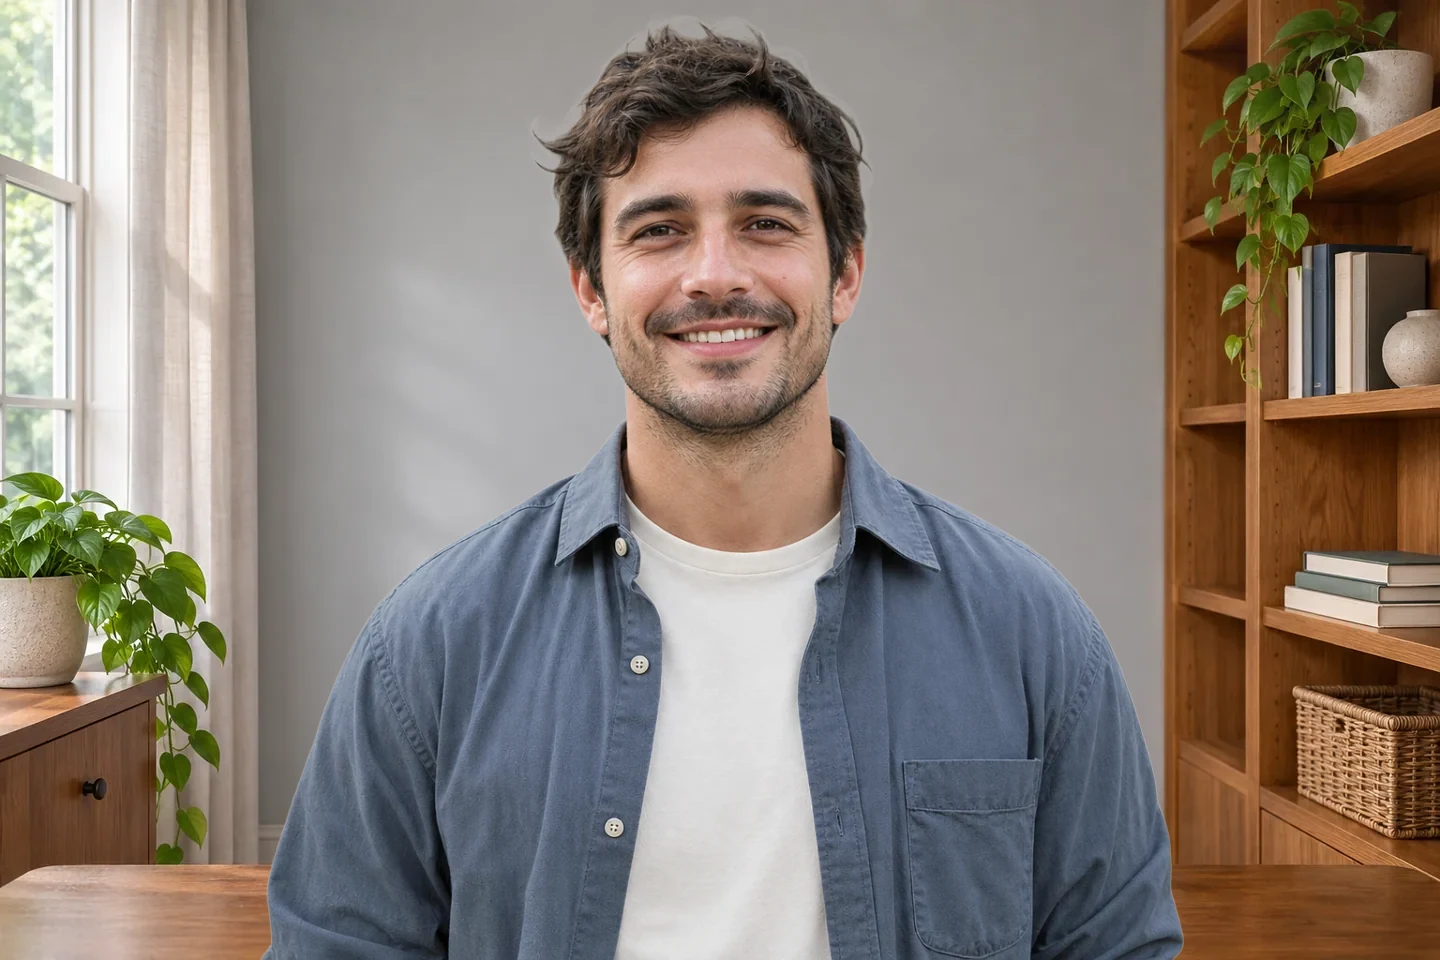
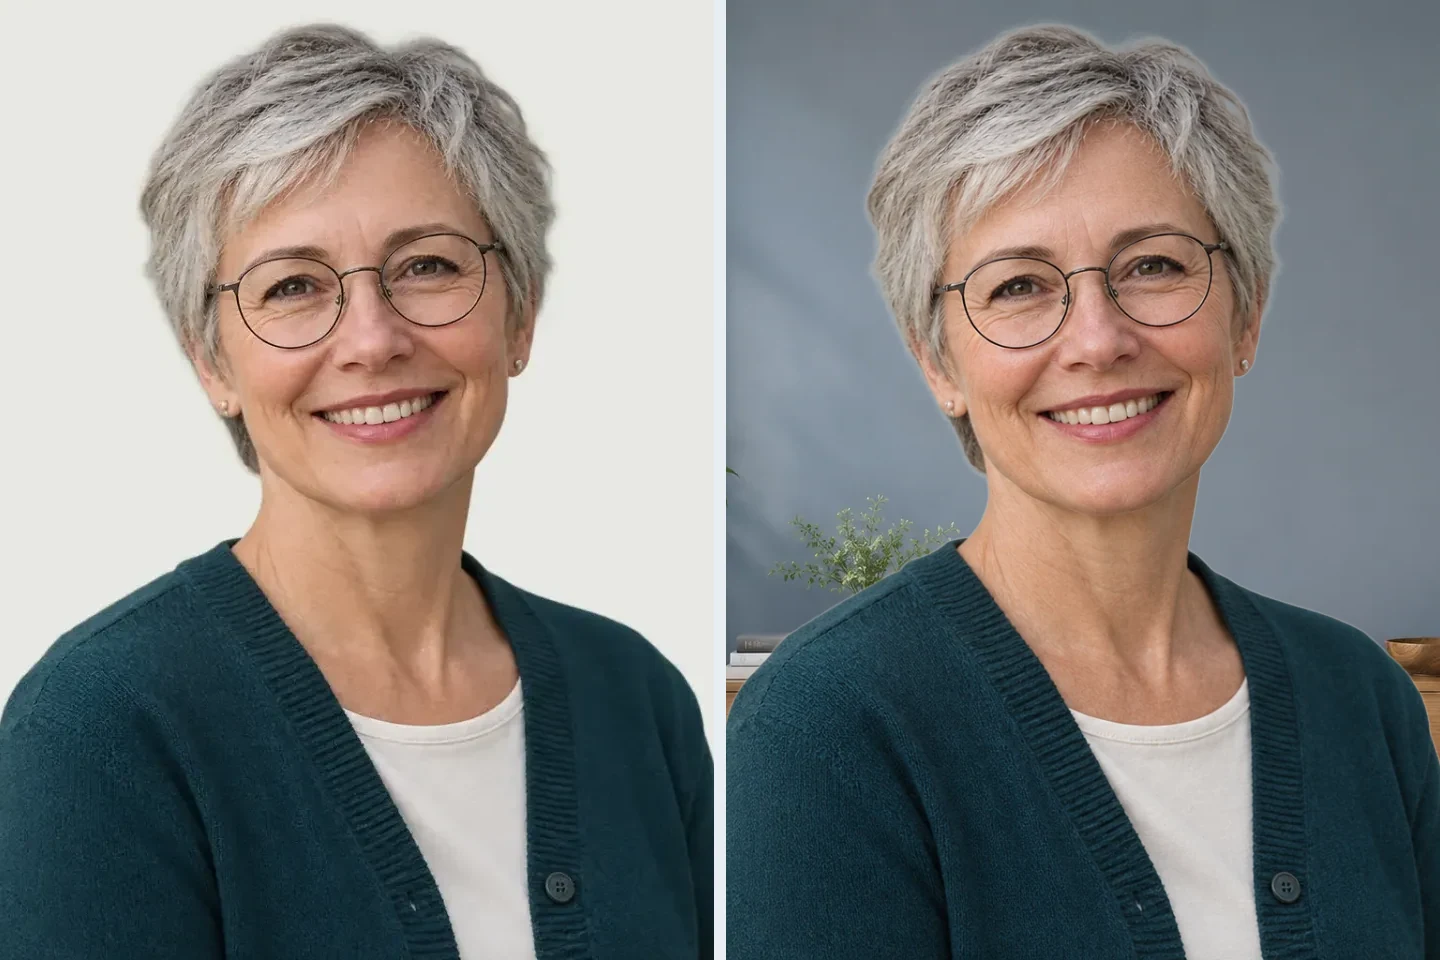
The composition uses your source photo for the face, pose, and clothing. Changing the setting lets you reuse an existing portrait, while the original view gives you a reference for checking the extracted outline.
Upload a portrait, choose a workspace scene, and let AI separate you from the original setting. Preview the result after processing, then save a PNG for a profile, staff bio, or personal business page. Reuse a photo you already like without cutting out the subject and assembling image layers by hand.
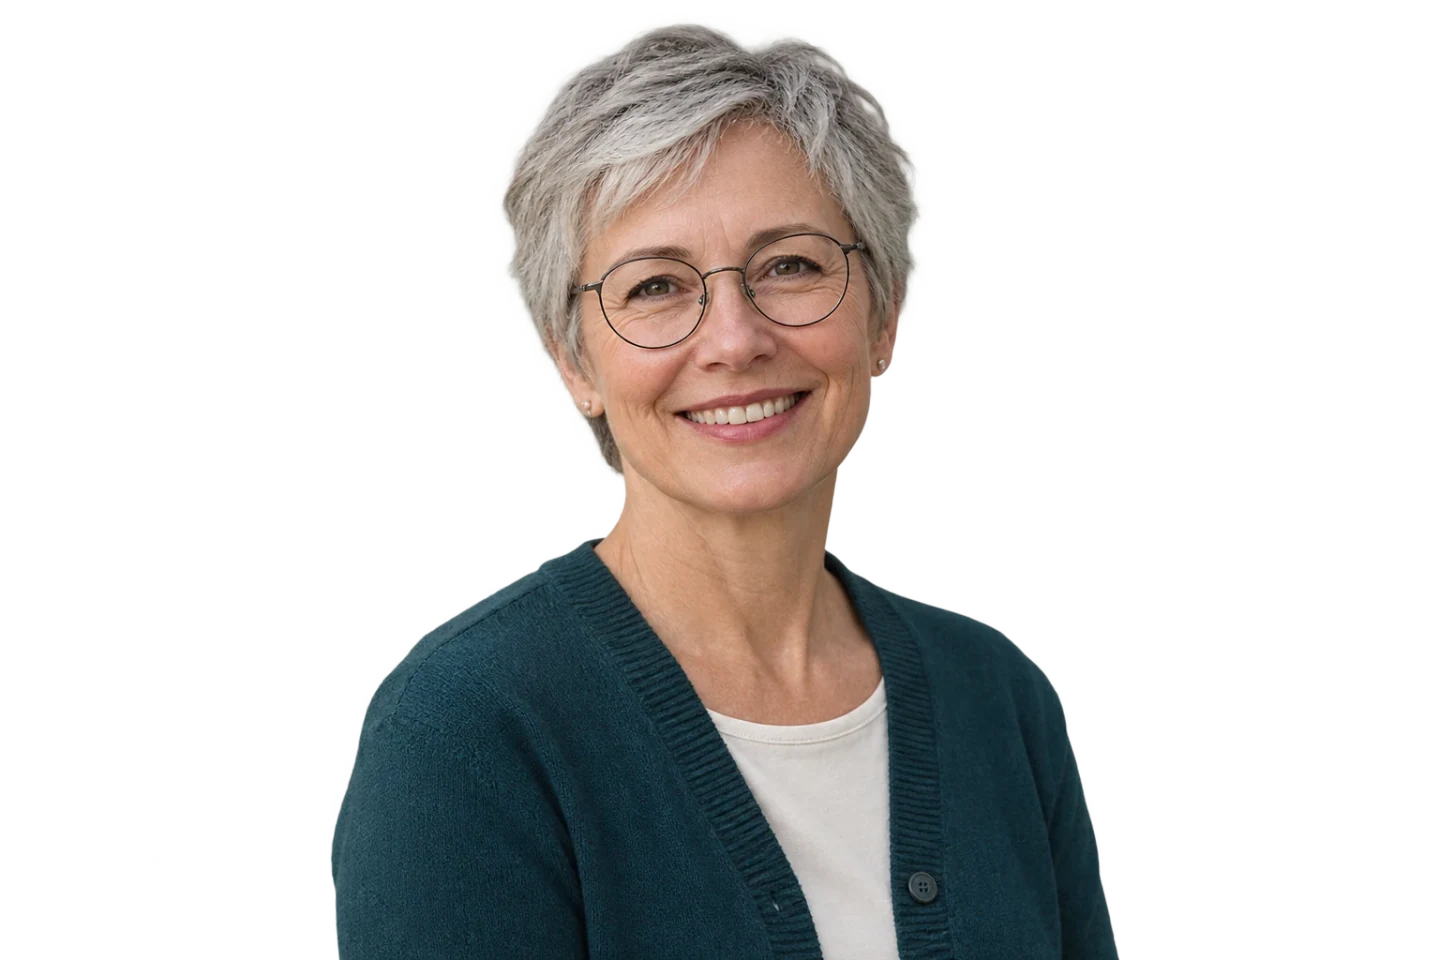
JPG, PNG, or WebP · Up to 15 MB
Loading your selected scene…
AI processing requires a WebGPU-compatible browser and a model download.
A home office background can suit a personal profile, while a modern office background gives a business portrait a more structured setting. Compare the available scenes with the same photo and look at how the room works around your face. Shelves, desks, and windows should sit behind you at a believable scale. Choose lighting that comes from a similar direction to the light on your face, and avoid a bright window directly behind your head. A quieter arrangement can keep attention on your expression while still giving the picture a recognizable workplace setting.
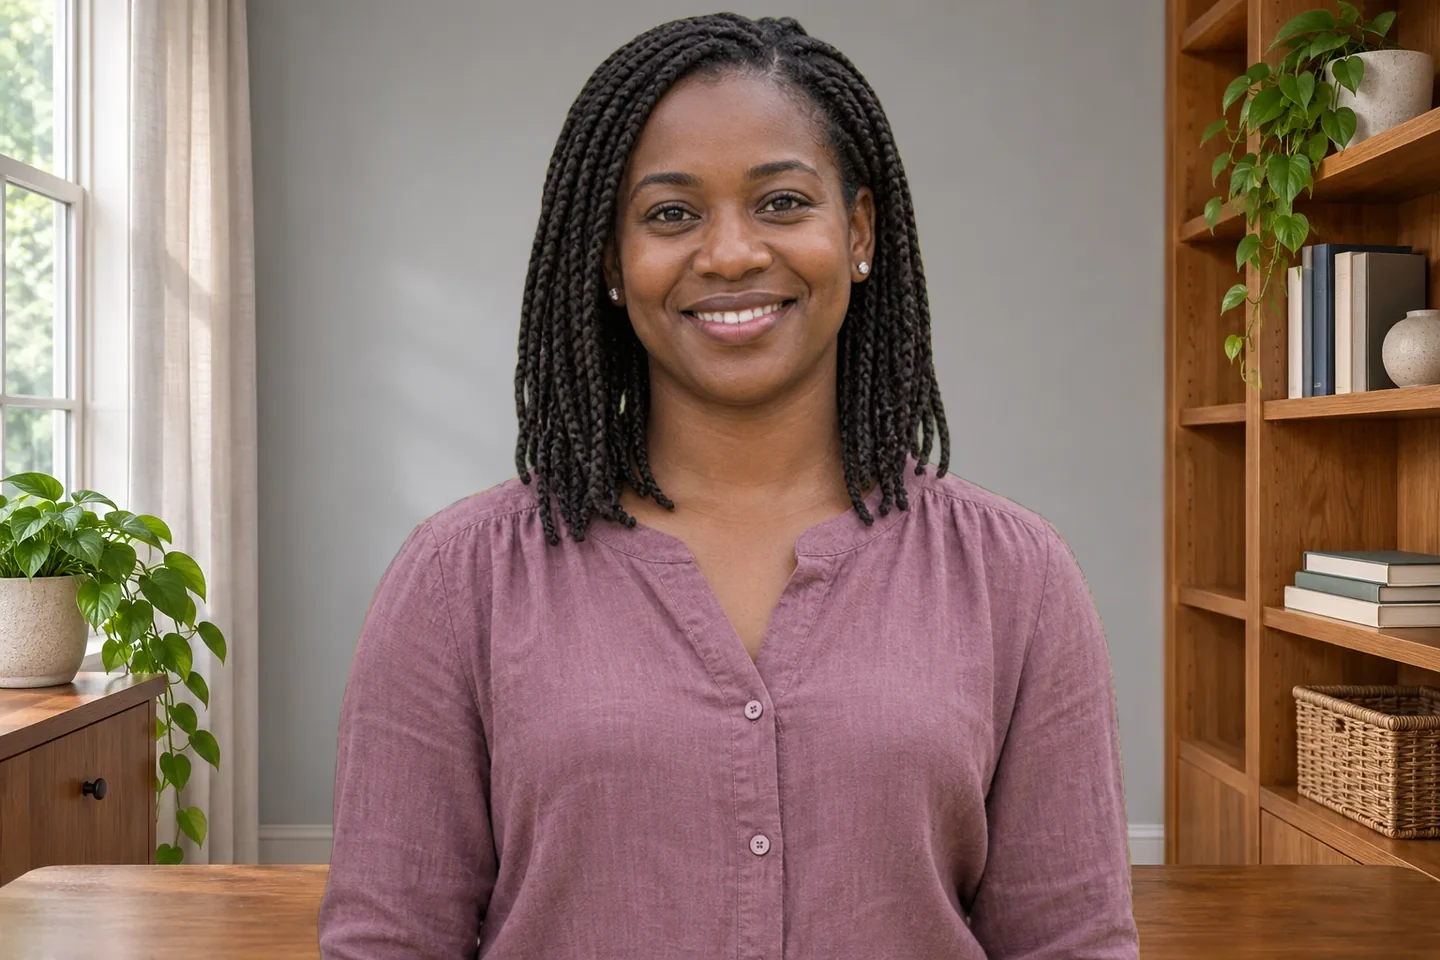
A crowded room does not have to define a portrait you otherwise like. Add an office background to your photo while keeping the person from the original image as the foreground. The editor uses the extracted outline to place that person over your selected scene, rather than creating a new face or outfit. Compare the result with your source photo, especially around glasses, loose hair, collars, and hands. If part of the subject disappears, start with a clearer image. Changing the setting cannot recover a shoulder, hairstyle, or other detail that was already outside the original frame.
Change My Office Background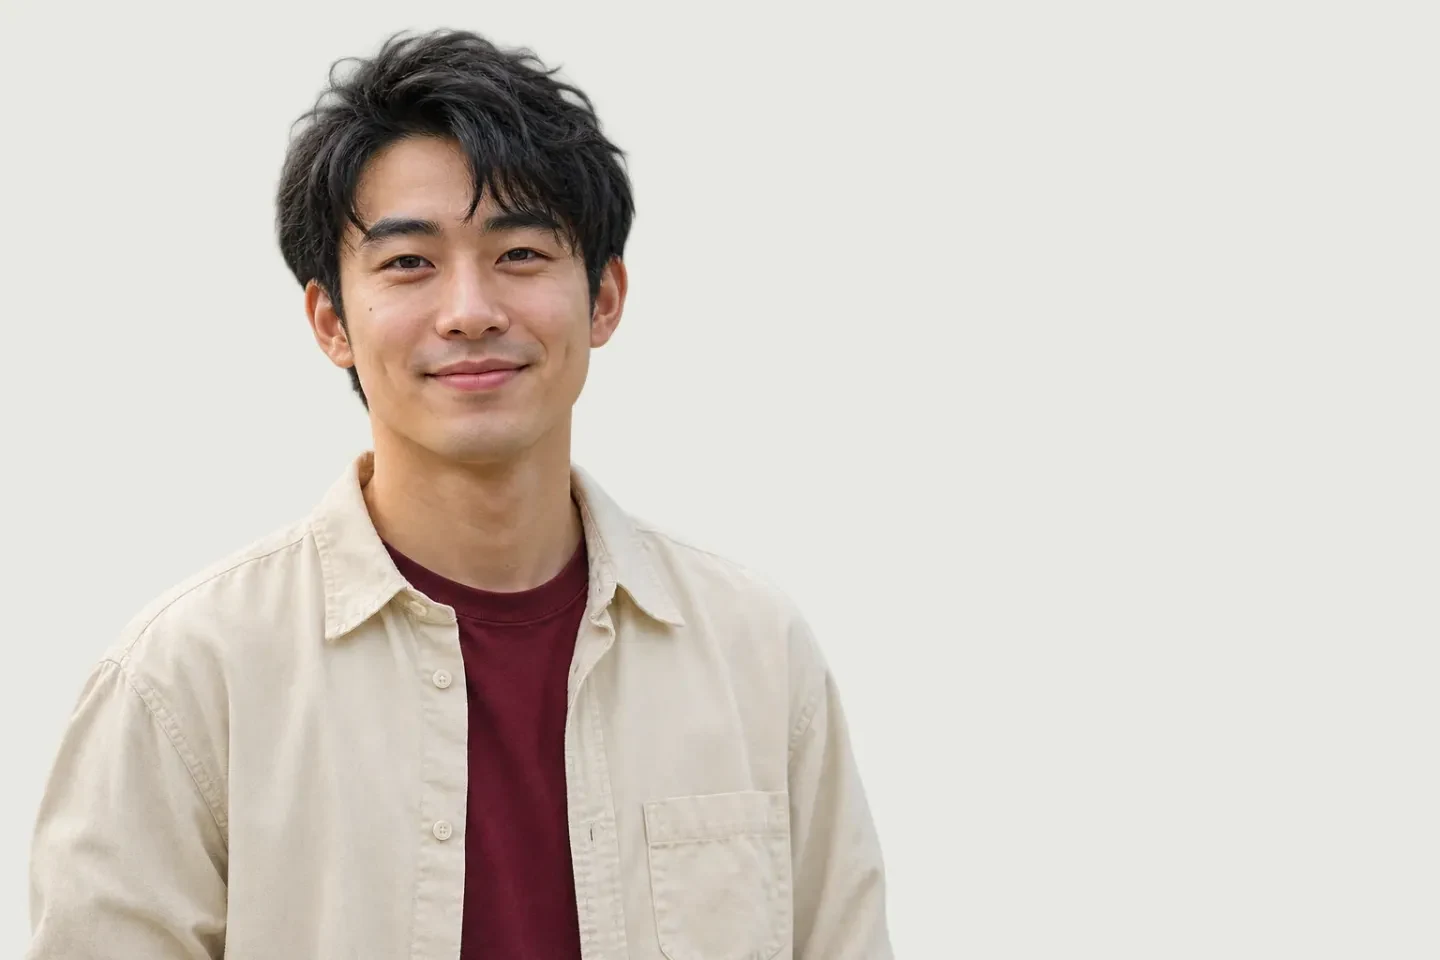
Prepare an updated headshot for a LinkedIn profile, an author biography, or an individual team page. Choose a professional office background that supports the person rather than competing with them. A busy row of monitors may distract from the face when the image is displayed small, so compare the result at the size your readers will see. Leave enough room around the head and shoulders for any crop you plan to make later. Download the finished composition, then use your profile or website editor for final framing. Check the displayed pixel dimensions before deciding where to use the file.
Create My Office Background Photo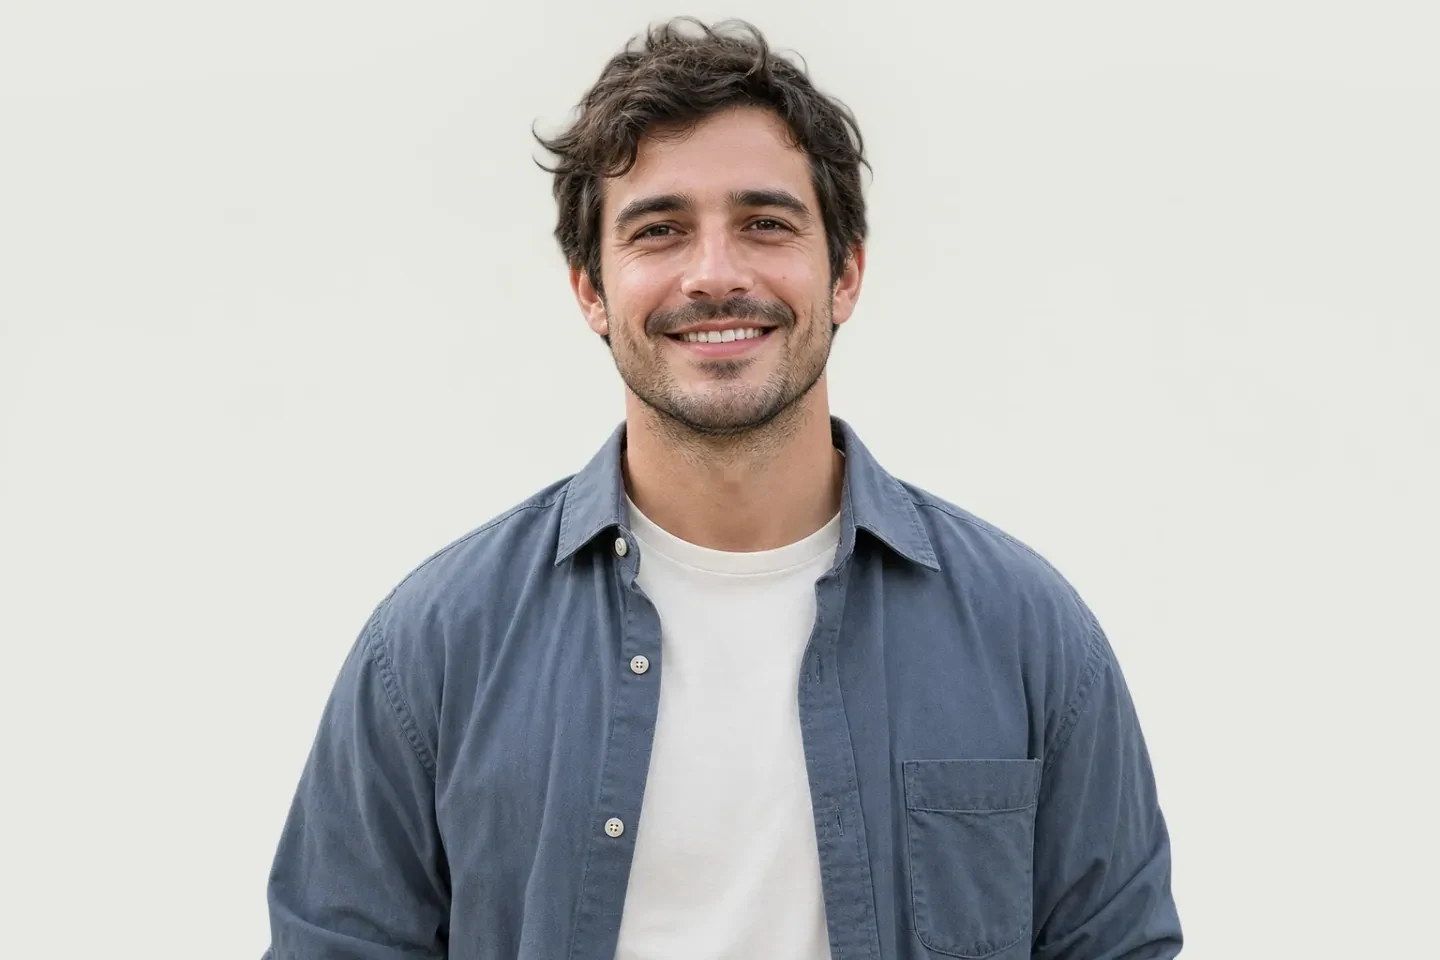
Give an existing portrait a workplace setting in three steps, from choosing your photo to saving the finished composition.
Upload a photo, select a workspace scene and save a PNG after checking your portrait in the preview.
Choose a JPG, PNG, or WebP image up to 15 MB. Use a photo with a visible face, defined shoulders, and enough space around the person for your intended layout. Good lighting and a clear outline give the editor a stronger starting point. Keep your original file so you can compare details after the edit.
Select a setting from the available previews, then click Apply Background. AI separates the subject and combines it with the scene. The first edit may take longer while the model loads; processing time depends on your device and connection. Once the result appears, compare other settings with the same extracted subject to judge color, perspective, and visual balance.
Switch between the original and edited views. Look closely at hair, glasses, sleeves, and the space around your face. Read the pixel dimensions beside the download control, then save the composition through the free export option. Open the downloaded file and check it again at the size you plan to use.
Free BGRemover separates the subject from your uploaded photo and combines it with a selected workplace scene, reducing the need for manual cutouts and layered editing. For profile updates, staff biographies, and personal business pages, you can compare the composition with your original before saving a PNG for the next step.
The composition uses your source photo for the face, pose, and clothing. Changing the setting lets you reuse an existing portrait, while the original view gives you a reference for checking the extracted outline.
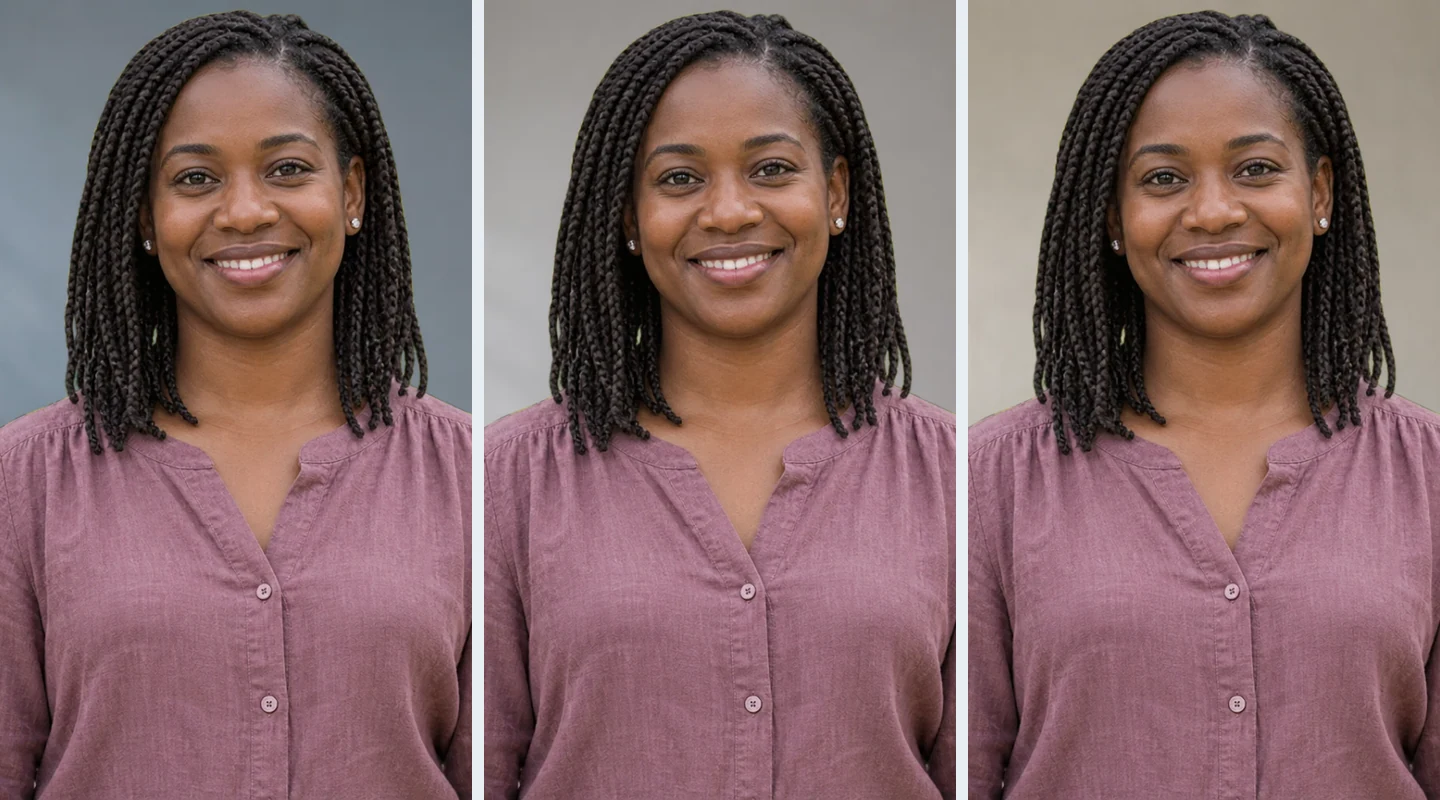
Scene previews let you compare different surroundings with the same subject. Look for compatible lighting, furniture scale, and a calm area around the face, so the setting supports the person rather than drawing attention away.
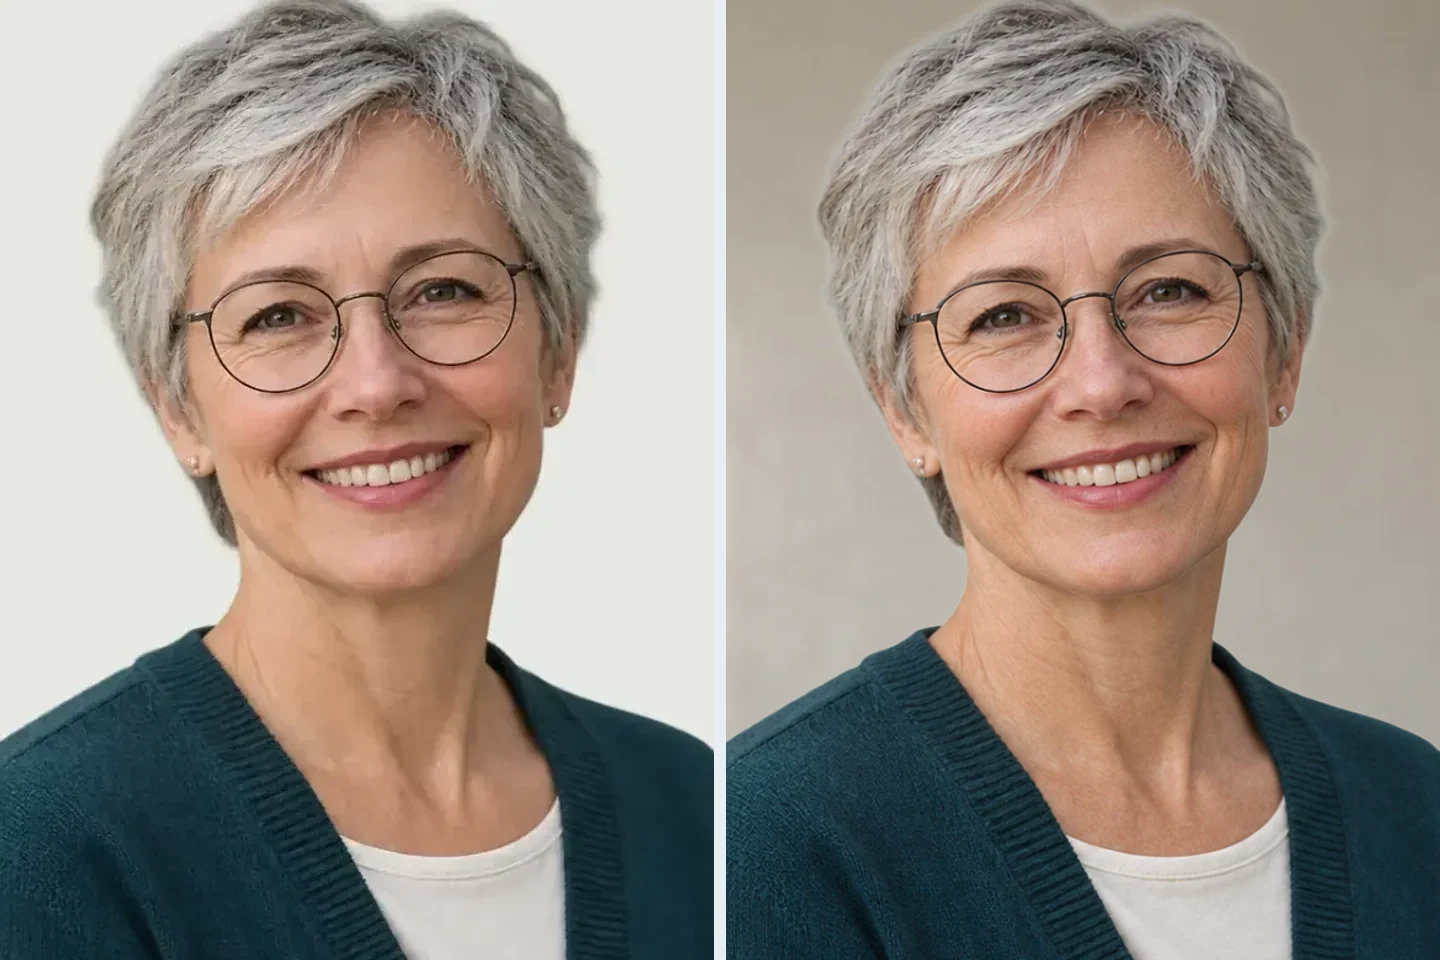
Switch between the original and edited views to examine hair, glasses, and clothing edges. This comparison helps you decide whether to keep the result or start with a clearer source image before downloading.
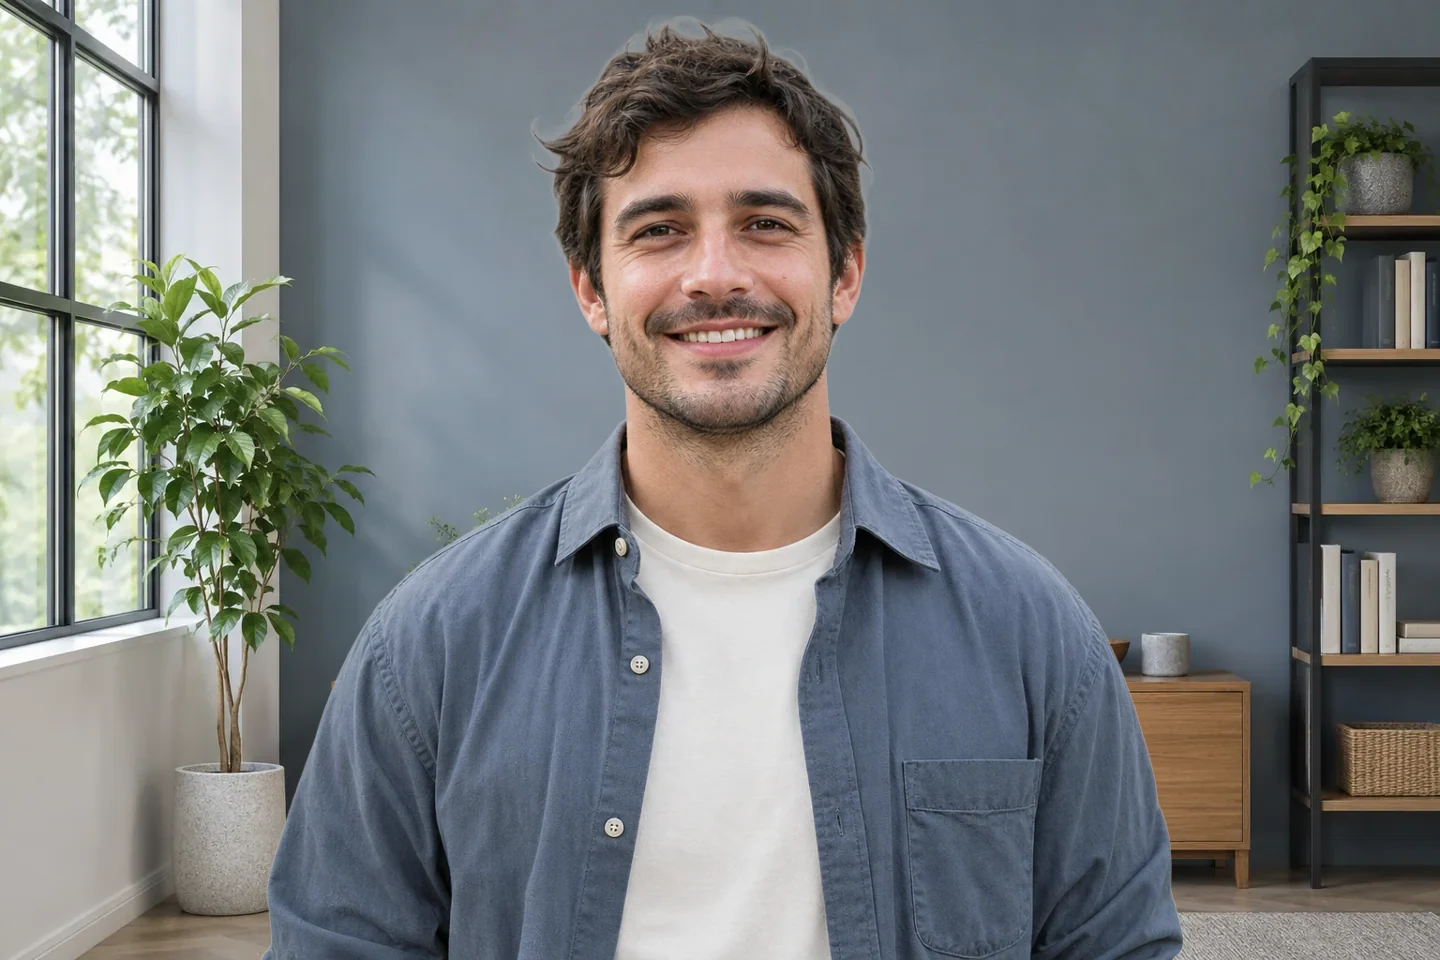
The download area displays the export dimensions before you save the PNG. Use that information to judge whether the file suits a small profile image, a website biography, or further work in another editor.
Start with the audience for your picture, then choose a setting that fits the way you want to introduce yourself. A personal profile, a client-facing biography, and an employee directory each place different demands on the same portrait.
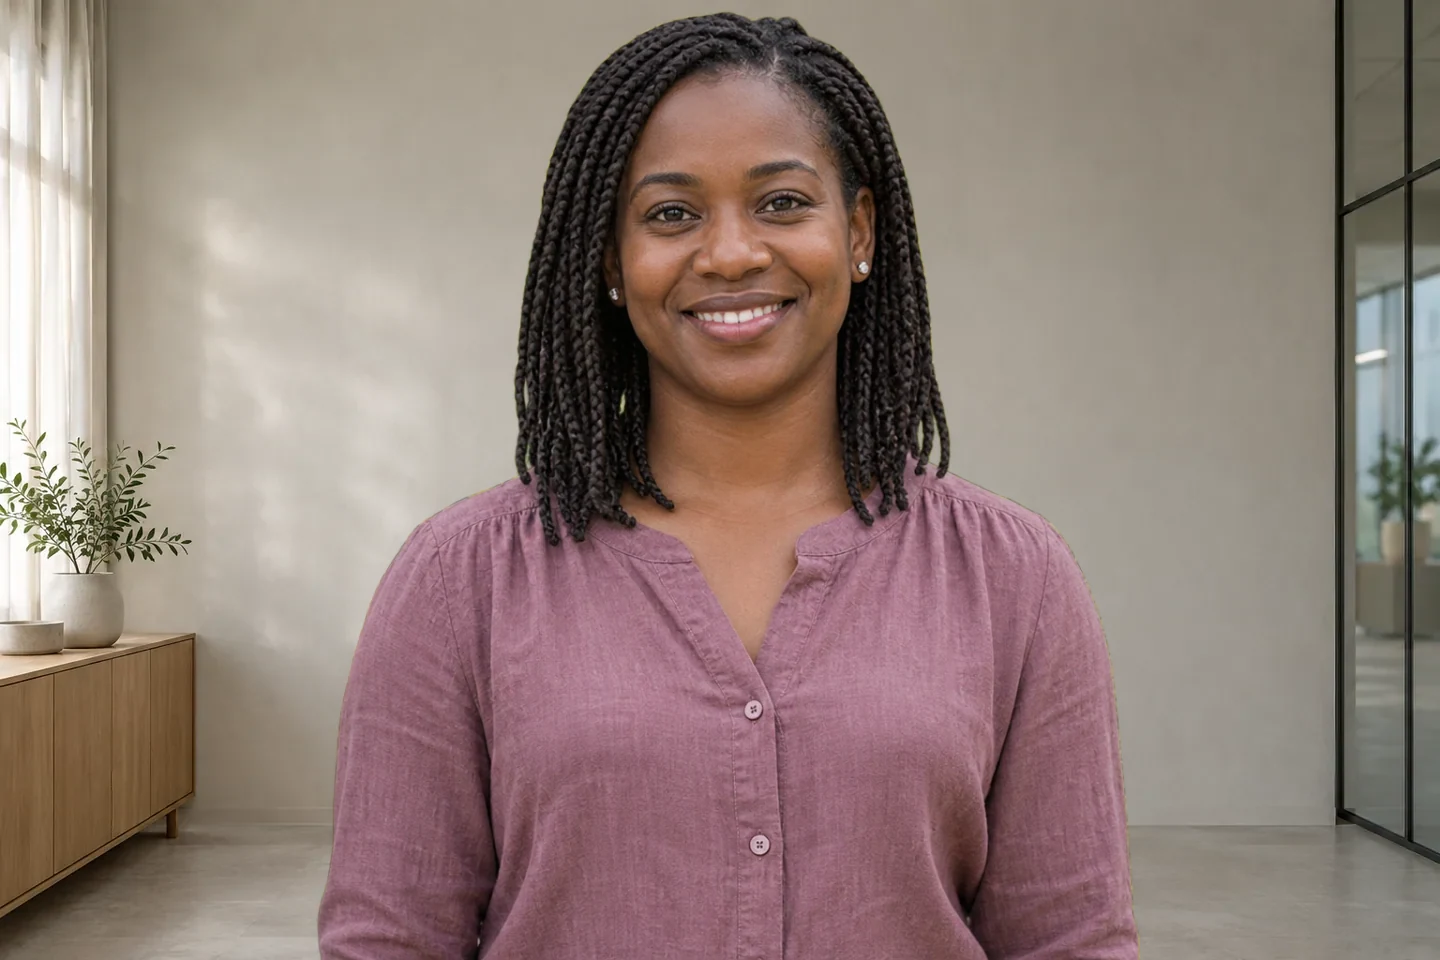
Use a clear portrait for a LinkedIn profile, professional community, or speaker introduction. Choose a quiet workspace that leaves your face easy to recognize at a small size. After downloading, finish the crop in the platform you use and check that your eyes and shoulders remain comfortably inside the frame. The background provides context; your expression should carry the introduction.
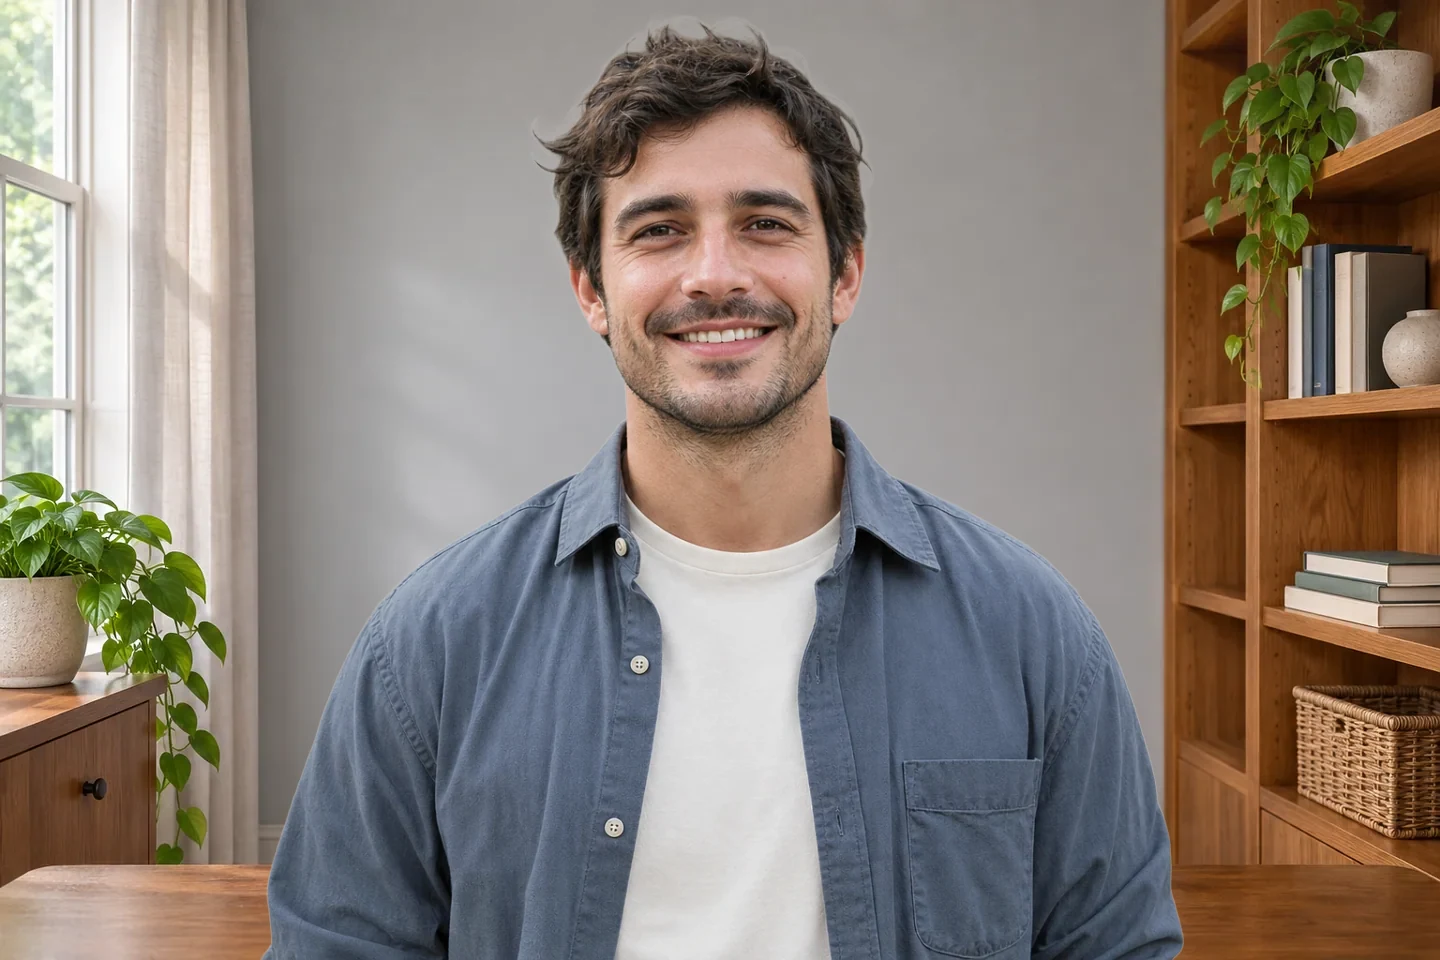
Prepare a portrait for an About page, proposal biography, or author profile without arranging another shoot just to change the room. Pick a setting that suits your work and matches the lighting in the source image. Review the final file within your actual page layout, especially where text or a tight crop sits beside the photograph.
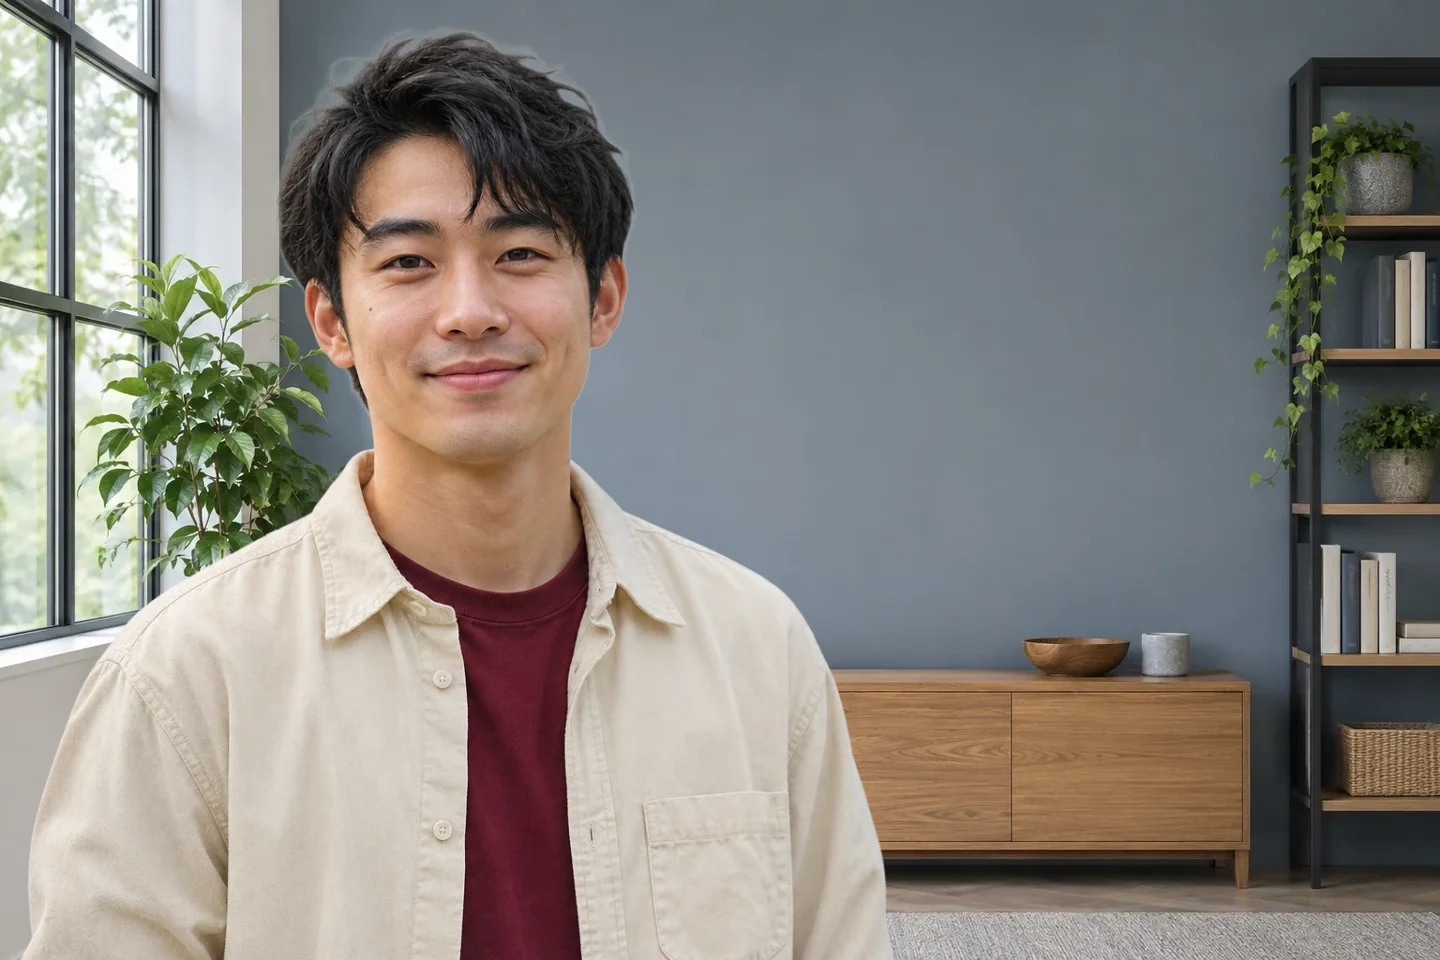
For individual staff portraits, use the same selected scene across separate edits and start with similarly framed photos. Keep the original lighting and camera angle in mind, since a shared backdrop alone will not make every portrait identical. Review each person separately, then check the images together in your directory layout. This is a photo-by-photo workflow for preparing individual files.
You can use the free PNG download option for the finished composition. Check the pixel dimensions shown beside the download control before saving. If larger exports are available, follow the options displayed in the editor. A free download does not mean every source image is exported at its original dimensions, and changing the scene does not add detail to a low-resolution portrait.
Upload a JPG, PNG, or WebP file up to 15 MB. The edited photo downloads as a PNG containing both your subject and the selected room. It is a complete composition, rather than a transparent cutout. Keep a copy of the source photo if you plan to make other edits later, and check the dimensions required by the place where you will use it.
This workflow exports your uploaded photo combined with a selected scene. It does not provide a separate download for the empty room. If you need a standalone backdrop for a presentation, a video meeting, or another design, use a source that provides the background file itself and explains its usage terms. A preview or example image is not a promise of a separate asset download.
Start with a sharp photo and choose a scene with lighting that comes from a similar direction. Check the scale of furniture behind the person and avoid strong lines passing directly behind the face. Compare hair, glasses, and clothing with the original. If the outline is incomplete or the lighting looks incompatible, use a clearer source photo or a different scene rather than relying on the background to fix the portrait.
The editor uses AI to separate the subject from your uploaded photo, then combines it with a scene you select. It does not turn a written prompt into a new room. The person's face, pose, and clothing come from the source image. Choose among the available settings to change the surroundings, and review the outline after processing to check that the subject is complete.
A scene may already appear softly focused, but that is different from applying an adjustable blur effect. The scene replacement workflow does not include a blur control. If you want to soften the existing surroundings while keeping the person sharp, use the separate background blur tool. Review that result on its own, since blurring a room and replacing it solve different problems.
This page edits still photos. It does not process a live camera feed or connect to a meeting app. A virtual office background normally needs a standalone scene image that the meeting software places behind you. The portrait composition saved here already contains the person, so it serves a different purpose from an empty background file for a live call.
The result depends on your source image, the scene file, and the export option available for that photo. Changing the surroundings does not restore missing detail or automatically upscale the portrait to 4K. Read the pixel dimensions before downloading and compare them with your intended use. Start with a sharp source file instead of expecting a new backdrop to repair blur in the face.
The first edit may need to download the AI model before processing begins. Timing varies with your device and connection, and the workflow requires a WebGPU-compatible browser. If processing fails, check the message shown in the editor and your browser's hardware acceleration support. Allow the current operation to finish before changing files, and keep the original photo available if you need to start again.
Find out what to upload, how the scene is applied, and what the finished download includes.
Choose a photo that already captures the expression you want to share. Compare the available scenes, check the details around the person, and save a composition that fits your profile or business page.
Choose My Office Background