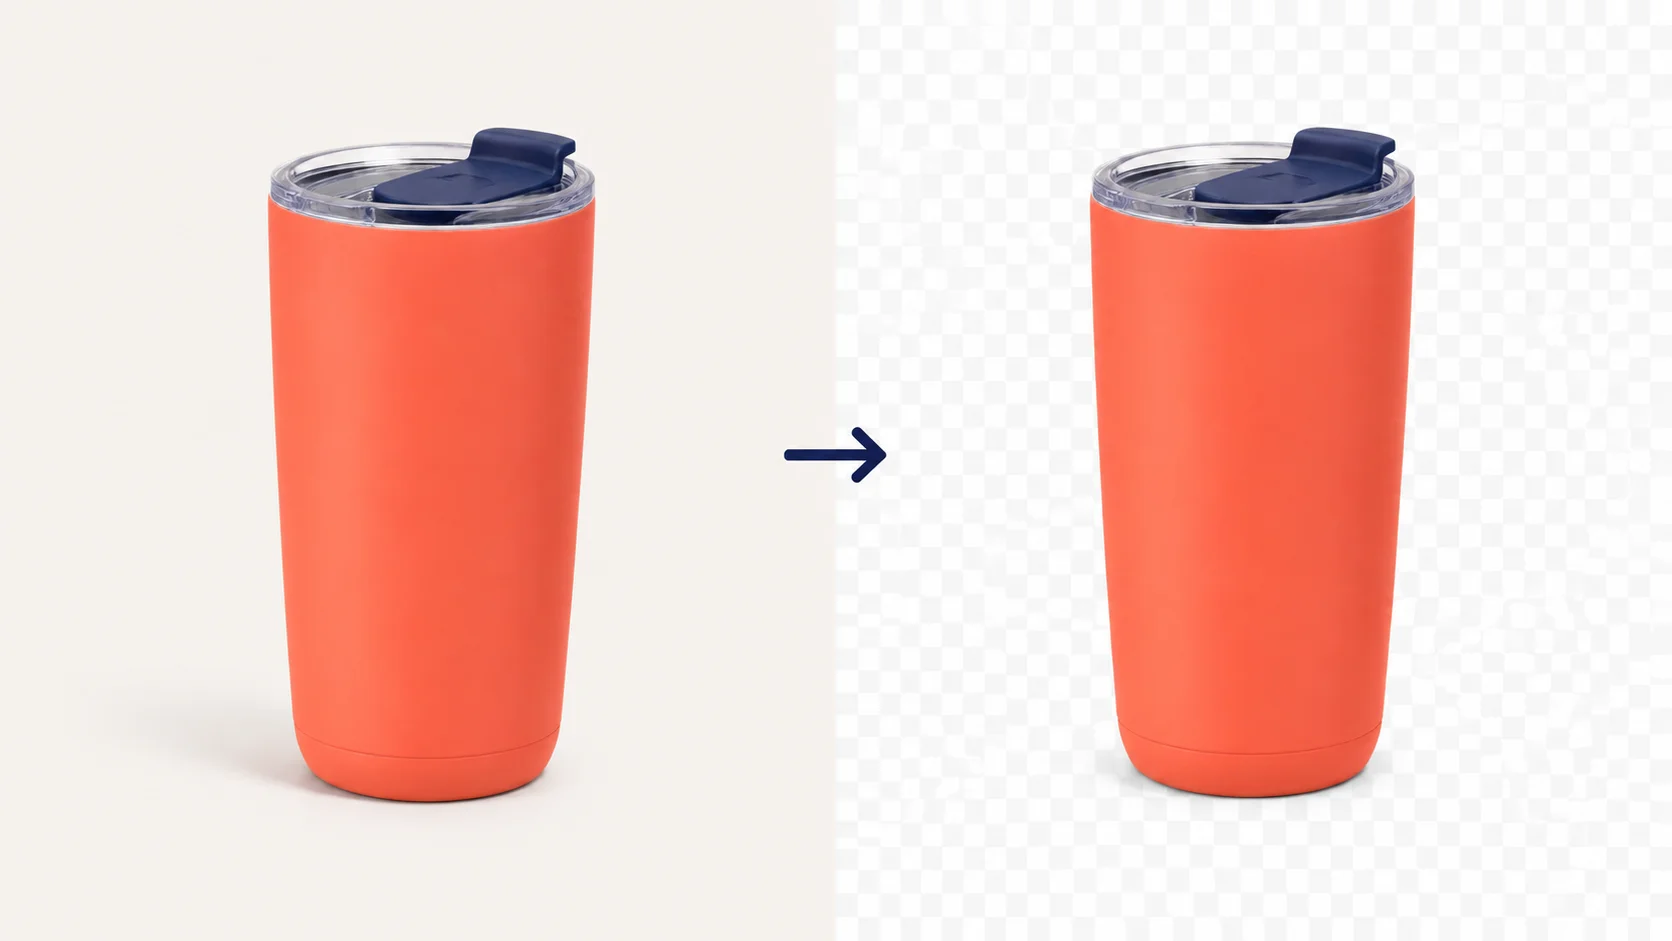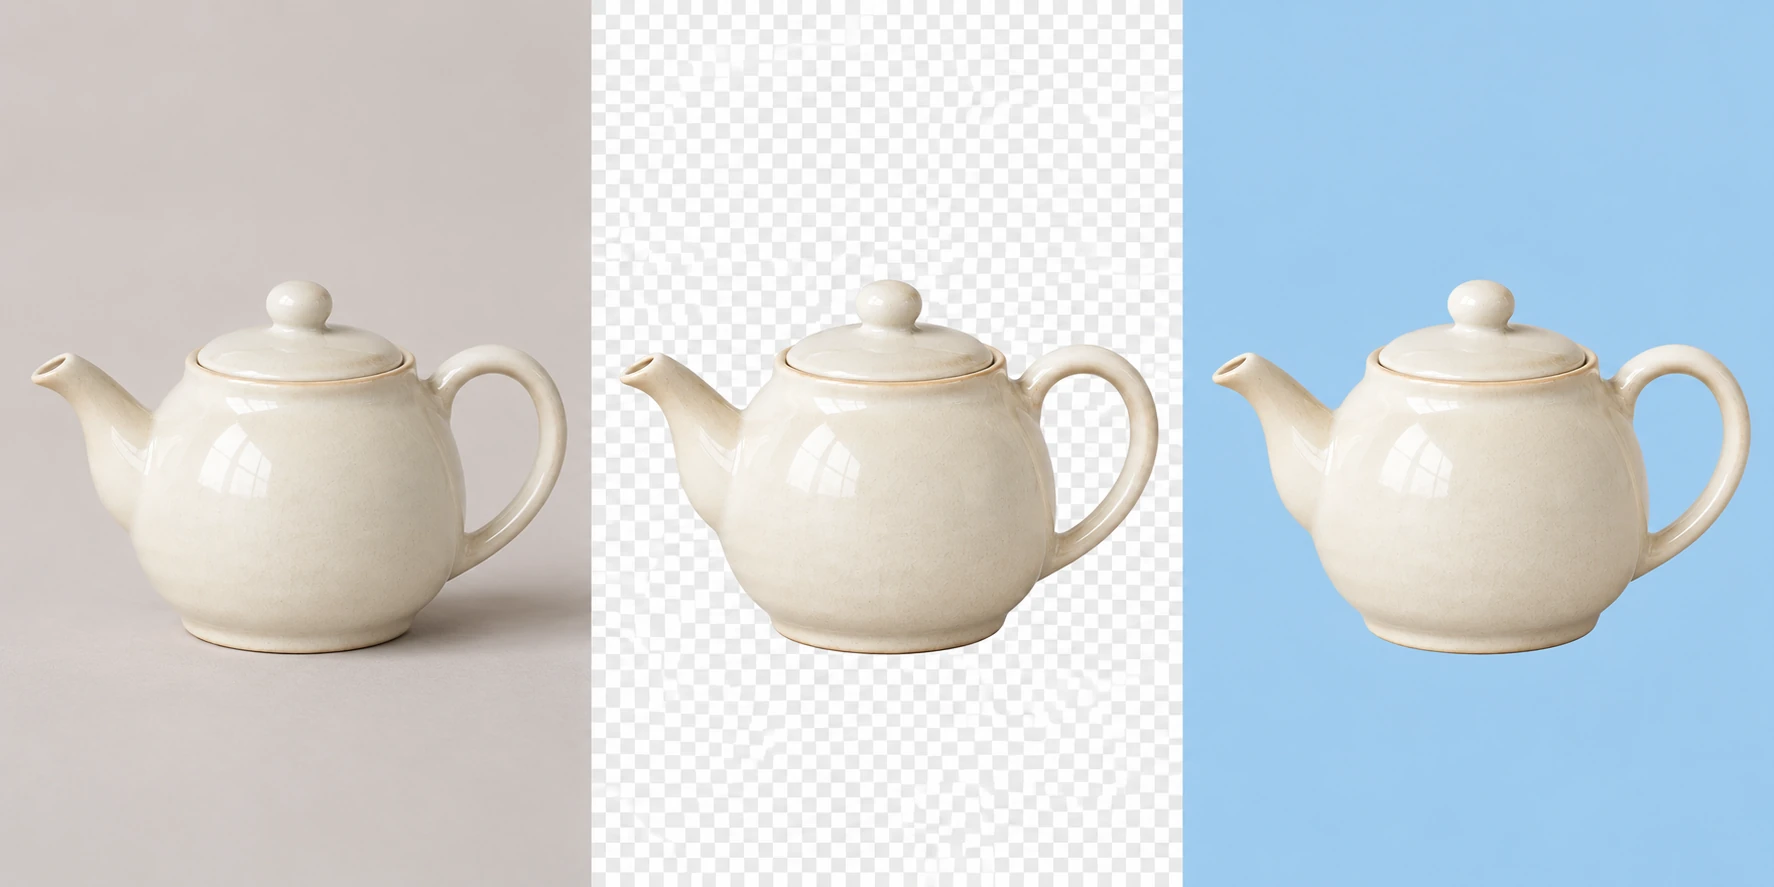
To make a JPG background transparent, upload the photo, wait for background removal, select Transparent, and download a PNG. JPG and JPEG cannot save transparent pixels, so the finished file will be a PNG with the subject still visible and its surroundings cleared.
Make your JPG background transparent with the steps below.
How to Make a JPG Background Transparent Online
1. Upload Your Original JPG or JPEG
Choose Upload an image and select a JPG or JPEG up to 15 MB. Both extensions use the same image format. Use the original photo if you have it, and keep a copy for comparison.
Background removal starts after you select the file. Keep the tab open while processing finishes. The first run may take longer while the model downloads. If a compatibility warning appears, try a browser and device with WebGPU support.
2. Review the Cutout With Transparent Selected
When the result appears, confirm Transparent under Output background. Look around the hair, shoulders, or product outline. Compare small details with the original before saving.
Look for the checkerboard around the subject and through any openings that should be empty. In the three-photo comparison above, the middle teapot has a checkerboard inside its handle as well as around its outline. The white ceramic stays visible. Use those same checks on your own result.
3. Download the PNG
Read the pixel dimensions on the download option before saving. A free PNG is available. If your source photo is large, compare the free download with Original size and check the displayed credit cost for that option. Choose the size your design or upload form needs.
Keep Transparent selected and use the download button to save the .png. A screenshot would capture the checkerboard itself. If you switched to White or Custom color while checking the edges, switch back before downloading.
Can a JPG or JPEG Have a Transparent Background?
JPG and JPEG store opaque image pixels. They cannot record which areas should let a background show through. That is why a white rectangle in a JPG covers the design underneath it.
PNG can store transparency, including partly transparent edges. If you later export the cutout as JPG, those areas become opaque again, filled with a color chosen by the export settings.
| Format | Can it store transparent areas? |
|---|---|
| JPG / JPEG | No. Background areas remain opaque. |
| PNG | Yes. Existing background pixels still need to be removed. |
For saved-file checks and common display problems, see how to check whether your PNG is truly transparent.
Why Converting a JPG to PNG Does Not Remove Its Background
An ordinary format conversion keeps the picture’s existing pixels, including its background. Renaming .jpg to .png changes the filename alone. Background removal is the step that separates the subject from the surrounding pixels.
For example, convert a white-background teapot JPG directly to PNG and the white rectangle stays. Remove the background first, then save the cutout as PNG, and another color can show around the pot and through the handle.
If you already converted your JPG and still see a white box, upload the original JPG for background removal. You can also use the converted PNG if that is the only copy you have.
Get a Cleaner Result From Your JPG
Start With the Least Compressed Copy
Choose the original photo or an early export. Repeated JPG compression can leave blurred edges, blocky patches, or pale fringes around a subject. If you have several copies, compare the hair or product edge at the same display size and use the one with clearer detail.
Saving as PNG cannot recover detail already lost from the JPG. Enlarging a small copy will not bring back the original hair strands or fine lettering either. If the outline is already blurred in the source, try to find an earlier copy before processing it.
Keep White Details That Belong to the Subject
For a white product on a light background, compare the rim, handle, and highlights with the original. For a person, check the collar and pale clothing as well as the hair. The white shirt or ceramic surface should remain solid when the background disappears.
If fabric, a label, or part of the outline disappears, compare that spot with the source. Try a photo where the subject stands out more clearly from its background. This workflow has no manual restore brush, so use a different source if an essential detail keeps disappearing.
Use an Earlier Transparent Original When Available
If a logo or product cutout once had a transparent version, look for that file first. A later JPG copy has already replaced the transparent areas with opaque pixels. Removing its background again requires estimating the outline from that flattened image.
The earlier transparent file may preserve more accurate edges and partly transparent details than a new automatic cutout can recover.
Keep the Transparency When You Use the Finished Image
Place the downloaded PNG in your design and give the design a contrasting background. The new color should show around the subject and through the cleared openings, as blue does around the teapot in the right-hand photo. Keep the image at full opacity during this check.
Check the file saved by the download button. If a checkerboard moves with the picture after you place it on another background, the squares are part of that image. Return to the transparent download instead of using a screenshot or saved preview.
If a destination converts your PNG to JPG, transparency will be lost there. When a form accepts only JPG, check which background color it requires and save a separate filled version. If your PNG works locally but shows a box after upload, check the destination’s image version and background settings. The transparent PNG guide above explains further checks.
Questions About Making a JPG Transparent
Does JPEG Support Transparency?
No. Both .jpg and .jpeg store opaque images. Remove the background and save as PNG to retain transparent areas around the subject.
Why Is My Converted PNG Still White?
The original white pixels may still be present. Confirm that background removal finished and Transparent was selected. A photo viewer can also display transparent areas as white, so test the file over another color before editing it again.
Can I Make a JPG Transparent on My Phone?
Yes, with a compatible browser and device. Choose the JPG from your files or photo library, wait for processing, and download the PNG. Look in the browser’s downloads or your file manager if the saved file does not appear in your photo library.
Can I Make the Whole JPG Partly Transparent?
That requires a whole-image opacity control, which makes the person or product fade too. The tool here removes backgrounds and has no whole-image opacity slider. For a solid subject with empty space around it, use the background-removal steps above.
Have your original JPG ready, then use the tool below to remove its background. Before saving the PNG, check the subject’s outline and any gaps that should be transparent.
For another background-removal workspace, you can also create a transparent background.