Skip Tracing the Subject by Hand
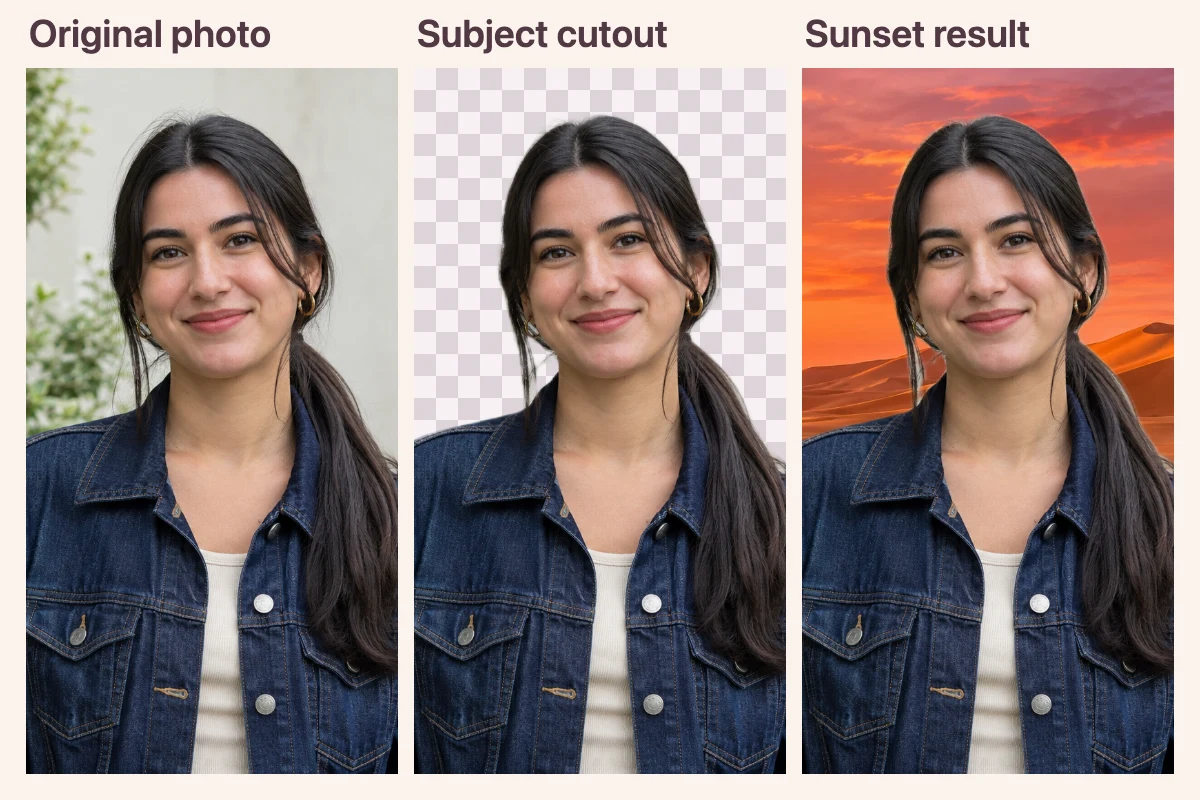
The editor uses a subject mask to separate the foreground from the original setting. That gives you a starting point for the new composition without having to draw around the person yourself.
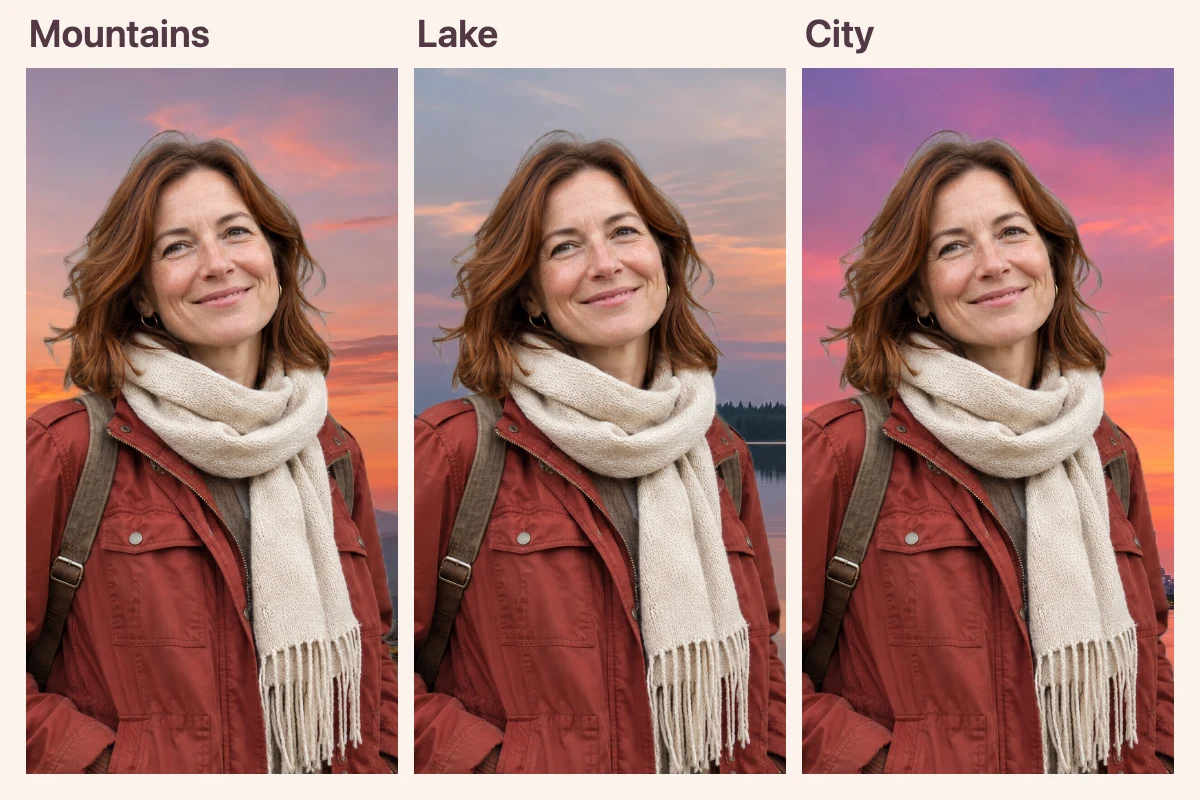
Upload a portrait, selfie, or travel photo and choose a sunset scene. The editor separates your subject from the old setting so you can see how the new backdrop looks before you save.

JPG, PNG, or WebP · Up to 15 MB
Loading your selected scene…
AI processing requires a WebGPU-compatible browser and a model download.
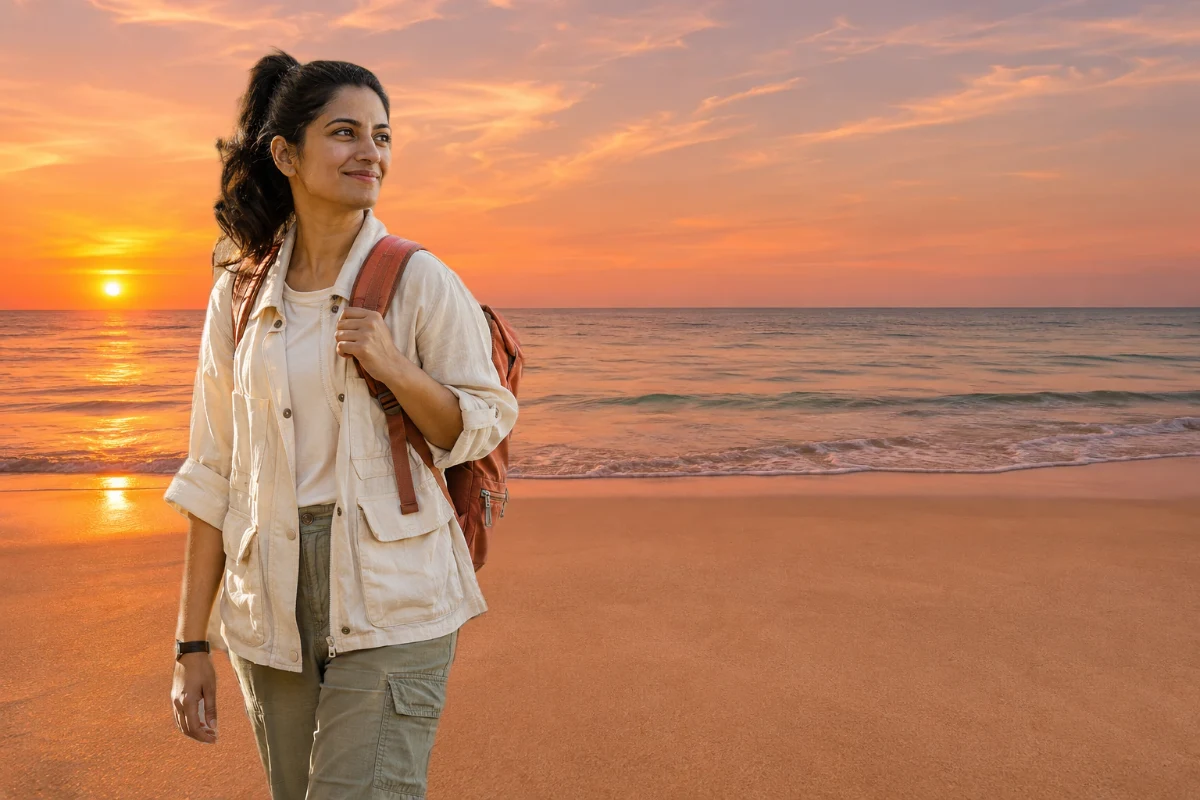
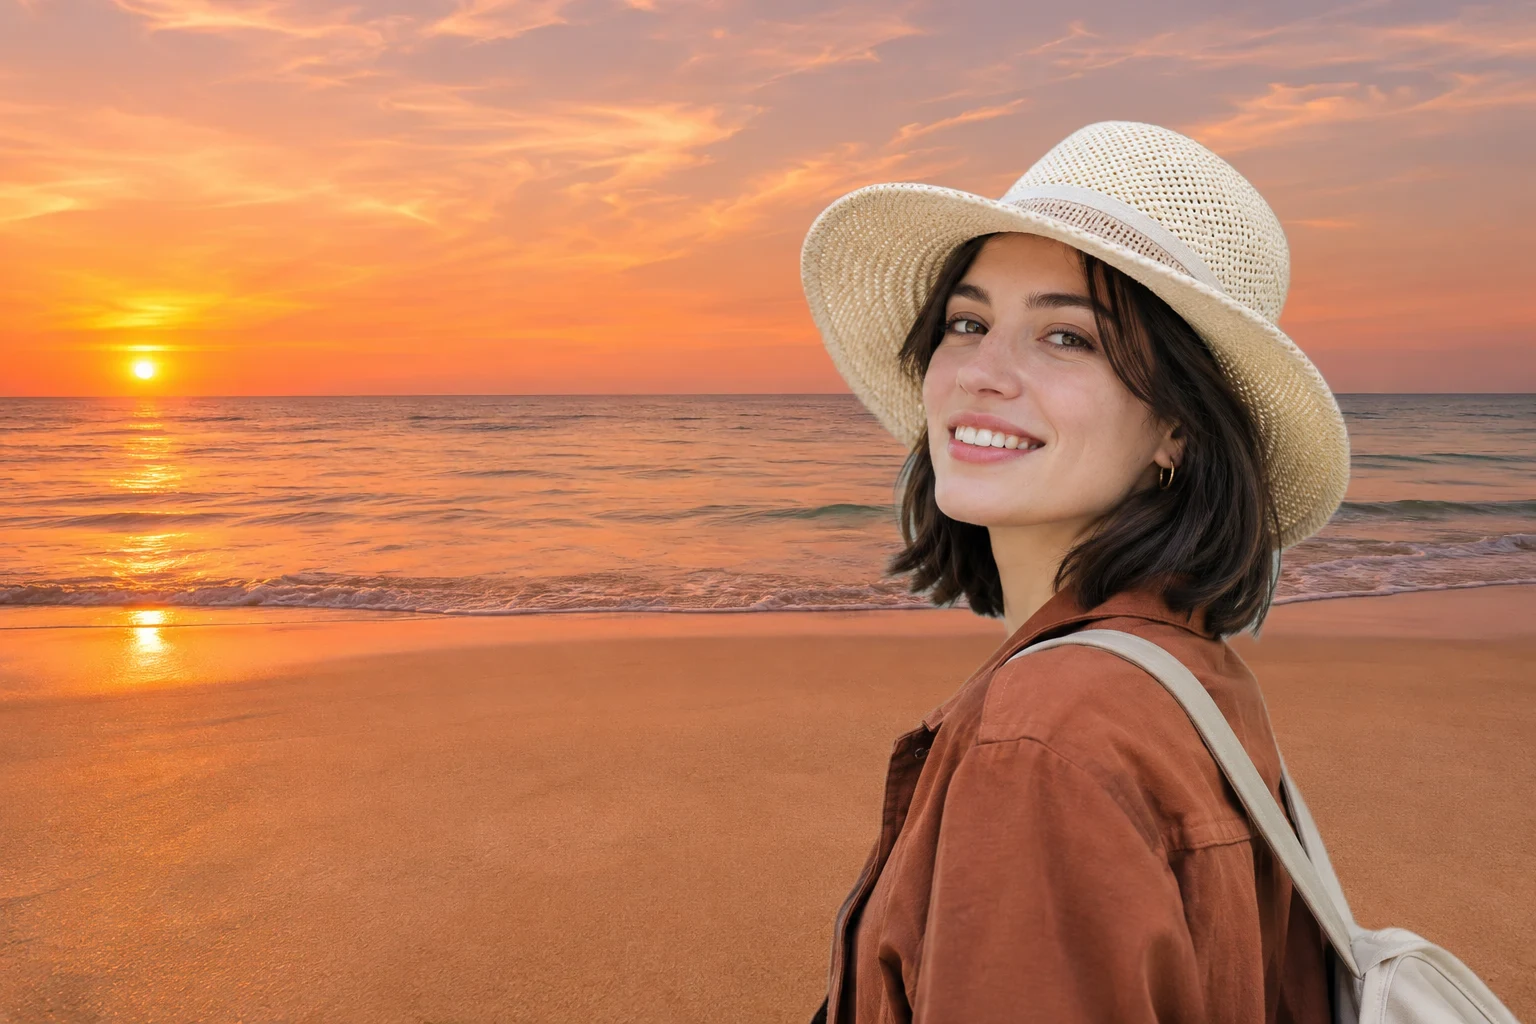
A beach sunset background gives a vacation portrait a shoreline and a clear horizon. An open sunset sky background leaves more room around a face or a pair of shoulders. Try the same photo with each scene and look at where the light is coming from. If the light hits the left side of your face, look for a backdrop lit from that side too.

Start with a selfie or couple photo you’d like to keep. The editor takes the foreground from your upload and replaces the setting around it. In the preview, look at the space between two people and around hair, glasses, or hands. If an important detail gets lost, start with a clearer original.
Change My Photo Background
For a profile update or a travel post, choose a calmer scene if you want the face to stand out. If you plan to add a caption in a design app, look for open space in the composition before saving. Download the edited PNG, then crop it for your post or add it to your layout.
Create My Sunset Photo
Upload a photo, pick a scene, and let AI replace the background. Review the result and download a PNG.
Choose a JPG, PNG, or WebP image up to 15 MB. Start with a photo where the subject stands out clearly from the original background.
Choose a sunset preset and select Apply Background. The editor separates your subject from the original scene and places it over your chosen backdrop.
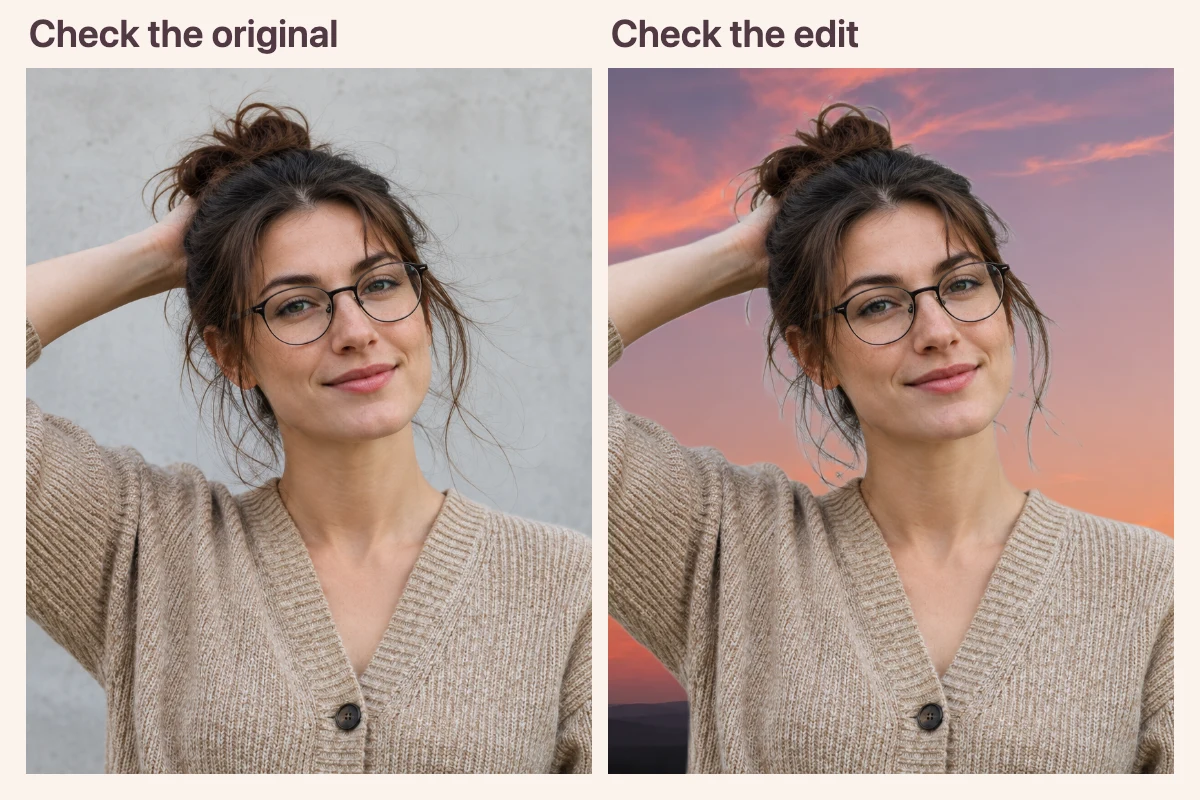
Switch between the original and edited views to check the edges. Look at the displayed export size, then download the edited photo as a PNG.
Free BGRemover separates your subject and places it into the scene you choose, so you can change the setting without tracing a cutout by hand. Use a selfie for a profile refresh or a favorite travel portrait for a post, then save the finished photo for wherever you plan to share it.

The editor uses a subject mask to separate the foreground from the original setting. That gives you a starting point for the new composition without having to draw around the person yourself.

Switch available presets after the first result appears. The editor reuses the separated subject, so you can compare the horizon, color, and lighting of different scenes with the same photo.

Switch between your upload and the edited view to check whether the subject still looks right. Look closely at small gaps, like the space between an arm and the body.

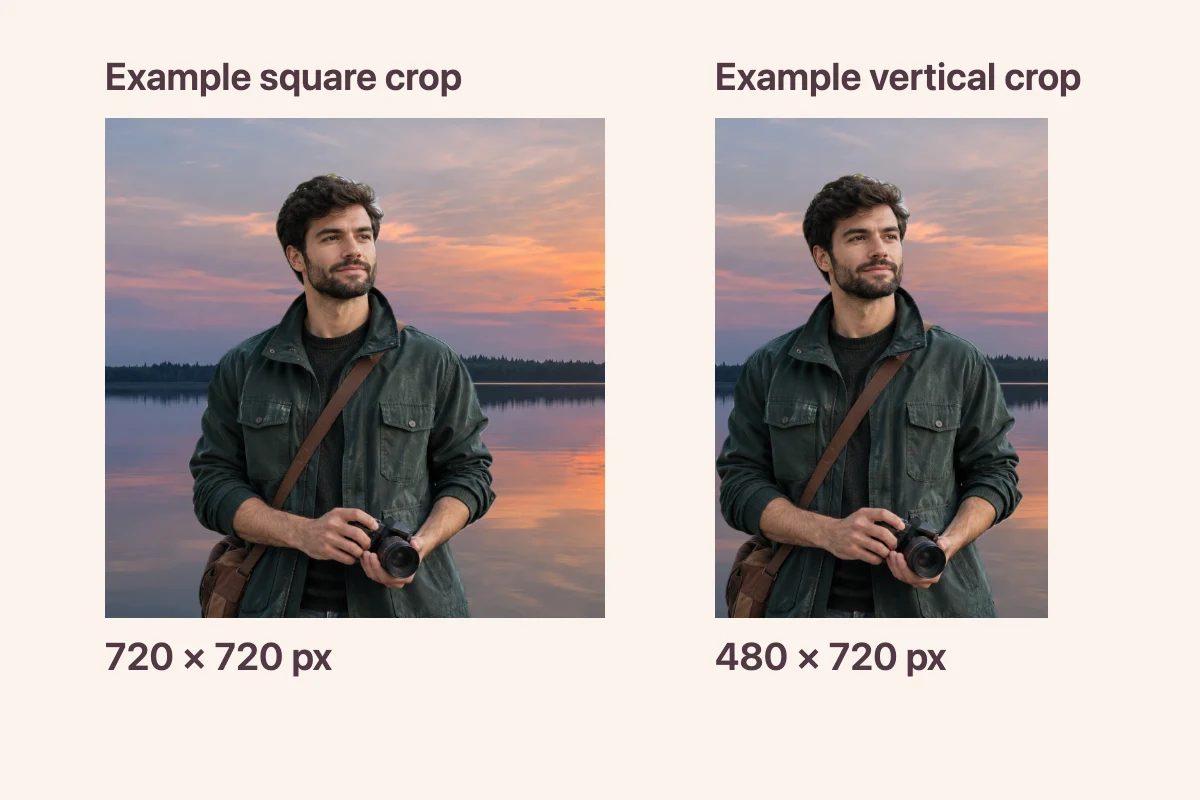
The editor displays the PNG’s pixel dimensions before download. Use that information to decide whether the file fits a profile crop, a social layout, or another design you’re putting together.
Here are a few ways to use a new evening setting with photos you already have.

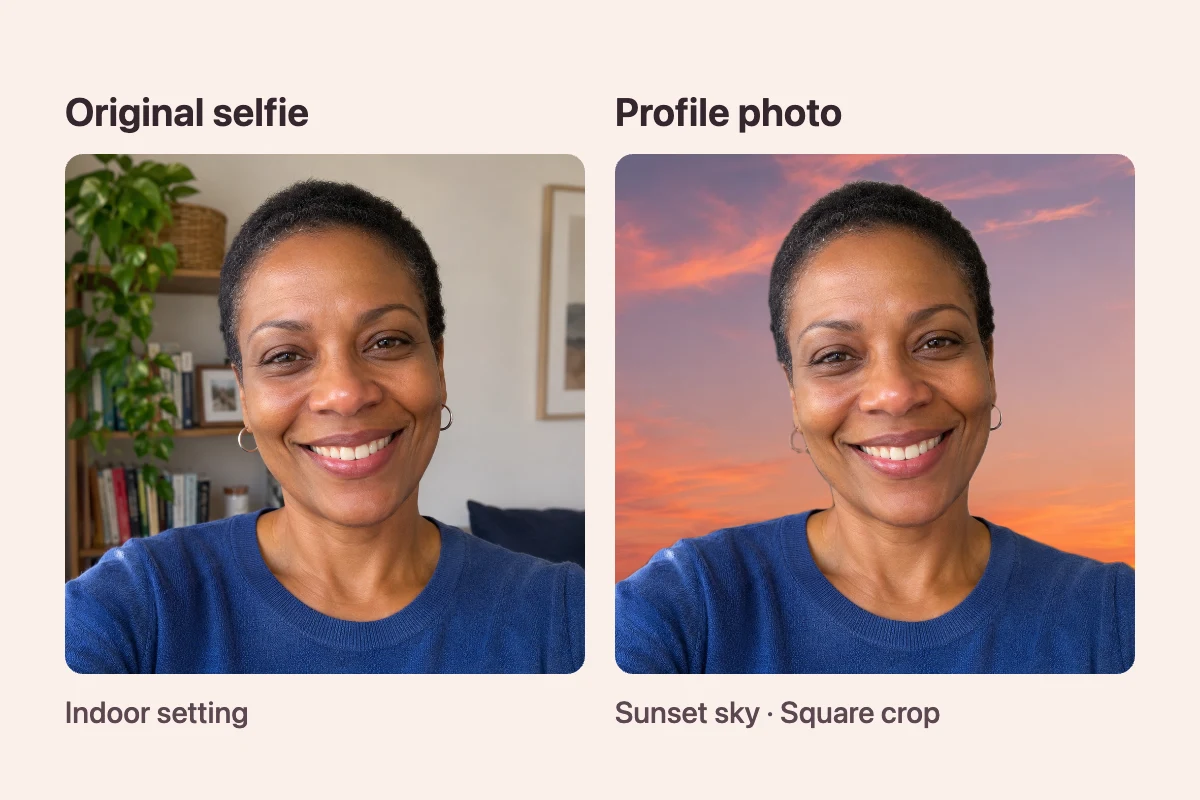
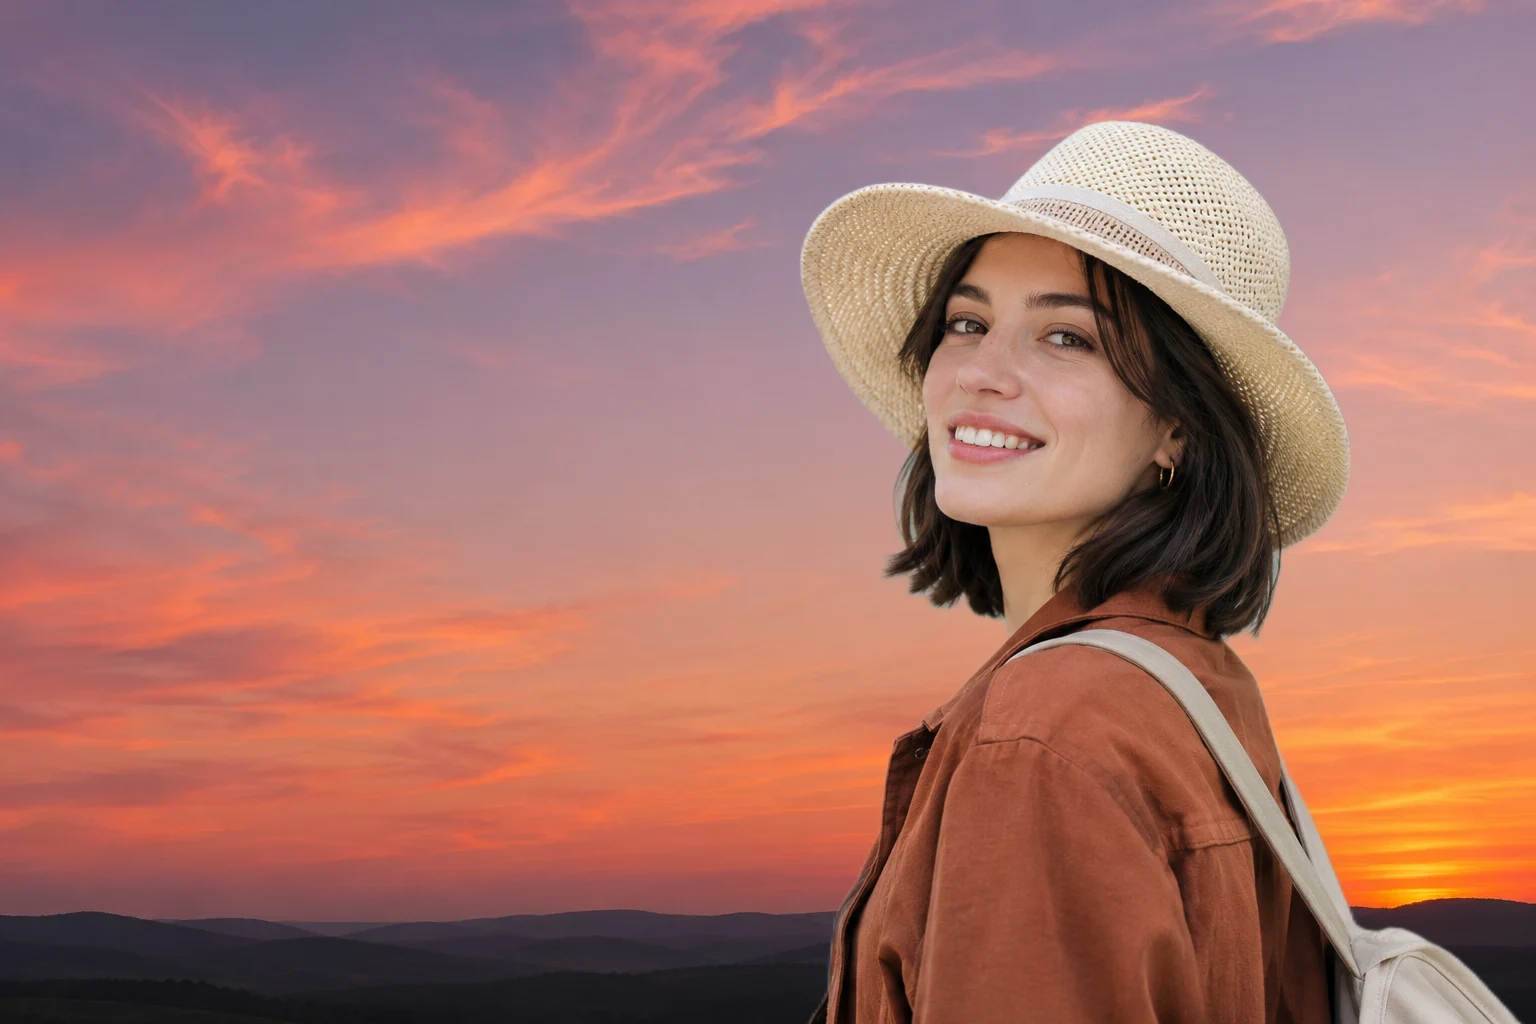
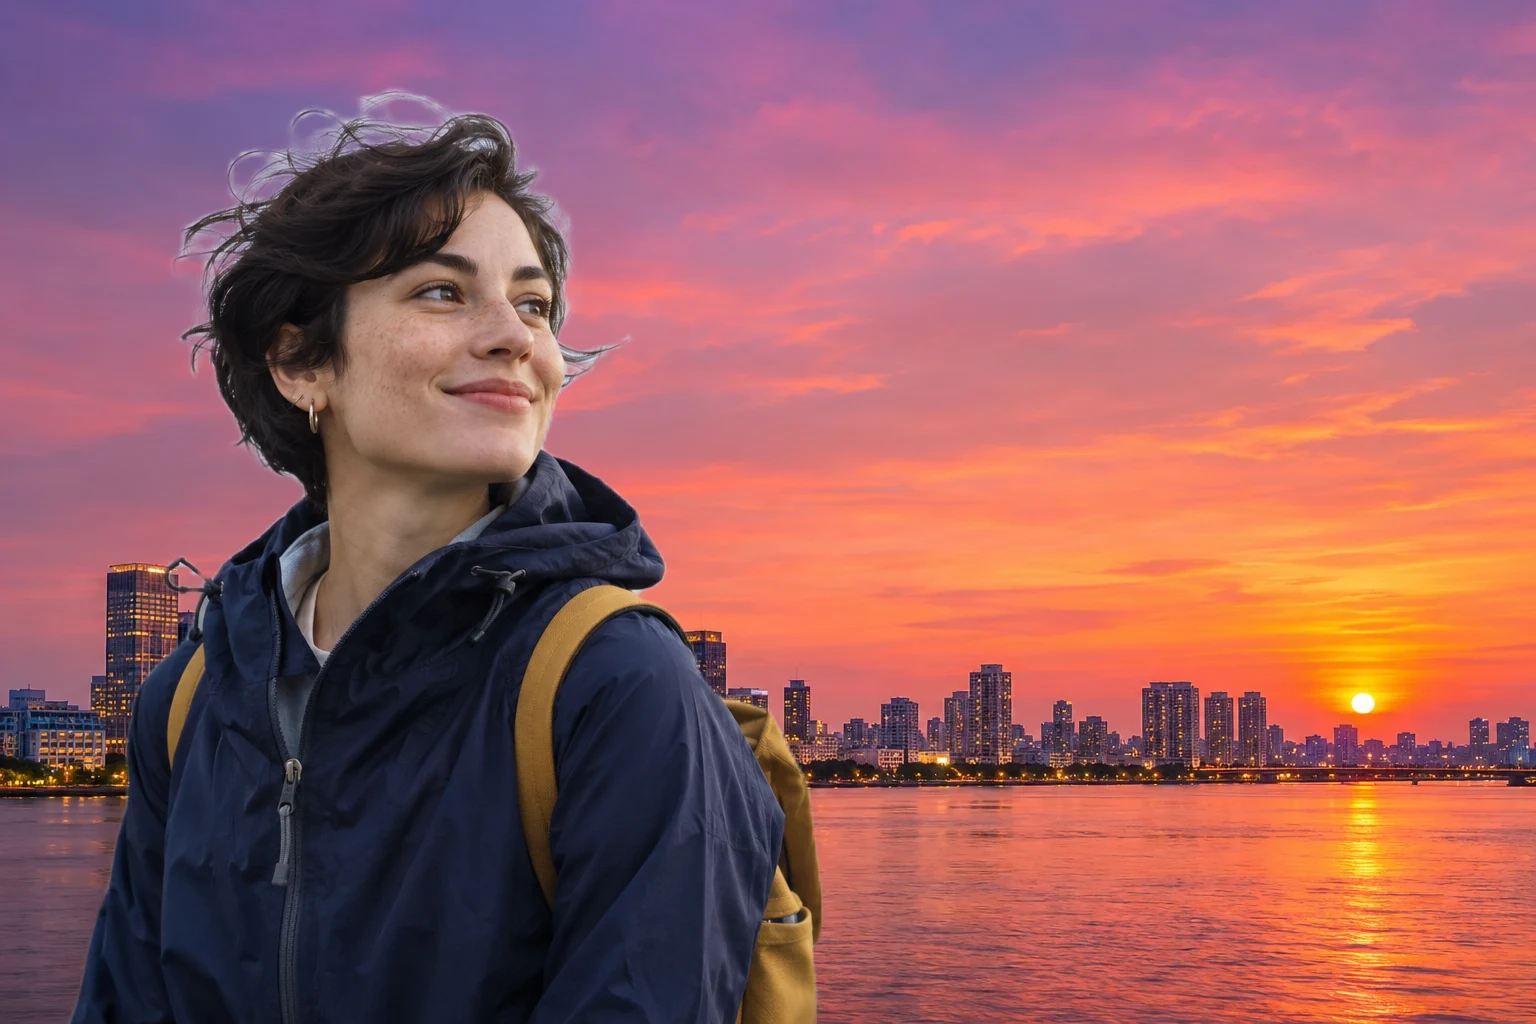
If you like the expression in a selfie but the room feels distracting, try a quieter sky behind you. Check how the finished photo will look in a square crop.
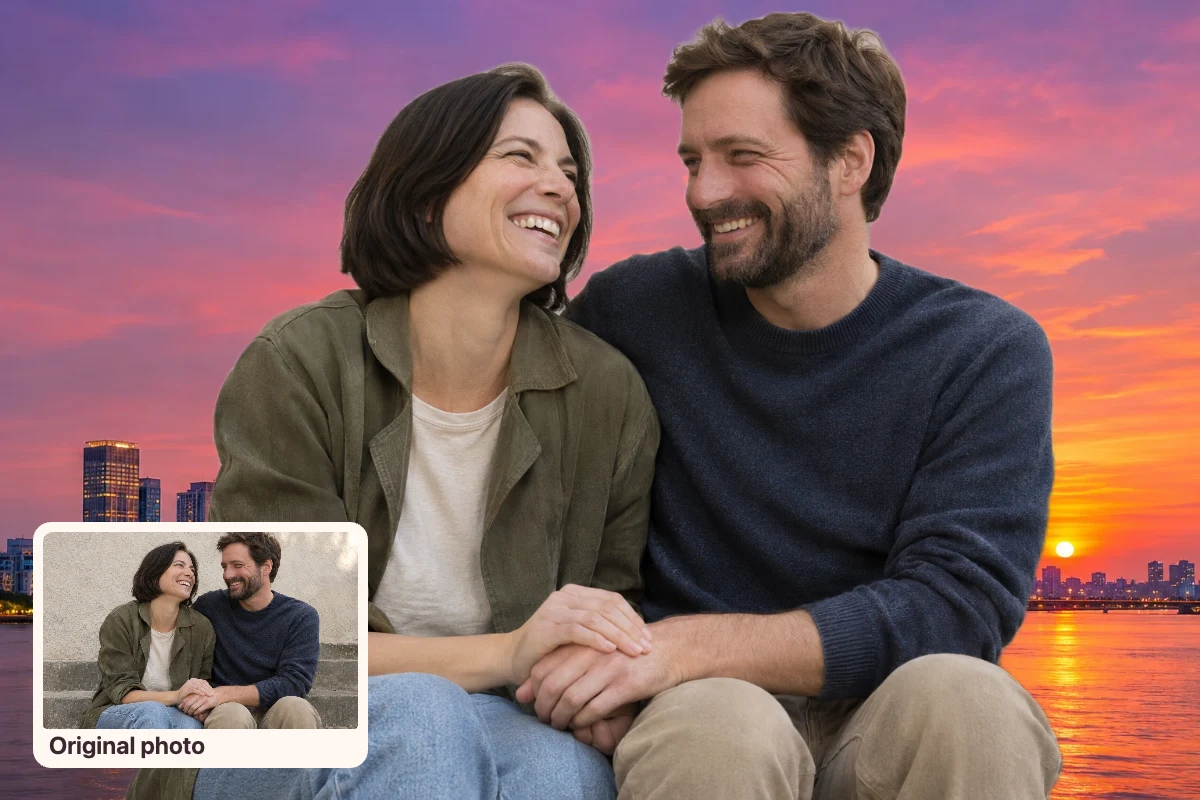
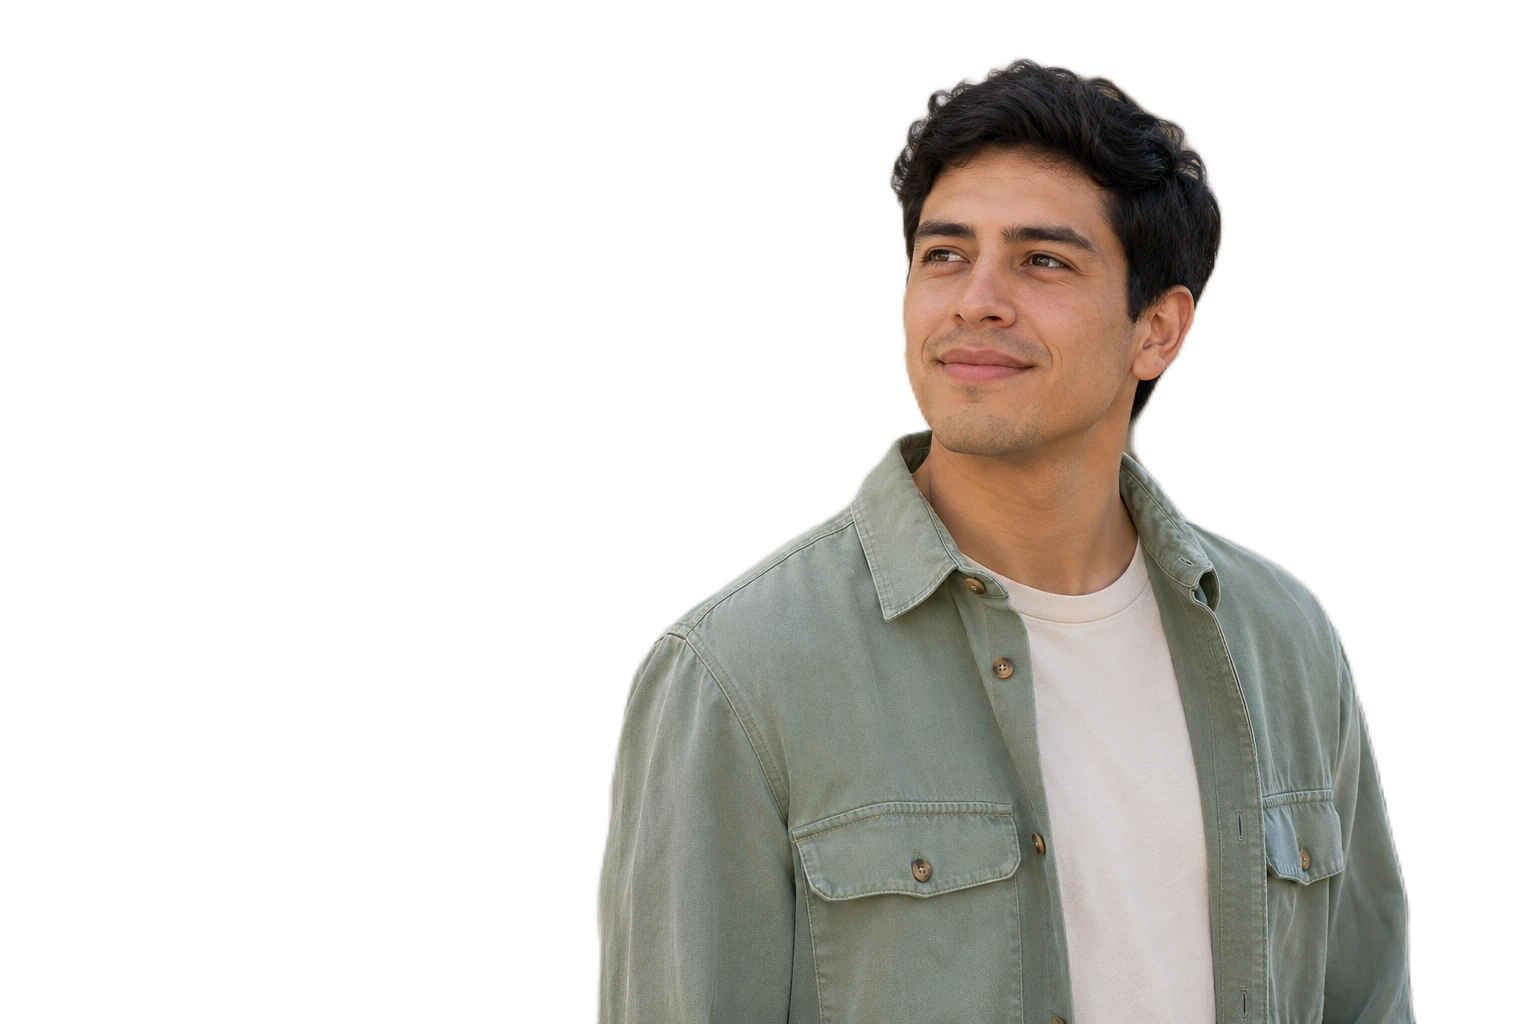
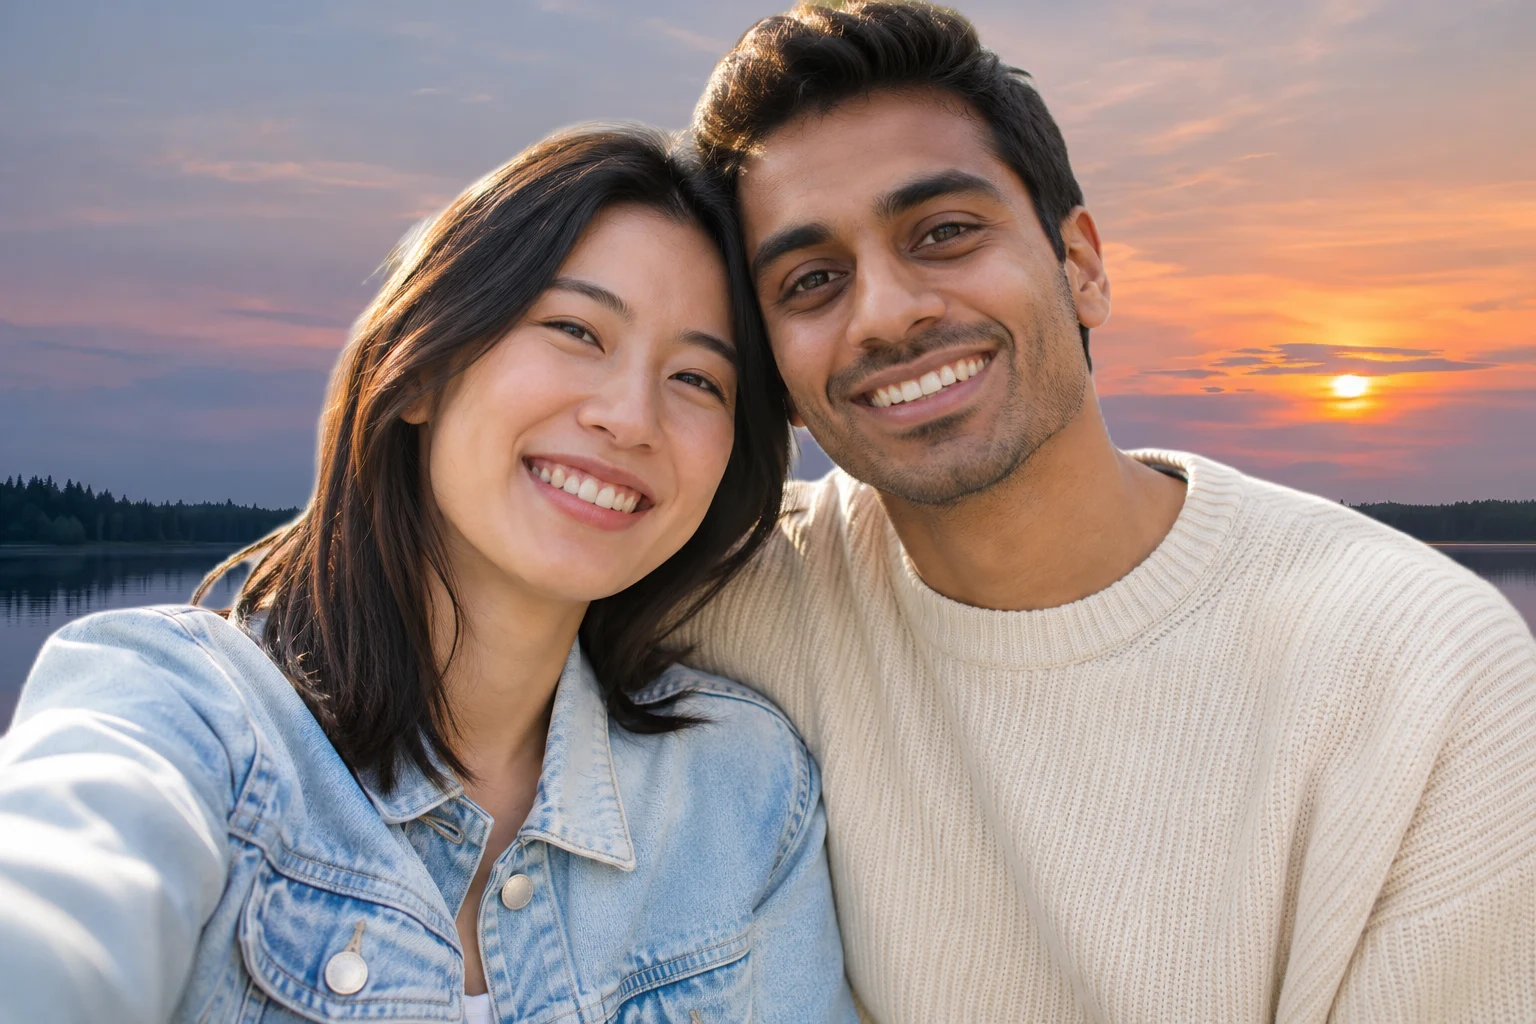
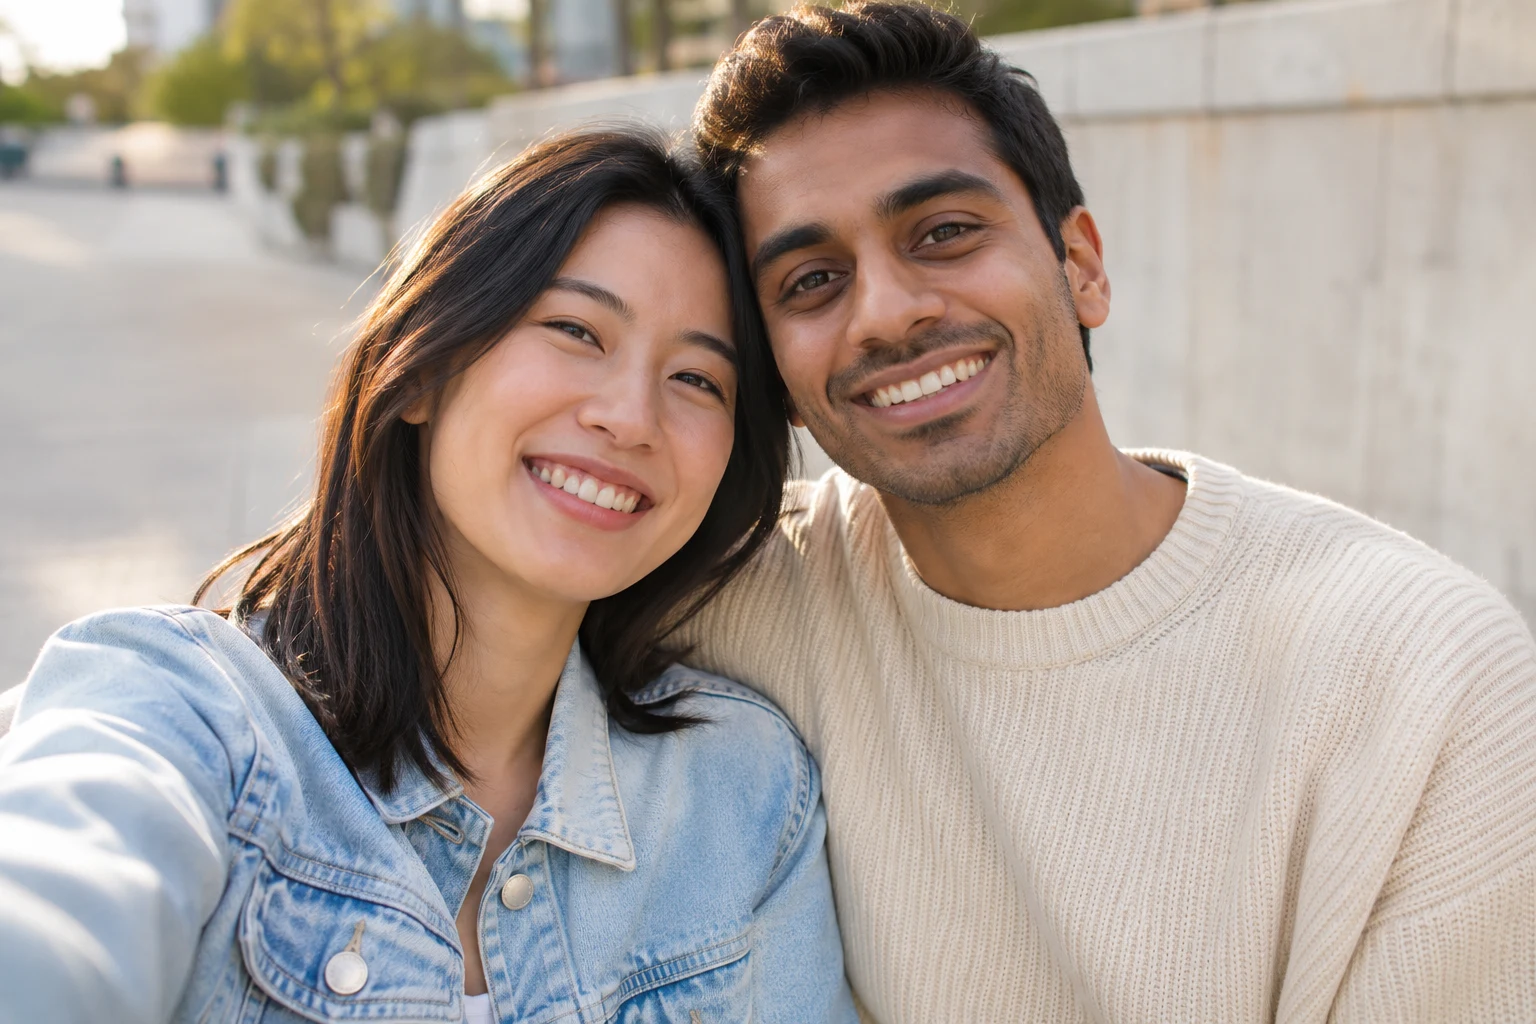
Original photoUse a favorite photo of the two of you in a sunset scene for a personal post or announcement. Pay particular attention to the edges where your shoulders or hands overlap.

Give an existing travel portrait a coastal evening setting for a photo recap. Check the horizon against the original camera angle so the new scene fits the way the photo was taken.
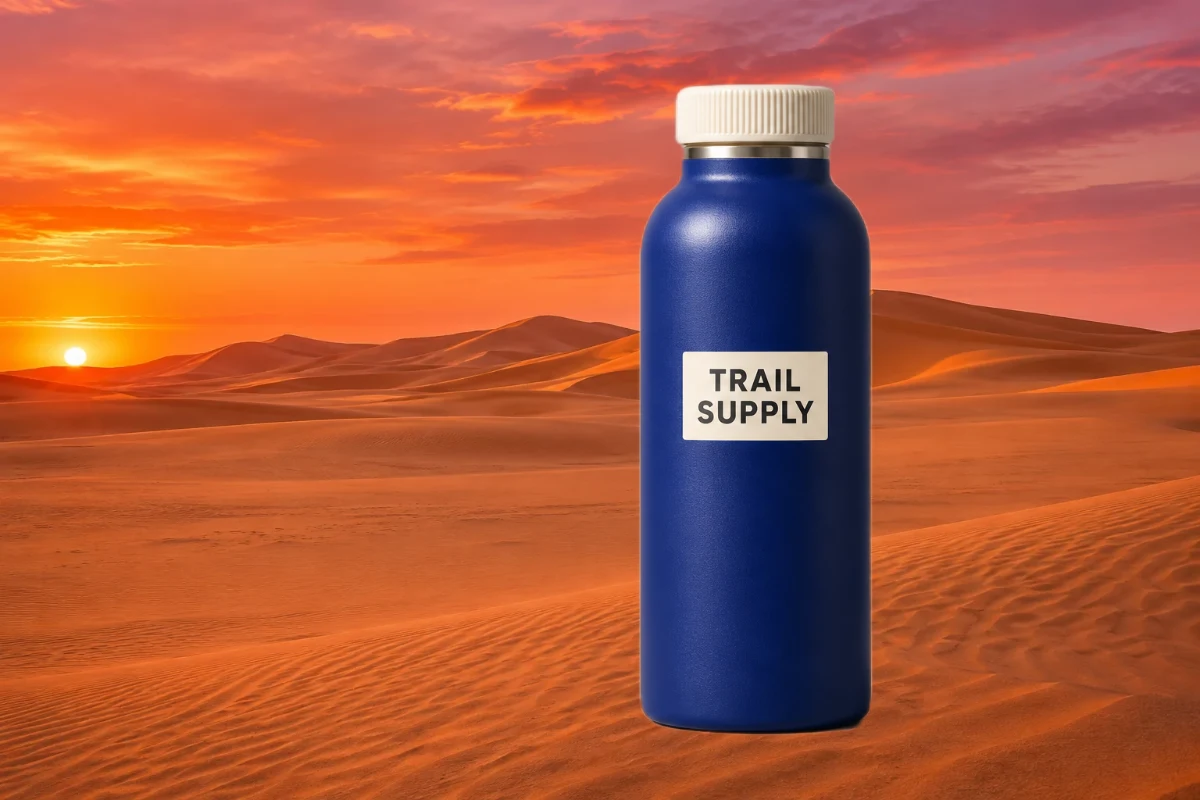
Trail flaskIf you have a product shot with a clear outline, choose a simple evening setting for a seasonal post. Leave enough contrast around the product so its shape and label remain easy to see.
Start with a clear portrait or selfie where the subject stands out from the setting. The editor accepts JPG, PNG, and WebP files up to 15 MB, and AI processing requires a WebGPU-compatible browser.
This editor changes the setting behind your subject. To keep the existing landscape and edit only the sky, use a sky replacement tool.
You’ll get a PNG with the selected scene behind your subject. The editor shows the export dimensions before you save.
Edit and download each photo individually. Select the same scene for each photo if you want the set to have a consistent look.
Find out which photos to start with, what the edit changes, and what you can download.
Start with a picture you already like and see how it looks in an evening setting.
Add a Sunset Backdrop