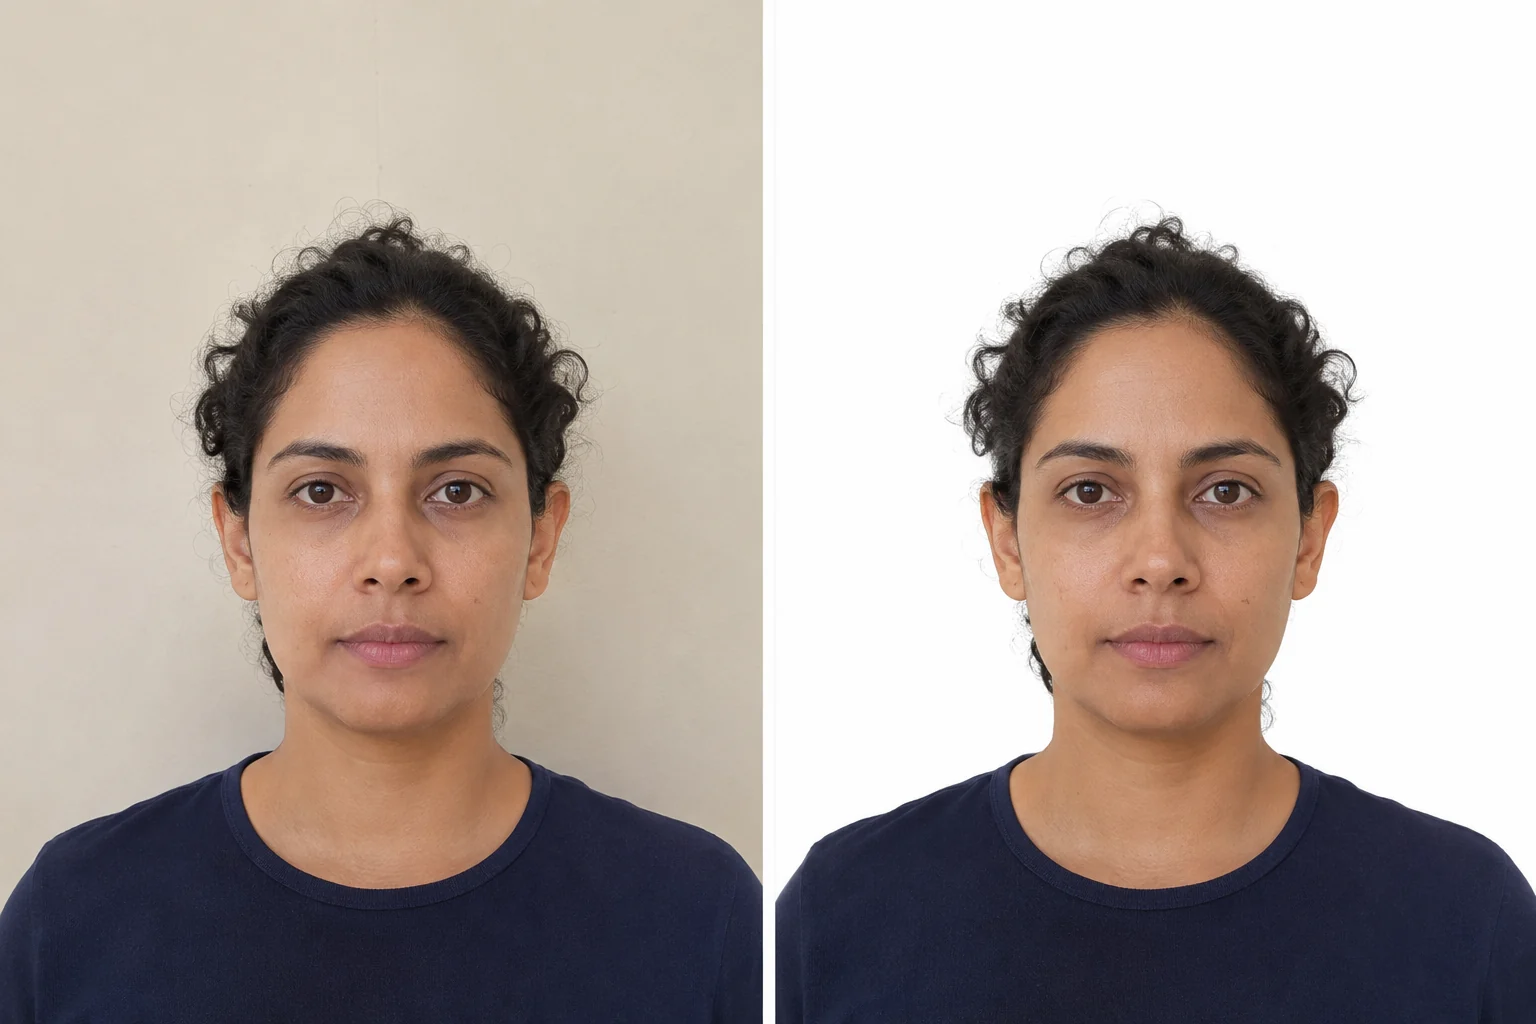
To change the background of a passport photo, upload your original portrait to the passport photo background changer, wait for automatic background removal, then choose White or Custom color and download the PNG. Before saving, zoom in around the hair, ears, and shoulders to check that no part of the person has disappeared.
For an actual passport application, check whether background editing is allowed first. The U.S. passport photo rules require an original, unchanged photo and tell applicants to retake a photo with an unsuitable background. The UK digital photo rules also require a photo unaltered by computer software. For these applications, use the retake instructions below.
If your school, employer, or another receiving organization allows an edited passport-size portrait, follow the steps below. “Passport-size” describes a photo format; it does not tell you which editing rules apply.
How to Change the Background of a Passport Photo Online
Have the original photo and the destination’s photo instructions ready. You need a sharp face, the whole head in frame, and enough space around the shoulders for the final crop. A background change cannot fix a blurry face or recover hair that was cut off when the photo was taken.
1. Upload Your Original Photo
Open Free BGRemover’s passport photo workspace and select Upload your photo. Choose a JPG, PNG, or WebP file up to 15 MB. Use the camera file rather than a screenshot or a copy compressed by a messaging app. Keep an untouched copy so you can compare the outline later.
Background removal starts as soon as you choose the file. Wait until processing finishes and the background controls appear. You do not need to trace the person or start a separate removal step.
2. Choose White or Set a Custom Background Color
Under Output background, select White for a white backdrop. The passport workspace initially uses a custom blue background, so change that selection if you need white.
To add another background color, select Custom color, then click or tap the color swatch to open the picker. Enter the requested values in the R, G, and B fields if your instructions specify an exact color. Pure white is RGB 255, 255, 255 (#FFFFFF).
Use the color requested by the receiving organization. There is no single blue or gray that suits every document. If you need blue, the blue background passport photo guide explains how to select a shade. Keep the fill uniform, without a pattern or gradient.
Do not leave Transparent selected when you need a solid background. A transparent preview may look white in one viewer and black or checkered in another.
3. Check the Person’s Outline Before Saving
Enlarge the preview and compare it with your original. Start at the top of the hair and follow the outline around both ears, down the neck, and across the shoulders.
- Hair: Look for a pale rim, leftover wall color, or curls that have been removed.
- Ears: Check that their shape is complete and matches the original.
- Neck and shoulders: Look for background patches in small gaps and missing edges of clothing.
Free BGRemover’s workspace does not have a manual restore or erase brush. If the cutout removes part of an ear or a section of hair, try a clearer original with better separation from the wall. If you cannot get a complete outline, retake the photo rather than drawing in missing features.
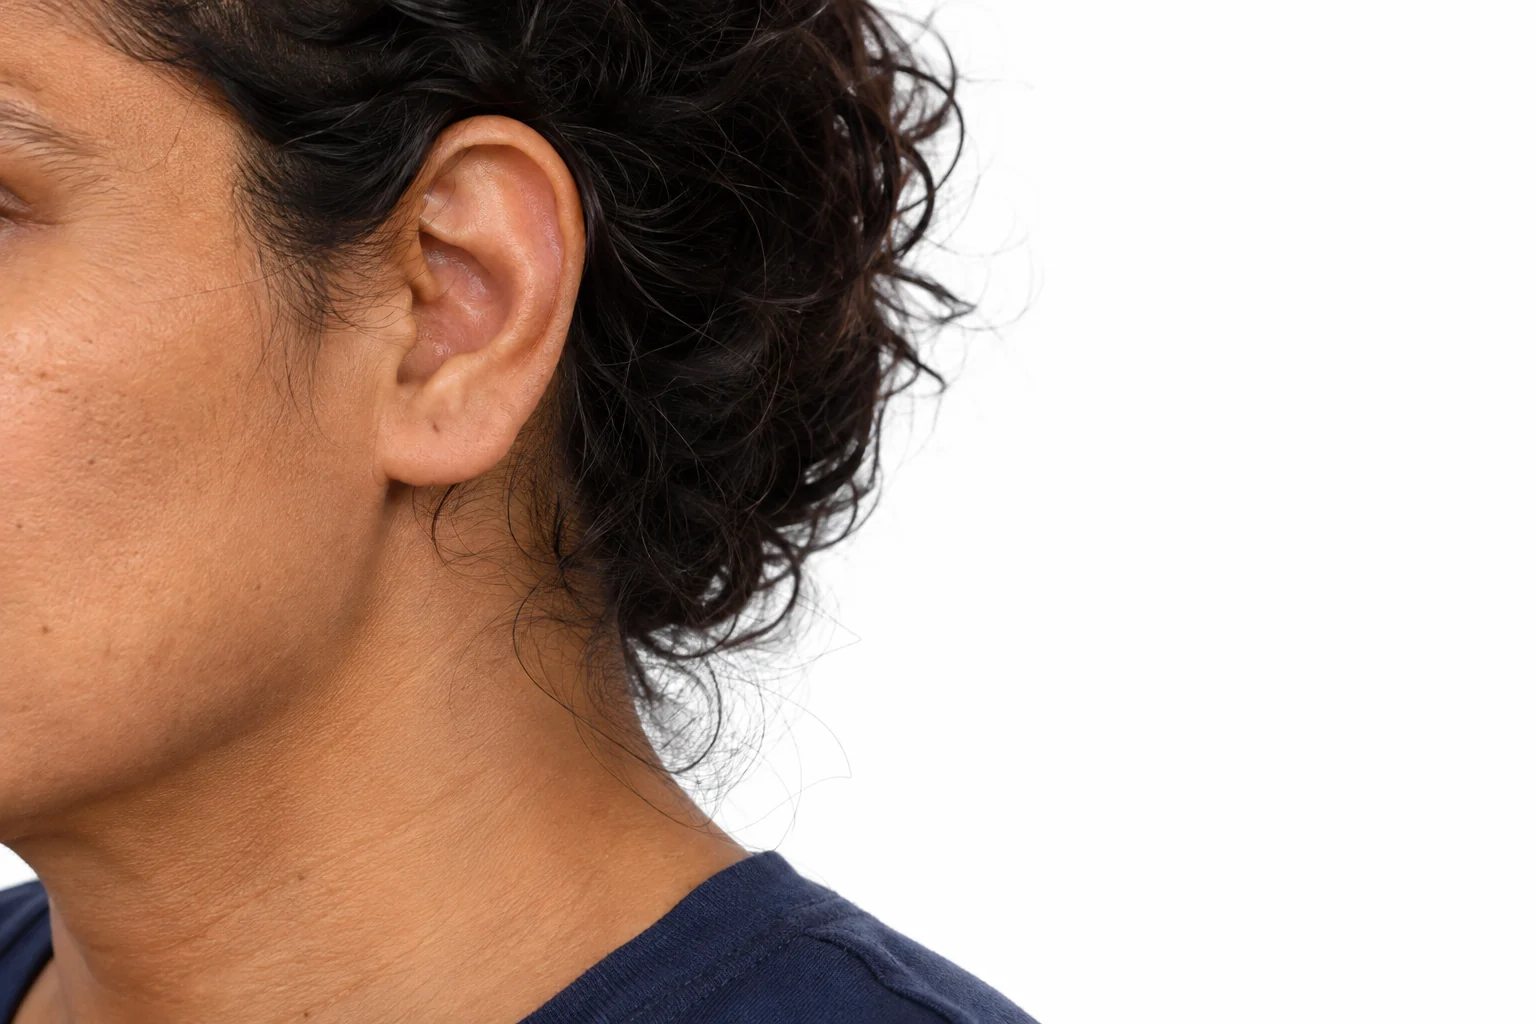
4. Download the PNG and Reopen It
Save the result using the download button. Check the pixel dimensions shown beside the download option; the preview alone does not tell you whether the saved file is large enough. If small and original-size options are shown, choose the one that meets your destination’s minimum dimensions. An original-size download may require credits.
Open the downloaded file from your device’s downloads folder. Confirm that the solid color is present, the face is sharp, and the hair and shoulders are intact. On a phone, pinch to zoom around the edges; then return to normal size to check the whole portrait.
The passport photo background changer exports PNG. It does not crop to official passport measurements, position the head to a template, or certify compliance. If your destination requires JPEG, convert the saved image before submitting. Changing the filename from .png to .jpg does not convert it.
Which Background Color Should You Use?
Start with the instructions on the form you are completing. A requirement for white, blue, or gray tells you the desired appearance; it does not grant permission to replace the background digitally.
For example, the U.S. requirements specify a plain white or off-white background without shadows, texture, objects, or lines. They also prohibit digital changes, so an unsuitable backdrop needs a retake. The UK printed photo requirements specify a plain cream or light gray background and require photos unaltered by software.
For a form that permits background replacement, use White to make the background white if white is requested. To add a custom background color, use Custom color for the specified shade. Do not brighten the entire image to turn a gray wall white: that can wash out skin, hair, and clothing while leaving the backdrop uneven.
What to Do If the Result Looks Wrong
| Problem | What to do |
|---|---|
| A white halo or old wall color remains around the hair | Compare with the original at full size. Try a sharper source with clearer hair-to-wall contrast; changing the fill color will not fix a poor cutout. |
| Part of an ear, hair, or shirt is missing | Use another original or retake. The workspace has no manual restore brush. |
| White clothing seems to disappear into the backdrop | Check whether the shoulder is still present. A white shirt can blend visually even when no pixels are missing. If the outline is unclear, retake with clothing that contrasts with the required backdrop. |
| The downloaded background looks black or checkered | Confirm that you selected White or Custom color rather than Transparent, then download again. |
| The face is blurry | Compare the original and saved pixel dimensions. Avoid screenshots and undersized exports. If the original face is out of focus, retake. |
| A shadow across the face is still visible | Retake with more even lighting. Removing the wall behind you does not remove a shadow on your cheek. |
For a remaining background patch, check the gap between the hair and neck as well as the outer silhouette. These small areas are easy to miss in a phone preview. If a checkerboard remains after choosing a solid fill, check whether the pattern is saved into the source image. If it is, try the image background remover, inspect the cutout, and apply the required solid color again.
Check Size and File Requirements Before Uploading
Keep your final file open while you compare it with the destination’s instructions. Check these separately:
- Framing: Required head size, space above the hair, and visible shoulder area. Do not stretch the face to fit a crop.
- Dimensions: Required width and height in pixels for an upload, or physical measurements for a print. “Passport size” is not a universal measurement.
- File format: PNG and JPEG are different formats. Use whichever the upload form accepts.
- File size: A file can have the right pixel dimensions and still exceed a limit stated in KB or MB.
After any permitted resizing or conversion, reopen the new file and inspect it again. Enlarging a small image will not restore facial detail. Save it under a clear name, such as portrait-white-background.png, so you can find the version you checked.
How to Retake the Photo Instead of Editing It
If your passport authority requires an unedited photo, fix the backdrop before taking a new picture. A simple setup is usually enough to start:
- Use a plain, matte backdrop in the required color. Remove objects from the frame and avoid visible seams, folds, or wall texture.
- Leave space between you and the backdrop. Take a test shot and move forward if a shadow falls behind your head or shoulders.
- Use soft, even light. Face toward indirect daylight and check both cheeks. If one side is dark, adjust your position or add reflected light before shooting.
- Keep the camera at eye level. Have someone help with framing and leave the head and shoulder room required by your application.
- Turn off beauty filters and background effects. Use normal photo mode, take several shots, and choose a sharp original.
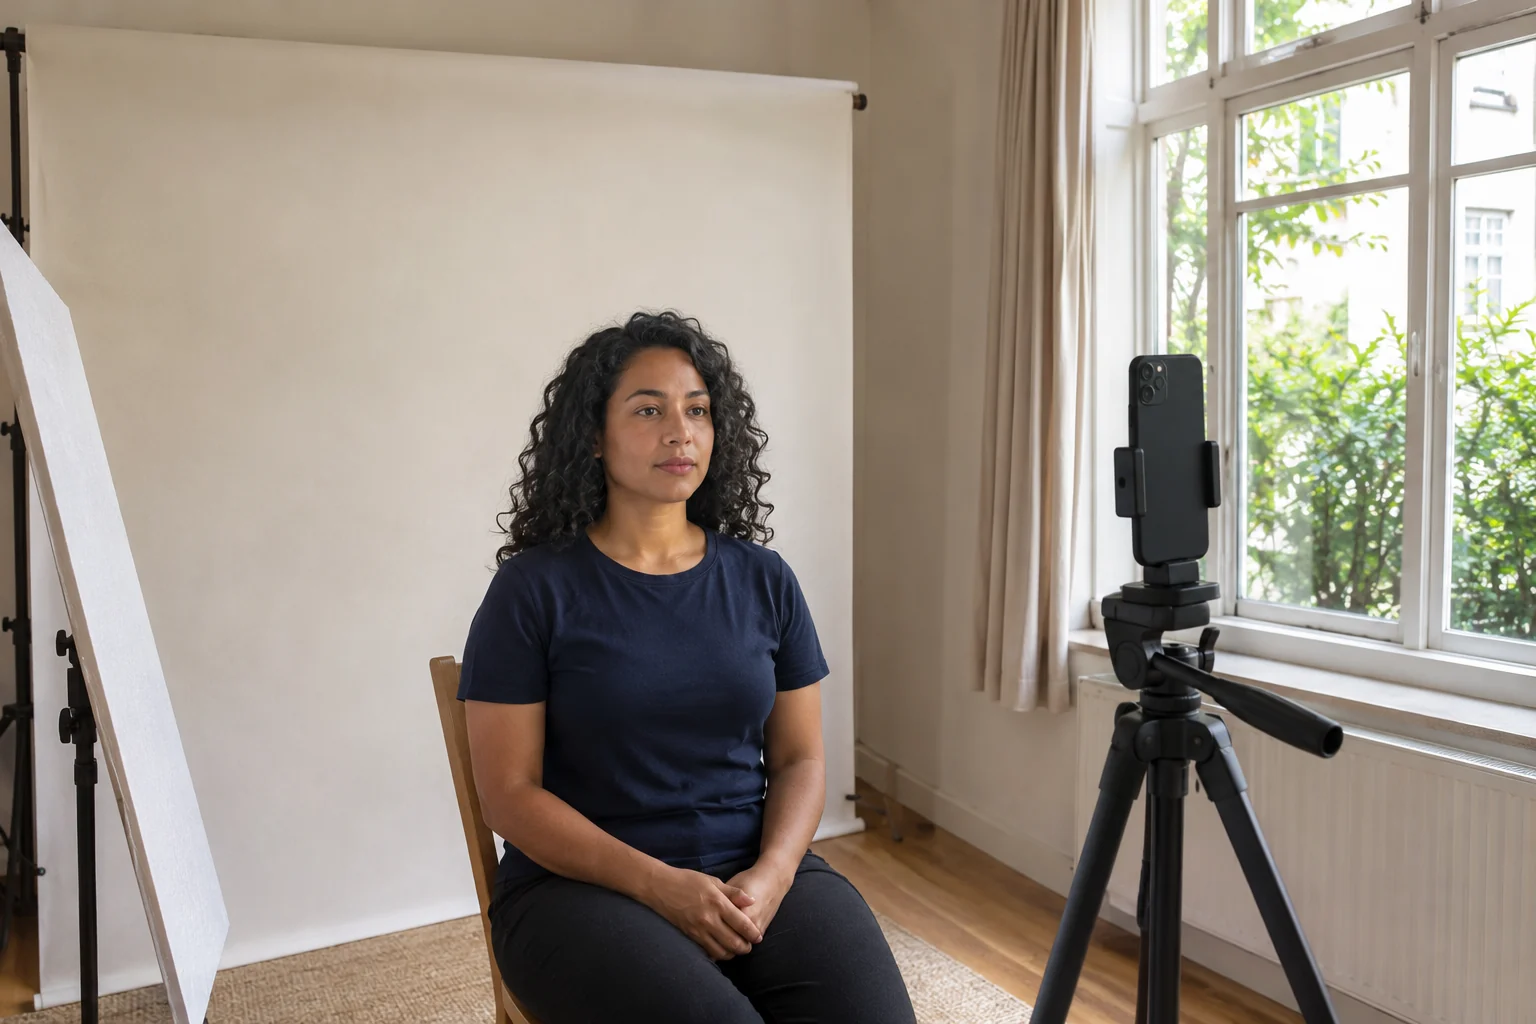
Inspect the test photo itself. The backdrop should look plain in the captured image, and the face should be evenly lit and in focus. Follow the application’s expression, clothing, and head-covering rules, then retain the untouched original.
Frequently Asked Questions
Can I change my passport photo background to white for free?
Free BGRemover’s passport photo background changer provides a free PNG download without a watermark. Check the displayed dimensions before saving; a larger original-size export may require credits. For a passport application, confirm editing permission first. U.S. and UK passport rules require unaltered photos, so use a retake for those applications.
Can I change the background on my phone?
You can use the same passport photo workspace on a phone with a supported browser and device. Choose the original file from your photo library or files, wait for processing, select the color, and save the PNG. If the phone file is HEIC, make a JPG or PNG copy first; the upload accepts JPG, PNG, and WebP. Check the downloaded image rather than taking a screenshot of the preview.
Does changing the background make the photo passport-ready?
No. Background replacement does not check pose, expression, facial lighting, head measurements, crop, or file requirements. It also counts as digital editing. A clean white backdrop cannot make a prohibited edit acceptable.
Can I use an AI-generated portrait for my passport?
Use a real photograph of yourself and follow the issuing authority’s rules. The AI-generated people in this article are teaching examples, not photos to download or submit. Background removal and generating a new face are different operations; neither overrides a requirement for an unchanged original photograph.