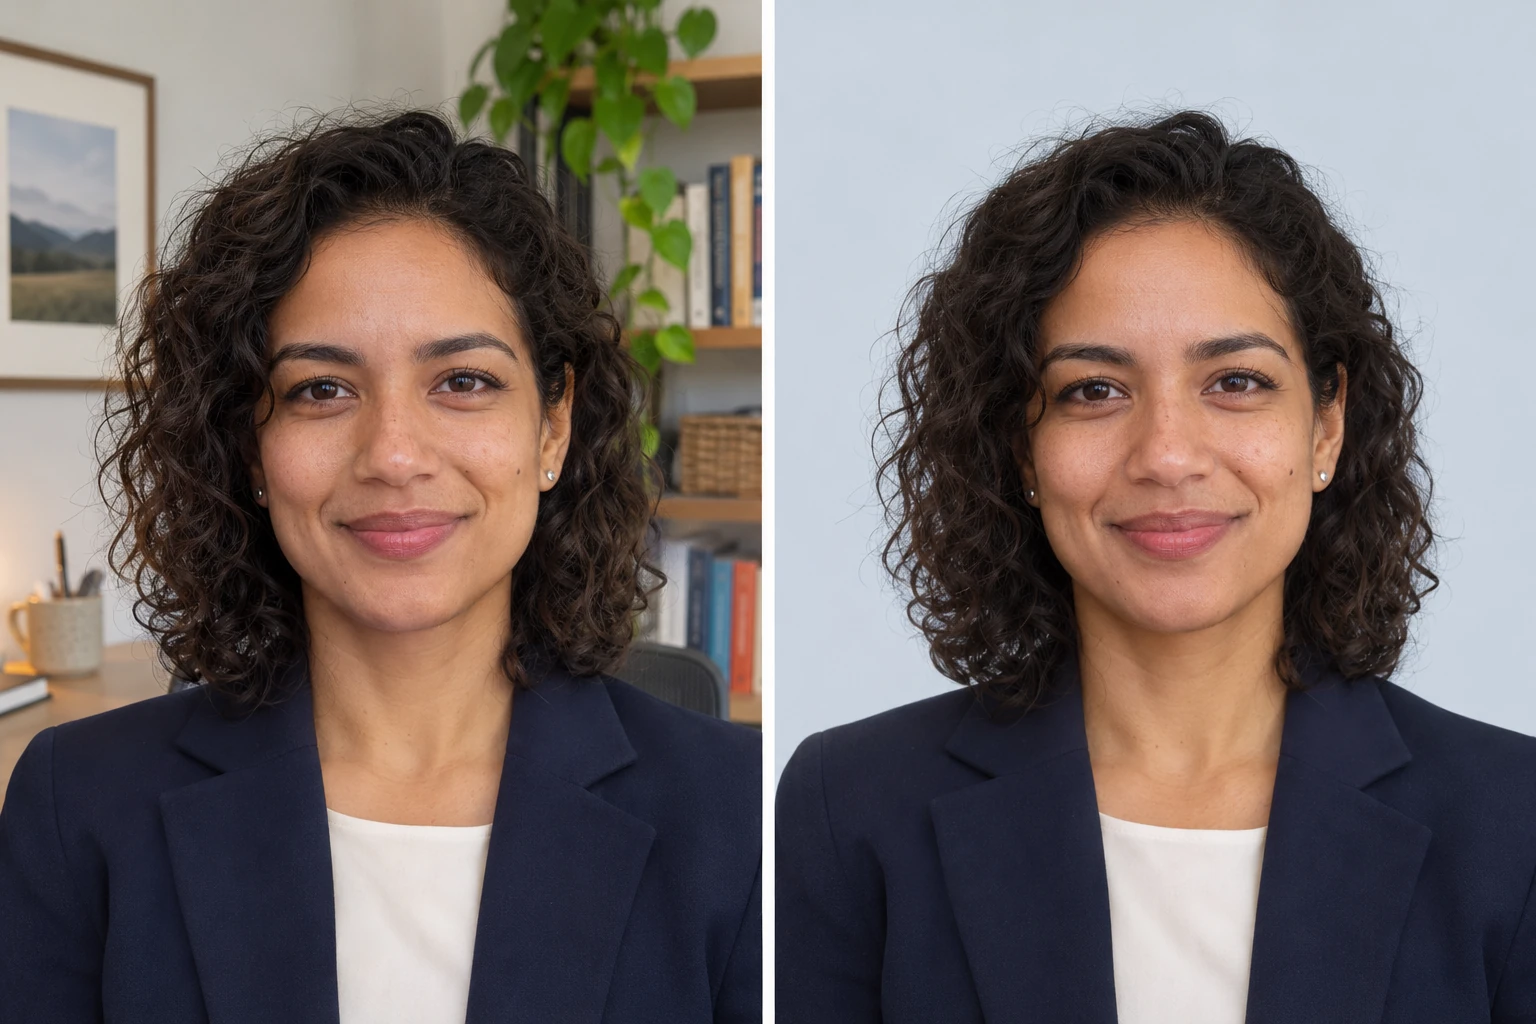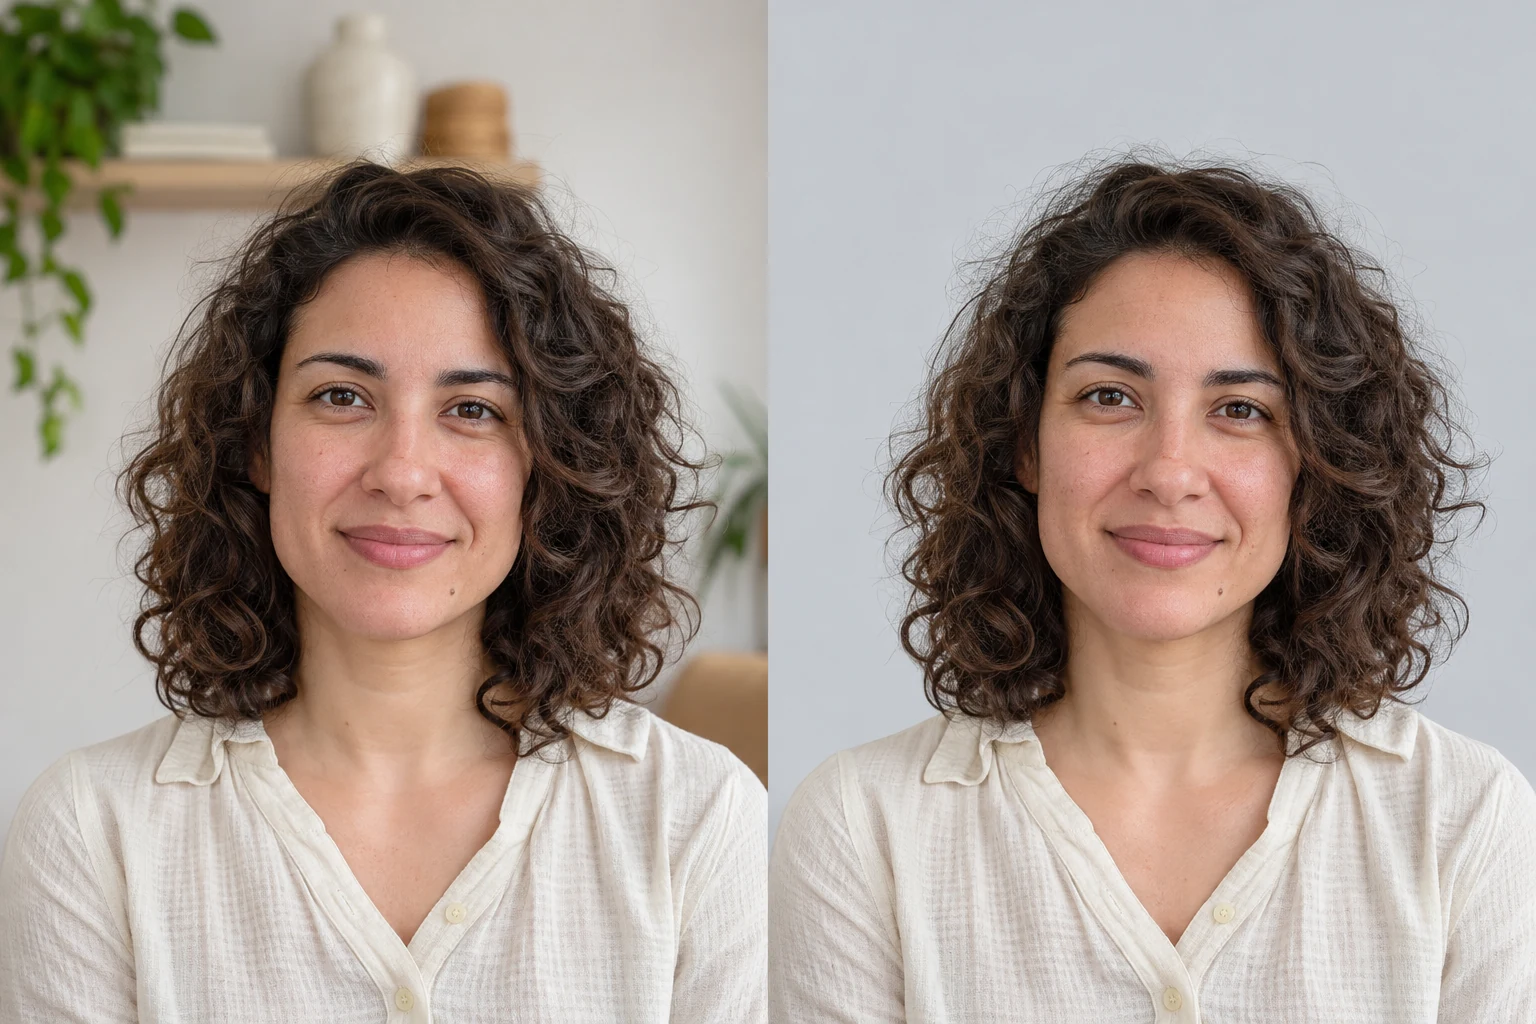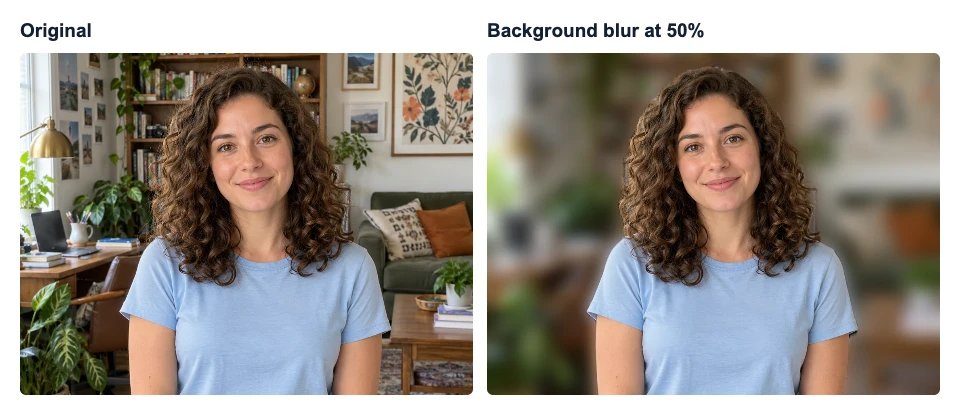
Open Blur Background, upload your photo, and click Blur background. The tool identifies the subject so you can soften the rest of the picture. Start with a low Blur strength and increase it until the background is less distracting. Compare the eyes and outline with the original before saving.
Start with the sharpest copy you have. If the eyes are already out of focus in the original, softening the room won’t bring that detail back. For the portrait below, we used the site’s sample image and uploaded it through the same controls you’ll use for your photo.
Upload the photo and apply the blur
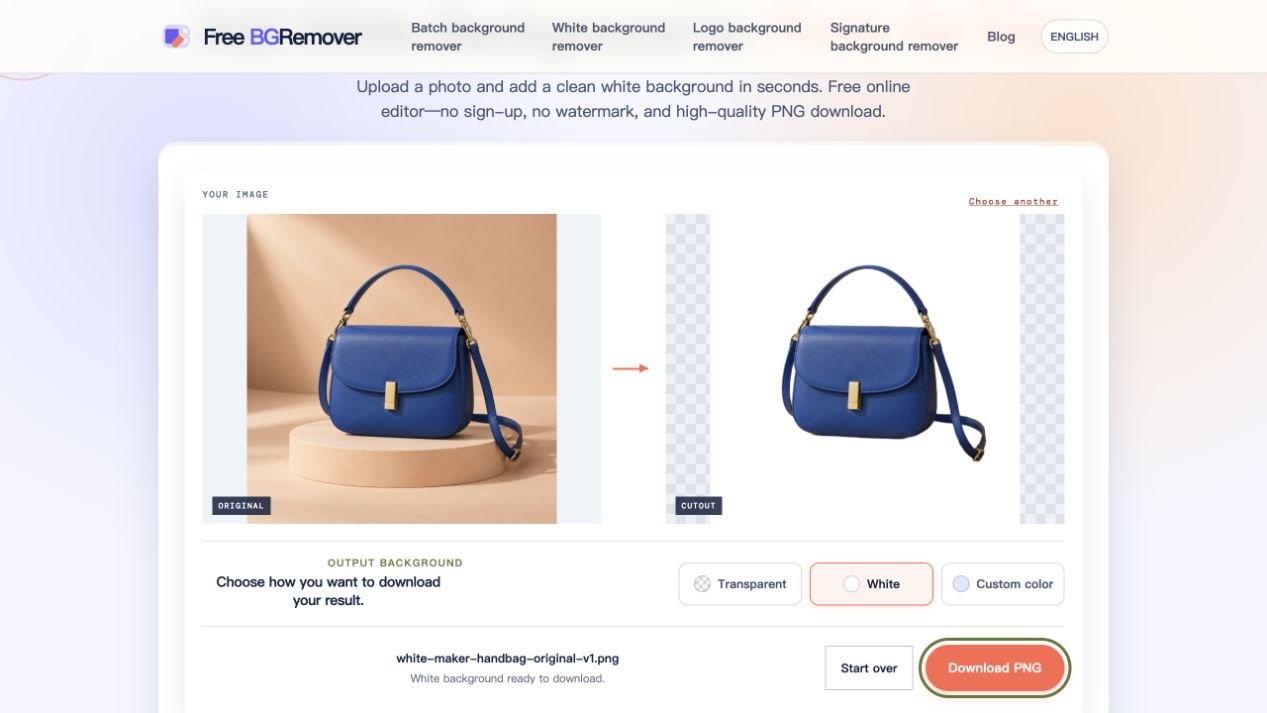
Click Upload an image and choose a JPG, PNG, or WebP up to 15 MB. Then select Blur background. The first run downloads an image model, so keep the tab open until Edited shows your result.
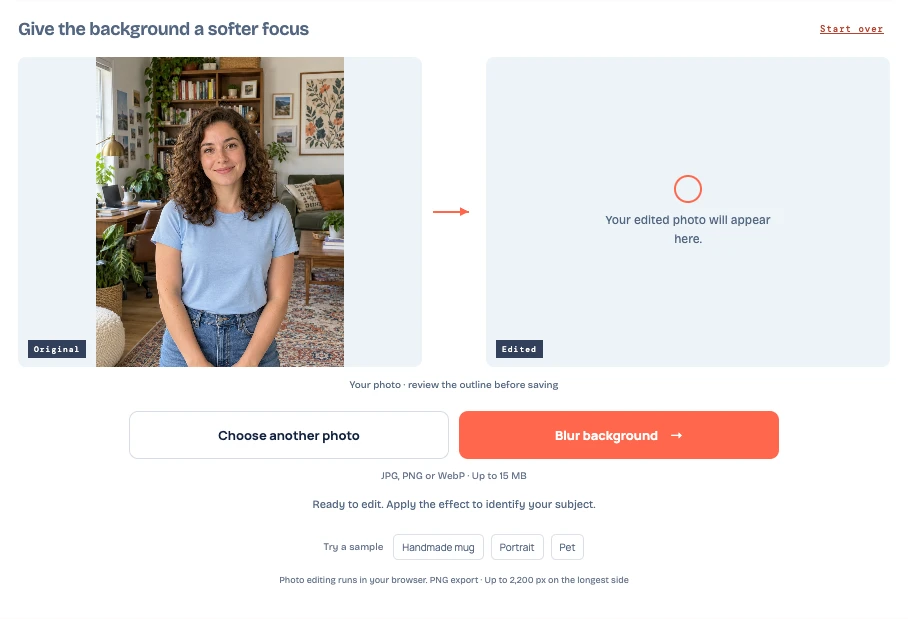
Check the subject before changing the strength
Look at Original and Edited side by side. In the portrait, start with the eyes and eyebrows, then follow the curls to the shoulders. The larger curls hold up at 50%. The wispy strands above the head are less distinct where they meet the softened bookcase.

For a pet, check the ear tips and whiskers. For an object, look at its lettering and any openings, such as a mug handle. If the area inside the handle stays as sharp as the original background, the tool may have treated it as part of the mug.
Choose a blur strength that fits the photo
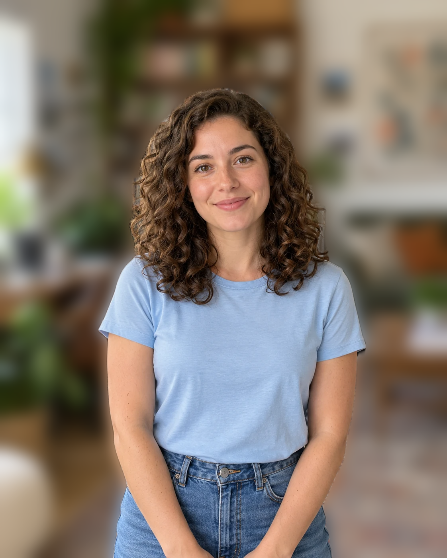
At 20%, you can still make out more of the bookshelf and frames. At 50%, those details draw less attention, and the room still looks recognizable. At 80%, the furniture and wall art start to blend into large shapes.
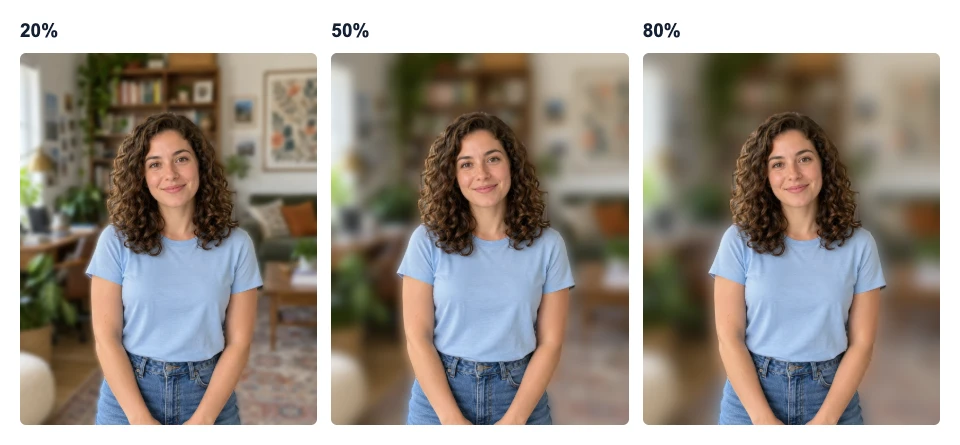
We used 50% for this photo because the face was easy to pick out and the room still had some character. For your photo, start low and move the slider until the busiest detail stops pulling your eye away from the subject. If the outline starts to look like a cutout, bring the strength back down and look again at the size you’ll share.
If the subject looks blurry, check where it starts
| What you see | What to do |
|---|---|
| The same detail is soft in the original and the preview | Compare at the same display size. Try a sharper original if the detail is missing in both. |
| Hair or fingers look softer in the edited preview | Turn down Blur strength and inspect the edge again. This can make the transition less noticeable. If a detail is still missing, try an original where it stands out more clearly from the background. |
| A bright rim or sharp patch appears next to the subject | Compare that spot with the original. Look for background caught along an edge or inside a gap. Try a gentler setting and see whether the patch is still visible at your intended size. |
| The preview looks clear but the saved image looks soft | Check the dimensions of the saved PNG. Enlarging a small export can make the whole subject look softer. |
Download and check the saved photo
At 50%, Download free small PNG saved this 1122 × 1402 image as a 447 × 558 PNG. Open the saved file at the size you need and check the same details you checked in the preview. View the PNG from this edit.
If you need more pixels for a larger crop or layout, check the Original size option. The editor shows the credit required before you unlock that export. The original size option saves the current edit at the source dimensions, so judge the blur and subject outline in the preview first.

Frequently asked questions
Can I do this with a photo taken without portrait mode?
Yes. Upload an existing JPG, PNG, or WebP. The editor uses the picture you upload to identify the subject, so start with a clear photo where you can make out the edges you want to keep.
Will an object someone is holding stay clear too?
It depends on how the person and object are detected. In Edited, compare the fingers, the object, and the space between them with the original. If the object starts to blur, try a gentler setting or a photo where it stands out more clearly.
Can I blur a background on my phone?
You can process the photo if your browser and device support WebGPU. For an HEIC photo, save a copy as JPG, PNG, or WebP first. If the editor can’t process your photo on that device, try the same steps on a compatible computer.